
Door gasket failure
This step-by-step repair guide walks you through fixing door gasket failure on your Maytag MRT311FFFZ (Top Freezer). With the right tools and parts, most homeowners can complete this repair in 1–2 hours and avoid a costly service call.
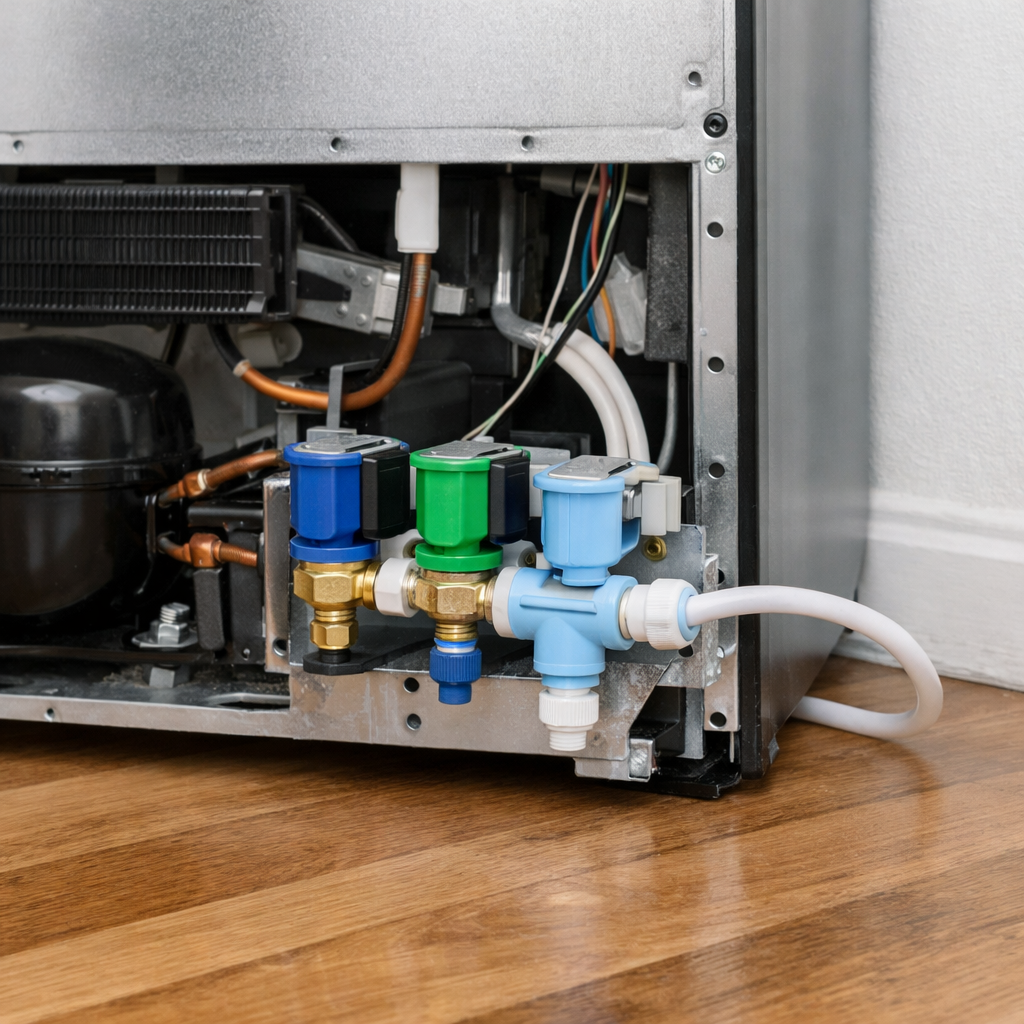
🔨 Pro Tip from Dave
On the MRT311FFFZ, the replacement freezer door gasket you want is part number W10830162 — don’t make the mistake of ordering the refrigerator door gasket by accident, as they’re different sizes and won’t seal properly. Also, soak the new gasket in warm water for about 10 minutes before installation; this model’s door liner is a bit unforgiving and a stiff gasket will fight you the whole way and leave gaps at the corners.
Part of our Top 20 Refrigerator Models & Common Repair Issues Guide. Browse all refrigerator repair guides for related models and issues.
“`html
Common Symptoms & Causes
The following symptoms suggest your Maytag MRT311FFFZ is experiencing door gasket failure on the refrigerator or freezer compartment.
- Frost buildup forming along the inner edges of the freezer door frame
- Refrigerator compartment temperature rising above 40°F despite correct settings
- Visible cracks, tears, or stiff sections along the rubber door seal
- Condensation or water pooling on the floor near the base of the refrigerator
These issues are typically caused by a worn, hardened, or physically damaged door gasket that no longer creates an airtight seal, often the result of age, repeated use, or exposure to cleaning chemicals.
“`
Safety First
- Unplug the refrigerator from the power outlet before starting any repair — never work on a live appliance.
- Shut off the water supply valve before disconnecting any water lines or hoses.
- Wear work gloves when handling metal brackets, sheet metal edges, or sharp components.
- Take photos with your phone before disconnecting any wiring harnesses or connectors.
- Work in a well-lit area with enough floor space to lay removed panels flat.
Tools & Parts Needed
Essential Tools
- Phillips #2 screwdriver
- ¼” nut driver
- Needle-nose pliers
- Multimeter
- Flashlight or work light
Replacement Parts
- Maytag refrigerator door gasket
- Maytag freezer door gasket
- hinge pin
- wide putty knife
Step-by-Step Repair Instructions
Step 1
Perform the dollar-bill test at the top, bottom, and sides of both the freezer and refrigerator doors, marking any spots where the bill slides out without resistance. A properly sealing gasket creates enough magnetic friction to grip the bill firmly — any free movement indicates a gap where warm, moist air is infiltrating and forcing the compressor to overwork. Test all four sides of each door because leaks are often localized and easy to miss with a visual inspection alone.
Step 2
If the gasket feels soft or spongy but shows no visible damage, press it firmly back into the retainer channel all the way around the door perimeter. The MRT311FFFZ uses a snap-in gasket design that can unseat gradually from repeated door use, creating gaps that mimic a failed gasket. No tools are needed for this reseating — if pressing it back in restores the bill-test grip, you have avoided an unnecessary parts replacement.
Step 3
If the gasket is visibly cracked, torn, or permanently deformed, pull it free from the retainer channel by hand, working around the perimeter — Maytag’s snap-in design requires no screwdrivers or panel removal. Once removed, clean the retainer channel thoroughly with a warm soapy cloth and dry it completely before installing the replacement, because debris or moisture left in the channel will prevent the new gasket from seating flush and can cause premature mold growth. Pro tip: soak the new gasket in warm water for a few minutes before installation to make it more pliable and easier to seat without kinking.
Step 4
Press the new gasket into the retainer channel starting at the top two corners, then work toward the bottom simultaneously from both sides rather than going all the way around in one direction. Installing it one-directionally builds tension in the gasket material, which causes wrinkles and gaps that will fail the dollar-bill test even on a brand-new part. Apply firm, even thumb pressure to snap each section fully into the channel before moving on.
Step 5
With the new gasket installed, check whether the door hangs level and closes fully under its own weight, because a worn top hinge pin causes the door to sag and prevents the gasket from making even contact across its full height. Use a half-inch nut driver to adjust the top hinge pin alignment, and replace the pin if it shows visible wear or play, since no gasket — new or old — can compensate for a door that is out of square. Safety note: always unplug the refrigerator before working on hinge components to avoid accidental door movement while your hands are near the pivot point.
Step 6
Re-run the dollar-bill test at all four sides of both the freezer and refrigerator doors to confirm the repair is complete. Both doors should offer firm, consistent resistance when you pull the bill at every test location — any remaining free spots indicate either an incompletely seated gasket section or a hinge alignment issue that needs further adjustment. A fully sealed unit will typically show a noticeable reduction in compressor run time within 24 hours as the interior temperatures stabilize.
Where to Buy Replacement Parts
Find genuine OEM and aftermarket replacement parts for your Maytag MRT311FFFZ (Top Freezer) on Amazon:
- Maytag MRT311FFFZ refrigerator door gasket WPW10290699
- Maytag top freezer door hinge pin replacement WP67001153
- refrigerator door gasket top freezer magnetic seal
When to Call a Professional
If the issue persists after completing all steps above, the problem may involve the sealed refrigerant system, a failed main control board, or wiring that requires specialized diagnostic equipment. Contact a licensed appliance technician — attempting sealed-system repairs without EPA 608 certification is illegal and unsafe.
“`html
How Much Does This Repair Cost?
A replacement door gasket for the Maytag MRT311FFFZ typically costs between $30 and $70 for the part alone. Professional appliance repair technicians generally charge $150 to $300 once you factor in the service call and labor fees. Tackling this repair yourself can save you over $100 while restoring your refrigerator’s efficiency quickly.
“`
Frequently Asked Questions
How do I know if my Maytag MRT311FFFZ door gasket needs replacing?
Close the door on a dollar bill and try to pull it out — if it slides out easily, the gasket has lost its seal. You may also notice frost buildup, warm temperatures, or visible tears along the gasket edge.
Can I replace the door gasket myself without a technician?
Yes, this is a beginner-friendly repair that typically requires no special tools. The new gasket simply presses into the door channel and can be completed in under an hour.
What replacement gasket fits the Maytag MRT311FFFZ?
Use OEM part number W11396671 or a compatible aftermarket equivalent listed for this model. Always verify compatibility using your full model number before purchasing.
Recommended Products
These are the parts and tools we recommend for this repair, based on compatibility and customer reviews:
- UPGRADED 2177310 Freezer Door Gasket Replacement Compatible with Whirlpool, Kenmore, KitchenAid Refrigerator Freezer Door Seal, Replaces Part Number W11406601 2171390 2214969 Freezer Door Gasket
- W10861499 Refrigerator Freezer Door Gasket For Whirlpool Maytag Amana Fridge Door Seal Gasket Replacement Part Replaces W10638675, W11648072, W11720506, 4459467, AP6003537, PS11731600, EAP11731600
As an Amazon Associate, I earn from qualifying purchases.


