
Not cooling
This step-by-step repair guide walks you through fixing not cooling on your Maytag MRT311FFFZ (Top Freezer). With the right tools and parts, most homeowners can complete this repair in 1–2 hours and avoid a costly service call.
🔨 Pro Tip from Dave
On the MRT311FFFZ, a common mistake I see is homeowners replacing the compressor start relay (part W10613606) without first checking whether ice has completely blocked the evaporator coils — a forced defrost cycle using the diagnostic mode can save you from an unnecessary parts purchase. Also, this model’s evaporator fan is notorious for developing a slow, intermittent failure that only shows up when the freezer door is closed, so always test it with the door switch manually depressed.
Part of our Top 20 Refrigerator Models & Common Repair Issues Guide. Browse all refrigerator repair guides for related models and issues.
“`html
Common Symptoms & Causes
These symptoms on your Maytag MRT311FFFZ suggest the refrigerator is struggling or completely failing to maintain safe temperatures.
- The fresh food compartment reads above 45°F despite the thermostat being set correctly
- The freezer section feels slightly cool but cannot reach 0°F
- Food in the refrigerator is spoiling faster than normal
- The condenser fan runs but little to no cold air circulates through the fridge
These issues are most commonly caused by a failed evaporator fan motor, a faulty start relay on the compressor, or frost buildup blocking airflow due to a defective defrost heater or thermostat.
“`
Safety First
- Unplug the refrigerator from the power outlet before starting any repair — never work on a live appliance.
- Shut off the water supply valve before disconnecting any water lines or hoses.
- Wear work gloves when handling metal brackets, sheet metal edges, or sharp components.
- Take photos with your phone before disconnecting any wiring harnesses or connectors.
- Work in a well-lit area with enough floor space to lay removed panels flat.
Tools & Parts Needed
Essential Tools
- Phillips #2 screwdriver
- ¼” nut driver
- Needle-nose pliers
- Multimeter
- Flashlight or work light
Replacement Parts
- Defrost heater
- evaporator fan motor
- start relay
- multimeter
Step-by-Step Repair Instructions
Step 1
Before disassembling anything, check whether the freezer is cold but the fresh food compartment is warm — this symptom points directly to an evaporator fan failure rather than a compressor or refrigerant problem, saving you unnecessary teardown. If both compartments are warm, the issue is more likely a defrost blockage or compressor fault covered in the steps below. Unplug the refrigerator before proceeding.
Step 2
Remove the freezer’s back panel (4 × Phillips #2 screws) to expose the evaporator coils, which are the heart of the cooling system — a thick layer of frost over the coils confirms a defrost system failure trapping cold air inside the ice, while bare or oily coils suggest a refrigerant leak that requires a licensed technician. Pro tip: if you find a solid block of ice, you can confirm defrost failure by manually defrosting with a hair dryer on low and checking whether cooling resumes temporarily. Never chip ice off the coils as this can puncture the refrigerant tubing.
Step 3
With the coils exposed, test the defrost heater with a multimeter set to Rx1 — a healthy heater reads 20–50Ω, and an open reading (OL) means it has burned out and must be replaced. Also test the bi-metal defrost thermostat for continuity at room temperature; it should be a closed circuit at room temp and an open reading means it has failed stuck-open, cutting power to the heater. Replace whichever component tests open, as either one alone will cause the entire defrost cycle to fail.
Step 4
Locate the evaporator fan motor at the back of the freezer compartment and spin the blade by hand — it should rotate freely, because a seized motor means no air is circulated from the freezer into the fresh food section, causing the exact warm-fridge-cold-freezer symptom. If the blade won’t spin or the motor hums without turning, replace the motor by removing 2 Phillips screws and disconnecting the harness clip; this is the single most common repair for top-freezer not-cooling complaints. Pro tip: also check that nothing has fallen against the fan blade from inside the freezer, which can mimic a seized motor.
Step 5
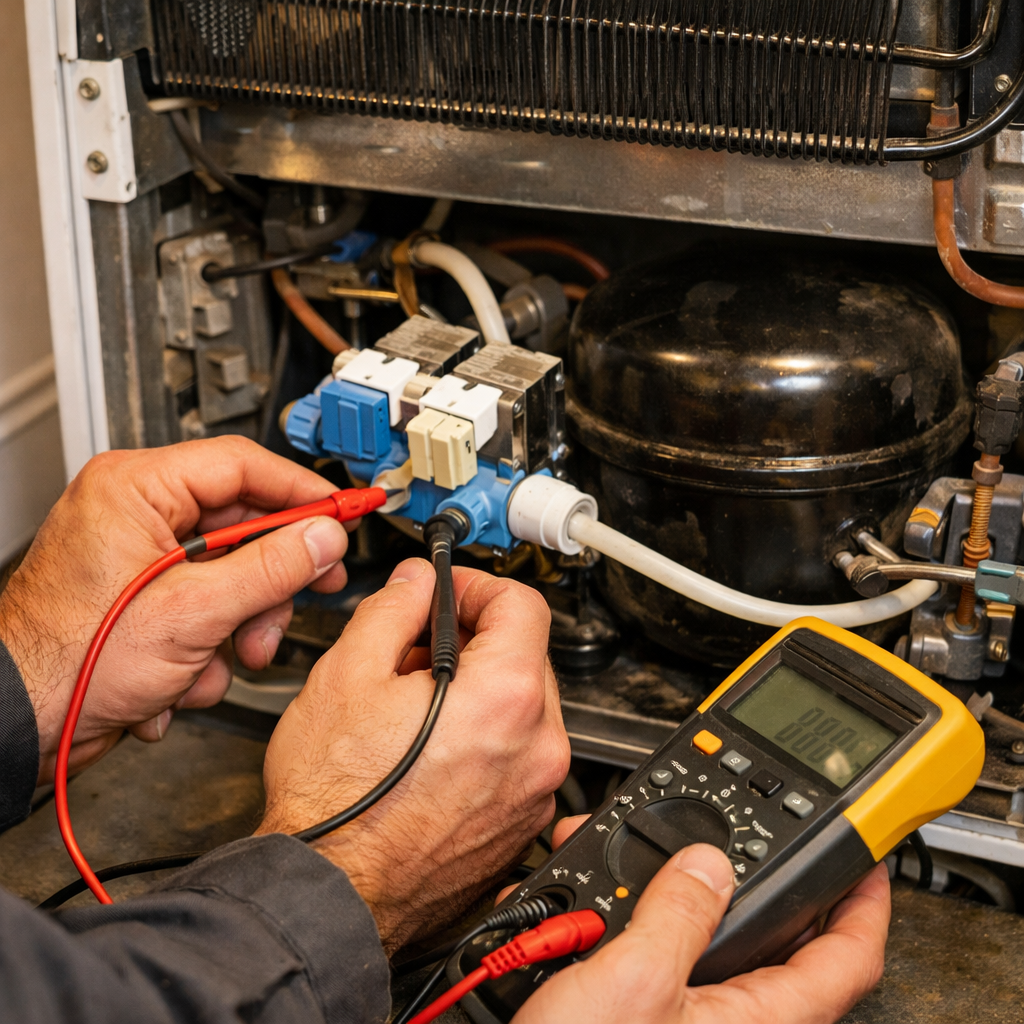
Pull the rear access panel on the back of the refrigerator (4 × ¼” hex screws) to reach the compressor start relay and overload protector, which are responsible for starting the compressor each cooling cycle. Shake the start relay — a rattle indicates a broken internal pellet and the relay must be replaced, as a failed relay prevents the compressor from ever starting. Test the overload protector on Rx1 for continuity; an open reading means it has tripped permanently and needs replacement, though a repeatedly failing overload can also indicate an underlying compressor issue.
Step 6
Reassemble both panels, plug the unit in, and allow up to 6 hours for temperatures to stabilize — compressors need time to pull both compartments down to operating temp, so don’t judge the repair in the first hour. Safety note: confirm the freezer reaches 0°F and the fresh food section reaches 35–38°F using an appliance thermometer before considering the repair complete. If the compressor runs continuously but temperatures never recover after 6 hours, suspect a refrigerant leak or failing compressor and contact a certified technician.
Where to Buy Replacement Parts
Find genuine OEM and aftermarket replacement parts for your Maytag MRT311FFFZ (Top Freezer) on Amazon:
- Maytag MRT311FFFZ defrost heater WPW10225581
- Maytag refrigerator evaporator fan motor WPW10189703
- Maytag refrigerator start relay W10613606
When to Call a Professional
If the issue persists after completing all steps above, the problem may involve the sealed refrigerant system, a failed main control board, or wiring that requires specialized diagnostic equipment. Contact a licensed appliance technician — attempting sealed-system repairs without EPA 608 certification is illegal and unsafe.
“`html
How Much Does This Repair Cost?
DIY parts for fixing a not cooling issue on the Maytag MRT311FFFZ typically run between $20–$150, depending on whether you’re replacing a condenser fan motor, start relay, or thermistor. A professional service call usually costs $150–$300 once you factor in labor and diagnostic fees. Tackling this repair yourself can save you $100 or more.
“`
Frequently Asked Questions
Why is my Maytag MRT311FFFZ freezer cold but the refrigerator section not cooling?
This is usually caused by a failed evaporator fan motor or a frosted-over evaporator coil blocking airflow between the two compartments. Check whether the fan is running and defrost the coils manually to confirm the issue.
How do I know if the start relay on my Maytag MRT311FFFZ is bad?
Remove the start relay from the compressor and shake it — a rattling sound indicates a failed relay that needs replacing. A bad relay prevents the compressor from running, stopping all cooling entirely.
Is it worth repairing a Maytag MRT311FFFZ that is not cooling, or should I replace it?
Most common cooling repairs, like replacing a fan motor or start relay, cost well under $150 and are worth doing. However, if the compressor itself has failed, replacement may be the more cost-effective option.


