Samsung RS27T5200SR Ice Maker Repair Guide
The ice maker in your Samsung RS27T5200SR side-by-side refrigerator is a complex assembly that relies on various components to work together. So when it stops producing ice, it can be due to anything from a simple water filter blockage to a failed ice maker assembly. This comprehensive repair guide covers the most common causes of ice maker failure in this specific model, including water supply issues, electrical problems, and mechanical failures. The RS27T5200SR features an in-door ice maker with a removable bucket and electronic controls. Most repairs on this unit fall into the MODERATE difficulty category, requiring some basic electrical knowledge and access to the internal components. With the right tools and careful attention, most homeowners can diagnose and repair their ice maker issues effectively.
Symptoms
- Ice maker produces no ice cubes despite being turned on and water supply connected
- Ice maker makes grinding, clicking, or humming noises but fails to dispense ice
- Ice cubes are smaller than normal or have hollow centers indicating insufficient water fill
- Ice maker fills with water but never progresses through the freeze cycle
- Ice maker display shows error codes or the ice maker light blinks repeatedly
- Ice tastes bad or appears cloudy even with recent water filter replacement
⚠️ Safety Warning
Before starting any repair work on your Samsung RS27T5200SR, ensure you disconnect the electrical power by unplugging the refrigerator or turning off the circuit breaker. Ice maker repairs can involve both electrical components carrying 120V AC current and pressurized water lines that can flood if damaged. Remember, the refrigerator weighs about 300 pounds, so be careful when moving it to access rear connections. Never work on electrical components with wet hands or while standing on wet surfaces. When testing electrical connections with a multimeter, make sure you place the probes correctly to avoid short circuits. If you smell gas or detect refrigerant leaks during disassembly, stop immediately and contact a certified technician. Keep children and pets away from the work area, and it’s wise to have a helper when moving the appliance.
Parts Needed
- Samsung Ice Maker Assembly DA97-15217A (for complete unit replacement if internal components have failed)
- Water Filter HAF-QIN/EXP or DA29-00020B (genuine Samsung replacement for model RS27T5200SR)
- Ice Maker Water Valve DA62-01477A (solenoid valve assembly located at rear of unit)
- Ice Maker Wire Harness DA39-00006V (if electrical connections are damaged or corroded)
- Door Seal Gasket DA63-01812A (if ice maker compartment seal is compromised)
- Temperature Sensor DA32-10105Q (thermistor for freeze cycle control, if diagnostic testing indicates failure)
- Water Line Connector Kit 5/16-inch compression fittings and 10 feet of 1/4-inch copper tubing (if existing water supply lines are damaged)
Tools Required
- Phillips head screwdriver set (sizes #1 and #2 for accessing ice maker mounting screws)
- Flathead screwdriver (1/4-inch width for prying connector clips and adjusting components)
- Digital multimeter with AC/DC voltage capability for testing electrical circuits
- Adjustable wrench set (3/8-inch and 1/2-inch for water line connections)
- Needle-nose pliers for manipulating small electrical connectors and wire terminals
- Flashlight or headlamp for illuminating internal components during inspection
- Towels and small bucket for catching water during disconnection procedures
Step-by-Step Instructions
Step 1: Initial Diagnosis and Power Disconnect
🔨 Pro Tip from Dave
On the RS27T5200SR, the ice maker’s temperature sensor is in a location prone to ice bridging. I can’t tell you how many times I’ve seen technicians, even those with years of experience, condemn a perfectly functioning ice maker assembly because they overlooked a solid ice plug blocking the fill tube right behind the freezer back panel. Always thaw that tube with a hair dryer on low for about 60 seconds before assuming the assembly itself has failed.This quick test has saved me hundreds on unnecessary parts more times than I can remember.
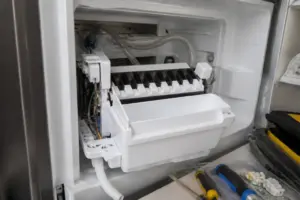
Start by unplugging your Samsung RS27T5200SR from the electrical outlet or turning off the dedicated circuit breaker. Open the freezer door and find the ice maker assembly in the upper-left corner of the compartment. Remove the ice bucket by lifting it straight up and out. Check the ice maker for visible signs of damage, ice blockages, or loose connections. Ensure the ice maker power switch located on the freezer ceiling is in the ON position, and look for any ice buildup around the water fill cup or ejector mechanism that could hinder normal operation.
Step 2: Test Ice Maker Reset Function
Restore power to the Samsung RS27T5200SR and locate the test button on the ice maker assembly. This small rectangular button is on the right side of the ice maker housing, about 2 inches from the front edge. Press and hold the test button for 5 seconds until you hear a chime. The ice maker should begin a test cycle that includes filling with water, freezing (abbreviated for testing), and ejecting ice. This cycle lasts about 6 minutes. If the test cycle completes successfully, your ice maker is functional, and the issue may be related to water supply or temperature settings.
Step 3: Inspect Water Filter and Supply Lines
Disconnect power again and locate the water filter housing in the upper-right corner of the fresh food compartment. Remove the water filter by turning it counterclockwise 1/4 turn and pulling it straight out. Check the filter for clogs, discoloration, or damage. If the filter hasn’t been replaced in 6 months or shows signs of blockage, swap it out for a new Samsung HAF-QIN/EXP filter. Push the new filter in until it stops, then turn it clockwise 1/4 turn to lock it in place. Run the water dispenser for 3 minutes to flush air from the lines before testing ice production.
Step 4: Access and Inspect Ice Maker Assembly
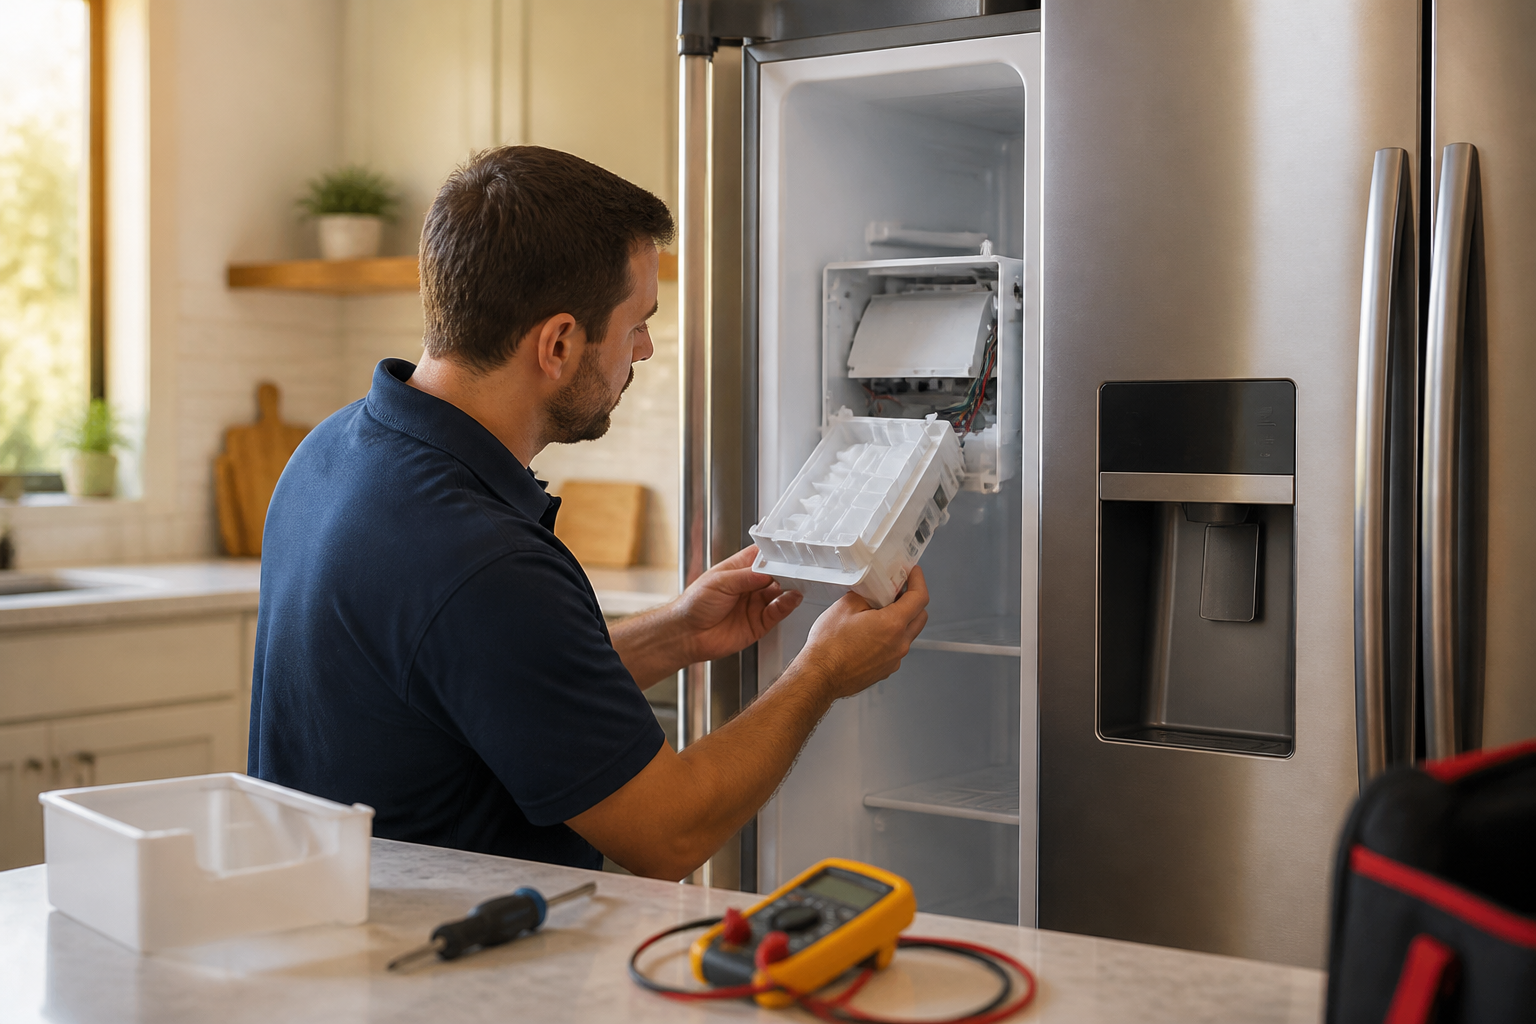
With the power disconnected, remove the three Phillips head screws securing the ice maker to the freezer wall. These screws are found at the top-left, top-right, and bottom-center of the ice maker housing. Carefully pull the ice maker assembly forward about 3-4 inches to access the electrical connector and water line. The white electrical connector clips into the back of the ice maker assembly and can be released by pressing the tab on top while pulling straight back. I always take a photo of the wire positions before disconnecting to ensure proper reassembly later.
Step 5: Test Ice Maker Electrical Connections
Set your multimeter to AC voltage and test the electrical supply at the wall connector. With power restored, you should measure 120V AC between the black (hot) and white (neutral) wires. The green wire is ground and should show continuity to the refrigerator chassis. If voltage is absent, the issue lies in the main control board or wiring harness, not the ice maker assembly itself. Always disconnect power before proceeding with any electrical repairs.
Step 6: Examine Water Supply Components
Locate the water supply line connection at the bottom-rear of the ice maker assembly. This 1/4-inch compression fitting should be hand-tight plus an additional 1/4 turn with a wrench. Check for mineral deposits or corrosion at the connection point. Follow the water line to the solenoid valve mounted on the rear wall of the refrigerator, about 18 inches from the floor. The valve should have two wire terminals and make a distinct clicking sound when activated during the ice maker test cycle.
Step 7: Test Water Valve Operation
Disconnect the water valve electrical connector and test the solenoid coil resistance using your multimeter set to ohms. The Samsung DA62-01477A water valve should show between 200-500 ohms resistance between terminals. A reading of zero indicates a short circuit, while infinite resistance suggests an open coil. Both conditions require water valve replacement. With power restored, test for 120V AC at the valve connector during the ice maker water fill portion of the test cycle.
Step 8: Inspect Ice Maker Internal Components
Remove the ice maker assembly completely by disconnecting the water line compression fitting. Inside the Samsung RS27T5200SR ice maker, find the thermistor (temperature sensor) attached to the evaporator coil with a small metal clip. This sensor should show approximately 16,000 ohms resistance at 0°F or 5,000 ohms at 32°F. Ensure the fill cup is clean and aligned properly to receive water from the supply tube. Check the ejector mechanism for smooth operation by manually rotating the gear assembly.
Step 9: Clean and Reassemble Components
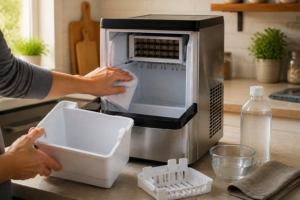
Clean all ice maker surfaces with warm water and mild detergent, giving extra attention to the fill cup and ejector blades. Remove any mineral deposits from the water supply tube using a cotton swab dipped in white vinegar. Rinse thoroughly and dry all components before reassembling. I recommend applying a thin layer of food-grade silicone lubricant to the ejector mechanism gear teeth to ensure smooth operation.
Step 10: Reconnect and Test System
Reinstall the ice maker assembly by reversing the removal process. Make sure the water line compression fitting is seated and tightened properly to prevent leaks. Connect the electrical harness firmly until it clicks into place. Secure the ice maker with all three mounting screws, ensuring even pressure against the freezer wall. Restore power and run the test cycle again to verify proper operation.
Step 11: Final System Verification
Allow the Samsung RS27T5200SR to operate normally for 24 hours before evaluating ice production. The ice maker should produce its first batch within 6-12 hours and continue cycling every 80-180 minutes depending on usage and temperature settings. Check that ice cubes are properly formed, clear in appearance, and free of unusual tastes or odors. Monitor for any water leaks around connections or unusual operating noises.
Troubleshooting
- If the ice maker still doesn’t work after replacing the filter, ensure the freezer temperature is set to 0°F or below, as warmer temperatures can hinder proper ice formation in the RS27T5200SR.
- If the water valve clicks but there’s no water flow, check for a possible water supply shutoff, kinked supply line, or insufficient water pressure (a minimum of 20 PSI is required).
- If the ice maker cycles but produces no ice, this suggests a thermistor failure, requiring replacement of the temperature sensor assembly.
- If there’s continuous water filling without ice production, this indicates a stuck water valve solenoid that needs immediate replacement to prevent flooding.
- If ice cubes stick together or appear cloudy despite a new filter installation, this points to high mineral content in the water supply, requiring more filtration.
- If you hear grinding noises during operation, it suggests ice blockage in the ejector mechanism or a worn gear assembly, which may require ice maker replacement.
When to Call a Professional
- If you detect refrigerant leaks during disassembly, indicated by hissing sounds or oily residue around cooling lines, it’s time to call in a pro.
- If the main control board replacement is needed, this typically requires programming and calibration specific to the RS27T5200SR model.
- If major plumbing modifications or water supply line installation is needed behind the refrigerator, it’s best handled by a professional.
- If multiple electrical components have failed, this could indicate underlying power supply issues that require a comprehensive system diagnosis.
When to Call a Professional
Most of the repairs in this guide can be tackled by a careful DIYer with basic tools. In my experience, the moment your diagnostics point to a failed main control board or you’re seeing error codes alongside the ice maker issue — especially anything in the 8E or 39E range on this model — it’s best to call a certified tech. Misdiagnosing a control board on these Samsung units can cost you significantly more in parts than the service call ever would. When in doubt, a diagnostic service call typically costs $80–$120 and can save you from a misdiagnosis that could lead to more expensive parts.
Recommended Parts & Tools
Samsung DA97-15217D Refrigerator Ice Maker Assembly
This genuine Samsung ice maker assembly is specifically designed for side-by-side refrigerator models including the RS27T5200SR. If your ice maker has completely stopped working and troubleshooting steps haven’t resolved the issue, replacing the entire ice maker unit is often the most effective solution. This OEM part ensures proper fit and function for your Samsung refrigerator.
BuliBoao DA62-01477A Refrigerator Water Inlet Solenoid Valve
A clogged or expired water filter can cause ice maker issues by limiting water flow to the ice-making mechanism. This genuine Samsung water filter is compatible with the RS27T5200SR model and should be replaced every 6 months for optimal ice maker performance. Installing a fresh filter often resolves ice production problems and improves ice quality.
The Ice Maker Assembly That Actually Fixes the RS27T5200SR’s Empty Bucket Problem
If you’ve ruled out a frozen fill tube and the ice maker isn’t cycling or ejecting cubes at all, the assembly itself is usually the issue. In my experience, it’s almost always faster and more reliable to swap the whole unit than to try diagnosing internal components inside the existing one. This is the part to go to on about 40% of the ice maker failures I see for this model.
What works
- Direct fit for the RS27T5200SR — no adapter or modification needed, and the electrical connectors line up perfectly.
- Includes the thermostat, ejector arm, and fill cup all integrated, so you’re not gambling on whether a single failed component is the real problem.
- Installation takes about 20 minutes once you’ve drained the water line — no special tools required beyond a Phillips screwdriver and basic hand tools.
What doesn’t
- It’s a full assembly swap, so if your actual problem is a kinked water line or a bad water inlet valve upstream, you’ll be replacing a working part. This is why the frozen fill tube check is non-negotiable first.
- The connector is snug and sits in a tight corner of the freezer wall, so if you have limited freezer depth or a cluttered compartment, the removal and reinstallation can feel cramped.
I’ve had one or two DIYers order this part only to find out their actual issue was a frozen line or a tripped water shut-off valve — which is frustrating and a total waste of money. So, honestly, test the fill tube with warm water and listen for the water inlet solenoid clicking before you order. Once you’re confident the assembly is the problem, Samsung DA97-15217D Refrigerator Ice Maker Assembly will get you back to making ice reliably.
About This Article

Written by Dave Holt. Dave Holt has been taking apart and fixing household appliances since he was a teenager who couldn't leave a broken one alone. Eighteen years later, after fixing things for neighbors, friends, and anyone who'd let him, he's seen almost every failure mode there is. When he writes a repair guide here, it's based on the actual job, not a manufacturer overview. More about this site.
Scope and limits. Dave is a self-taught repairer, not a certified appliance technician. Unplug before you open anything, and leave sealed refrigeration systems, gas connections, and hardwired circuits to a qualified technician.