⚠️ Safety Warning
Before diving into any refrigerator repair, it’s crucial to disconnect the power supply. Unplug the unit or switch off the circuit breaker. The glass door-in-door panel is heavy and fragile — be sure to have an assistant support the door while you work. Wear safety glasses when handling glass components. If you spot any cracks in the glass panel, pause immediately and reach out to a professional technician, as the entire door assembly may need replacement.
LG InstaView Models Affected by Door Clasp Issues
Failures in the door-in-door clasp mechanism are common across several LG InstaView refrigerator models produced between 2016 and 2022. Some of the most frequently affected models include:
- LRFVS3006S – 30 cu. ft. French Door with InstaView
- LRMVS3006S – 30 cu. ft. Side-by-Side with InstaView
- LFXS26596S – 26 cu. ft. French Door with InstaView
- LRFVC2406S – 24 cu. ft. Counter-Depth French Door
- LRFXC2416S – 24 cu. ft. Counter-Depth with InstaView
- LRFVS3006D – 30 cu. ft. French Door (Black Stainless)
- LMXS28596S – 28 cu. ft. French Door with InstaView
These models have similar door-in-door mechanisms, although the clasp positioning may differ between French door and side-by-side setups. The clasp assembly part numbers vary slightly between model years, so proper identification is crucial when ordering the correct replacement.
Symptoms of Door Clasp Failure
When the door-in-door clasp begins to fail, you’ll notice several distinct symptoms that worsen over time:
- Incomplete closure: The door-in-door panel doesn’t fully close or requires excessive force to latch.
- No audible click: You won’t hear the characteristic clicking sound when the clasp engages.
- Spontaneous opening: The door swings open during normal operation or when the main door is opened.
- Visible wear on clasp: The plastic components may show cracking, chipping, or complete breakage.
- Misalignment: The door panel may sit crooked or not align flush with the main door surface.
- Temperature fluctuations: Poor sealing leads to inconsistent temperatures in the door-in-door compartment.
Addressing these issues early can help prevent food spoilage and reduce energy consumption caused by improper door sealing.
Identifying the Correct Replacement Clasp Part
LG utilizes various clasp mechanisms depending on the model and door configuration. To identify the correct replacement part, find your model number on the rating label inside the fresh food compartment (usually on the left wall):
- Part AED73273802: Standard clasp for most French door InstaView models (LRFVS3006S, LFXS26596S)
- Part AED73273803: Modified clasp for 2019+ French door models with reinforced housing
- Part AED73273801: Side-by-side door clasp for LRMVS3006S and similar models
- Part AED73273805: Counter-depth specific clasp for LRFVC2406S and LRFXC2416S
The clasp assembly includes the plastic housing, spring mechanism, and mounting hardware. Some kits may also come with alignment guides and installation templates. Be sure to verify compatibility by cross-referencing your model number with LG’s parts database or consulting your owner’s manual.
Required Tools and Materials
Gather the following tools before you start the repair to ensure you can complete it efficiently:
- Phillips head screwdriver (a magnetic tip is recommended)
- Flat-head screwdriver or plastic prying tool
- Needle-nose pliers
- Flashlight or headlamp
- Digital camera or smartphone (for reference photos)
- Painter’s tape for marking positions
- Clean cloth for cleaning mounting surfaces
- Replacement clasp assembly (verified part number)
- Assistant to help support the door panel
Step-by-Step Door Clasp Replacement
Step 1: Prepare the Work Area
🔨 Pro Tip from Dave
On LG InstaView models, the clasp retaining screws are torqued from the factory with a thread-locking compound. If you feel resistance when backing them out, apply gentle, steady pressure rather than forcing it — stripping those screw heads is the number one mistake I see that turns a straightforward job into a parts-sourcing headache. Keep the replacement clasp and bracket aligned before tightening any fasteners, because tightening them out of alignment will pre-stress the new clasp, leading to another repair sooner than you’d like.
Completely clear the door-in-door compartment by removing all food items, shelves, and door bins. This reduces weight and gives you unobstructed access to the clasp mechanism. Open the main refrigerator door fully and ensure you have adequate lighting in the work area.
Step 2: Document Current Configuration
Take detailed photos of the clasp mechanism from various angles before disassembly. Pay close attention to spring orientation, mounting screw placements, and any adjustment markings. This documentation will be invaluable during reassembly.
Step 3: Open and Support the Door-in-Door Panel
Open the door-in-door panel to its maximum extension (usually 90-100 degrees). Have your assistant support the panel weight while you work. The clasp mechanism is located either at the top center of the door (for French door models) or on the right edge (for side-by-side models).
Step 4: Remove the Clasp Cover
Most LG InstaView models feature a decorative plastic cover that conceals the clasp mechanism. Find the small tabs or clips securing this cover — typically, there are two clips on the sides. Gently press these tabs inward while lifting the cover straight up. Some models may require removing a single Phillips screw before the cover can be lifted off.
Step 5: Disconnect the Clasp Assembly
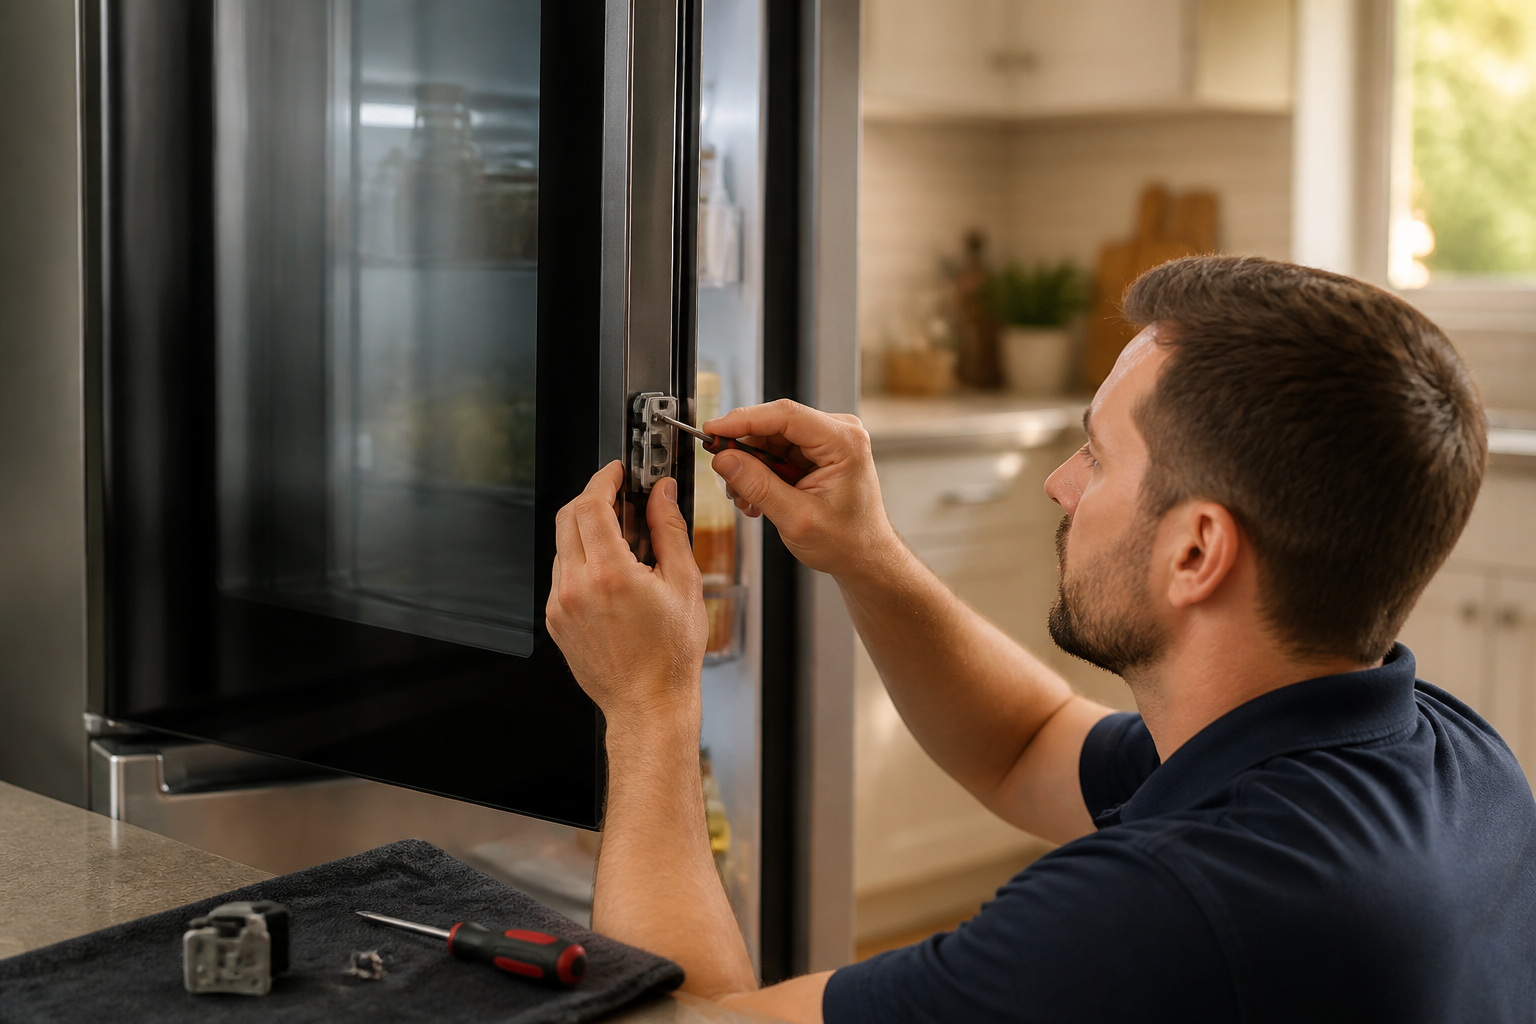
The clasp assembly is connected to the door frame via 2-3 Phillips head screws (usually #2 Phillips). Carefully remove these screws, as they’re often coated with thread-locking compound. Clean any residue off the screw threads with a cloth. The clasp assembly may also have a small wiring harness for LED indicators — disconnect it by gently pulling the connector apart.
Step 6: Remove the Old Clasp
With the mounting screws removed, the old clasp assembly should lift straight out of its housing. If you encounter resistance, check for additional clips or catches holding the assembly in place. Take note of the orientation of any springs or moving parts before fully removing it.
Step 7: Prepare the New Clasp
Unpack the replacement clasp assembly and compare it directly with the old part to confirm proper fit. Some replacement kits may include updated spring mechanisms or reinforced mounting points. Apply a small amount of white lithium grease to any pivot points as specified in the installation instructions.
Step 8: Install the New Clasp Assembly
Position the new clasp assembly in the mounting location, ensuring it aligns correctly with the door frame. Thread the mounting screws by hand initially to prevent cross-threading. Tighten screws to 15-20 inch-pounds using a torque-limiting screwdriver if you have one. Avoid over-tightening, as it can crack the plastic housing.
Step 9: Reconnect Electrical Components
If your model includes LED indicators or electronic latching, reconnect the small wiring harness. Ensure the connector clicks securely into place and that no wires are pinched or strained during door operation.
Step 10: Test and Adjust Alignment
Slowly close the door-in-door panel while observing the clasp engagement. The mechanism should engage smoothly with an audible click approximately 1/4 inch before the door reaches full closure. If adjustments are needed, most clasps have slotted mounting holes that allow for 2-3mm of positioning adjustment.
Step 11: Final Testing
Operate the door through several open/close cycles to verify proper functionality. Check for consistent engagement, proper sealing around the door gasket, and smooth operation without binding. Replace the decorative cover and any removed shelving.
When the Issue is the Hinge Rather Than the Clasp
Sometimes, door alignment problems stem from worn hinges rather than clasp failure. Symptoms associated with hinge issues include:
- Door panel sagging or sitting lower than normal.
- Visible gaps at the top or bottom of the door when closed.
- Grinding or squeaking sounds during door operation.
- Excessive play or looseness in the door panel.
The door-in-door hinges are located at the bottom of the panel and consist of a pivot pin assembly (part AED73174301 for most models). Replacing the hinges follows a similar procedure but typically requires complete door removal and may need spring tension adjustment. Due to the precise calibration required for proper door alignment, this repair generally necessitates professional service.
Temporary Fixes While Waiting for Parts
If replacement parts are delayed, consider these temporary solutions to restore basic functionality:
- Magnetic strips: Apply thin magnetic tape along the door edge to provide additional holding force.
- Adjustment shimming: Use thin plastic washers behind the clasp mounting points to enhance engagement.
- Spring reinforcement: Carefully stretch existing springs slightly to increase tension (note the risk of breakage).
- External latch: Install a small cabinet latch on the door exterior as a backup securing method.
Remember, these solutions are temporary and may affect the door’s appearance or warranty coverage. Be sure to order proper replacement parts as soon as possible for a permanent repair.
Frequently Asked Questions
How long does a door clasp replacement take?
A complete door clasp replacement usually takes about 45-60 minutes for those with experience. First-time repairs might require up to 90 minutes, especially if door alignment adjustments are necessary. Most of the time is spent on careful disassembly and testing rather than the actual part replacement.
Why do LG InstaView door clasps fail so frequently?
The door-in-door mechanism experiences significantly more operating cycles than traditional refrigerator doors — often 10-15 times daily compared to just 3-5 for main doors. The plastic clasp components undergo repeated stress, and the spring mechanisms lose tension over time. Additionally, the heavy glass panel creates substantial leverage forces on the clasp assembly during operation.
Can I prevent future clasp failures?
Absolutely! Several maintenance practices can extend clasp life: avoid slamming the door closed, ensure the door isn’t overloaded with heavy items, clean the clasp mechanism monthly with a damp cloth, and address alignment issues promptly to avoid uneven wear. Annual lubrication of pivot points with white lithium grease also helps prevent premature wear.
Is this repair covered under LG’s warranty?
Door clasp failures are typically covered under LG’s standard parts warranty for the first year, and some extended warranties may cover this repair for up to 5 years. However, warranty coverage requires professional installation. DIY repairs could void your warranty, so check your warranty status before proceeding with self-repair.
What if the new clasp doesn’t align properly?
Misalignment often results from an incorrect installation sequence or worn door hinges. First, verify that the clasp is mounted in the exact position as the original using your reference photos. If alignment issues persist, check the condition of the door hinges and adjust the clasp position using the slotted mounting holes. Severe misalignment may indicate that hinges need replacement.
Can I upgrade to a more durable clasp mechanism?
Yes, LG has issued updated clasp assemblies for some models that address early failure problems. These updated parts (usually identified by a different final digit in the part number) feature reinforced mounting points and improved spring mechanisms. Contact LG customer service with your model number to see if an upgraded clasp assembly is available for your specific refrigerator.
When to Call a Professional
Most of the repairs in this guide are manageable for a careful DIYer with basic tools. However, if you notice any spiderwebbing, chips, or stress cracks radiating from the clasp mounting point on the glass panel — not just the clasp or bracket — stop immediately and call a certified technician. That glass is under tension, and handling it without proper support equipment poses a serious injury risk. When in doubt, a diagnostic service call typically costs $80–$120 and can save you from a misdiagnosis that could end up costing more in parts.
Recommended Parts & Tools
LG Refrigerator Door Hinge and Clasp Assembly Kit
This OEM replacement kit includes the door clasp mechanism and associated hardware specifically designed for LG InstaView refrigerators. The kit ensures proper alignment and secure closure of your glass door panel.
TEKTON 3/8-Inch Drive Socket and Ratchet Set
You’ll need various socket sizes to remove the door panel and access the clasp assembly bolts. This comprehensive set includes both metric and standard sizes commonly used in appliance repairs.
Weiman Stainless Steel Cleaner and Polish
After completing the repair, you’ll want to clean fingerprints and restore shine to your InstaView glass door. This streak-free formula is safe for both stainless steel surfaces and glass panels.
The Clasp Assembly That Stops the Glass Door Rattle on InstaView Models
Once you’ve confirmed that the clasp itself is cracked or the mounting bracket has pulled away from the inner liner, ordering the right assembly kit saves you from the trial-and-error of sourcing individual components that might not fit together. This is the part that actually stops the loose-door symptom most owners complain about.
What works
- Comes with both the clasp and the mounting bracket, so you’re not guessing which piece actually failed — you’re replacing the whole assembly and eliminating the diagnosis error.
- The bracket sits flush against the inner door liner without shimming or bending, which is critical because a gap here is what causes the clasp to wear out prematurely in the first place.
- Installation takes about 10 minutes once you’ve removed the inner glass panel — no special tools beyond a basic socket set, and the fasteners are standard enough that you won’t strip them.
What doesn’t
- If your door frame itself is bent or cracked, this clasp assembly won’t fix alignment issues — you’ll need the whole door panel, which is a much bigger job.
- Some sellers list this kit as compatible with a wider range of InstaView models than it actually fits; always cross-reference your serial number with LG’s parts breakdown before ordering to avoid a return.
I’ve seen people order just the clasp thinking they could save money, only to find out the bracket was corroded and couldn’t be reused — ordering the full assembly kit the second time around cost them extra in shipping and a week of waiting. Skip that frustration and grab the LG Refrigerator Door Hinge and Clasp Assembly Kit from the start.
About This Article

Written by Dave Holt. Dave Holt has been taking apart and fixing household appliances since he was a teenager who couldn't leave a broken one alone. Eighteen years later, after fixing things for neighbors, friends, and anyone who'd let him, he's seen almost every failure mode there is. When he writes a repair guide here, it's based on the actual job, not a manufacturer overview. More about this site.
Scope and limits. Dave is a self-taught repairer, not a certified appliance technician. Unplug before you open anything, and leave sealed refrigeration systems, gas connections, and hardwired circuits to a qualified technician.