Samsung RS27T5200SR Ice Maker Freezing Up – Complete Repair Guide
If your Samsung RS27T5200SR side-by-side refrigerator is having trouble with its ice maker freezing up, you’re not alone. This issue is typically caused by a failing defrost system, frozen water lines, or malfunctioning temperature sensors. You might notice ice buildup around the ice maker assembly, a decrease in ice production, or even a complete shutdown of the unit. The most common culprits include a faulty defrost heater, a blocked defrost drain, a malfunctioning temperature sensor, or inadequate air circulation in the freezer compartment. I rate this repair as MODERATE difficulty, requiring some basic electrical knowledge and safe access to internal components. Most homeowners with a bit of DIY experience should be able to complete this job in about 2-3 hours.
Symptoms
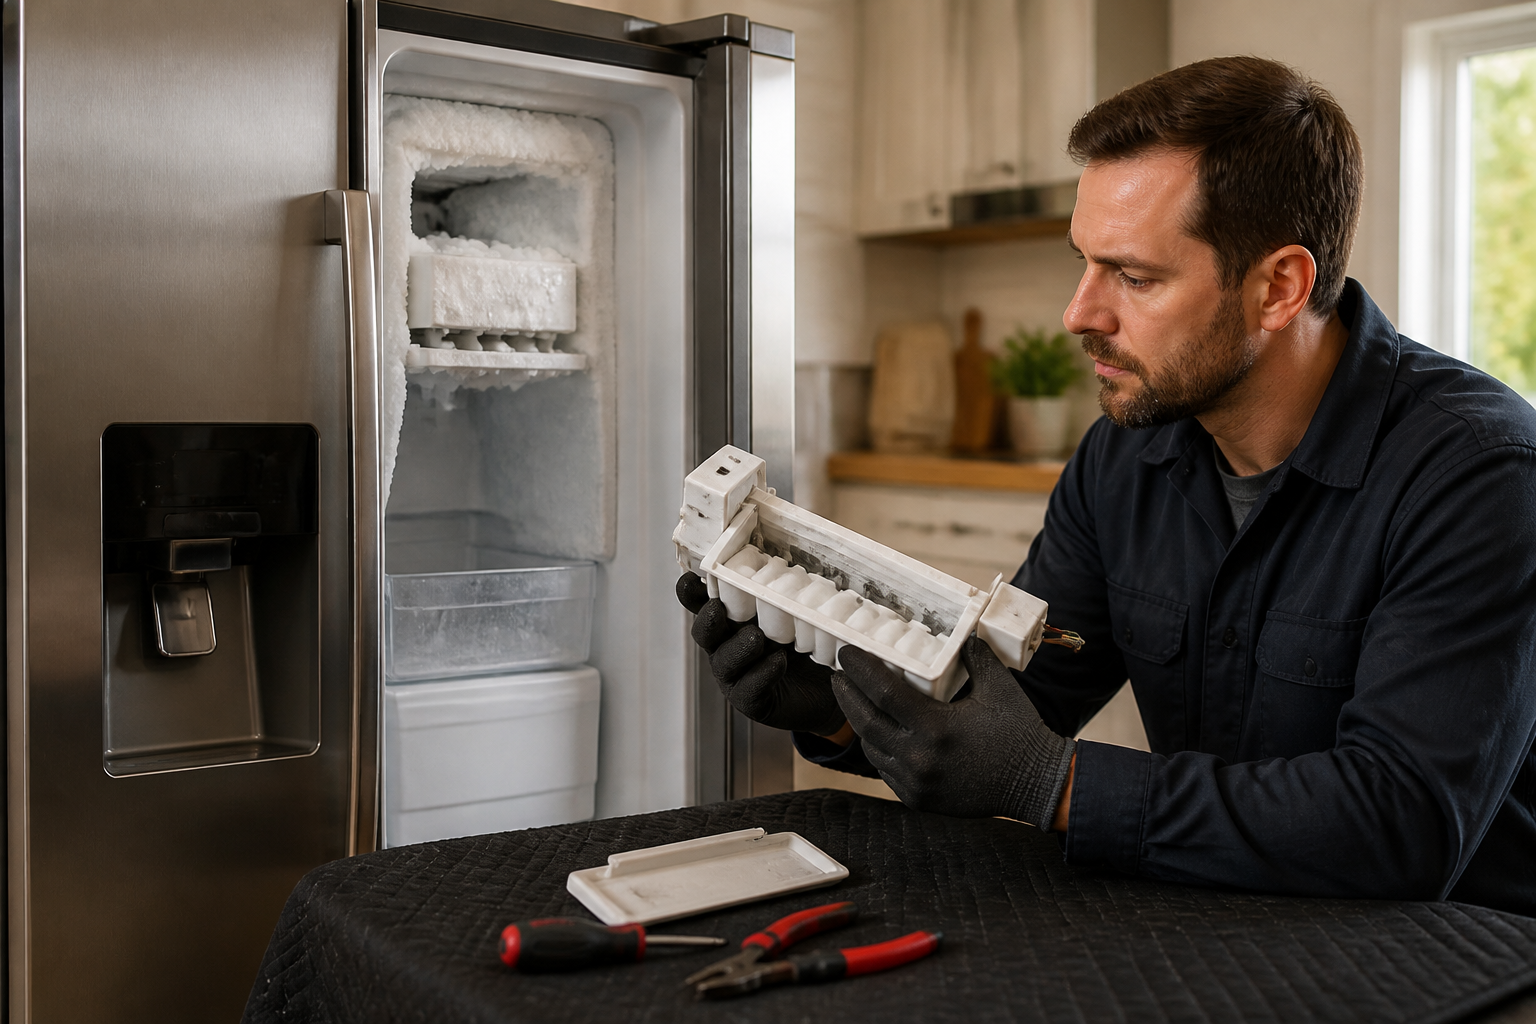
- Thick ice buildup around the ice maker assembly and surrounding freezer walls
- Ice maker producing hollow, malformed, or cloudy ice cubes instead of clear, solid cubes
- Complete cessation of ice production with error codes displaying on the Samsung RS27T5200SR control panel
- Unusual clicking, grinding, or humming noises coming from the ice maker during harvest cycles
- Water dripping or pooling beneath the ice maker assembly onto freezer shelves
- Ice maker arm or wire bail arm frozen in place and unable to move freely during operation cycles
⚠️ Safety Warning
Before you start any repair on your Samsung RS27T5200SR, make sure to disconnect electrical power at the circuit breaker and unplug the unit from the wall outlet. This refrigerator runs on 115V AC power and has potentially dangerous electrical components. Turn off the water supply line to avoid flooding while you’re working. Remember, this unit weighs around 280 pounds, so ensure you have adequate support when moving or tilting it for access. Always wear safety glasses and insulated gloves when dealing with electrical connections. Allow the refrigerator to warm slightly before starting to prevent cold burns from frozen components. Never attempt repairs while the unit is energized, as the ice maker contains both electrical and water connections that can lead to electrocution.
Parts Needed
- Ice maker defrost heater assembly (Samsung part number DA47-00139A or DA47-00055A for RS27T5200SR)
- Temperature sensor/thermistor (Samsung part number DA32-00008A, 10K ohm resistance)
- Ice maker module assembly (Samsung part number DA97-15217A if complete replacement needed)
- Defrost drain tube and grommet kit (Samsung part number DA61-03176A)
- Water inlet valve solenoid (Samsung part number DA62-03078A, 120V AC rated)
- Ice maker wiring harness (Samsung part number DA39-00006A if damaged during diagnosis)
Tools Required
- Digital multimeter with temperature probe capability for electrical testing
- Phillips head screwdriver set (#1 and #2 sizes for panel removal)
- Flathead screwdriver (1/4-inch width) for prying connectors and clips
- Needle-nose pliers for handling small connectors and wire terminals
- Hair dryer or heat gun for safely melting ice buildup during disassembly
- Flashlight or headlamp for illuminating tight spaces behind ice maker assembly
- Insulated work gloves and safety glasses for electrical component protection
Step-by-Step Instructions
Step 1: Power Down and Access Preparation
🔨 Pro Tip from Dave
One common pitfall, even for seasoned DIYers, is that the ice maker thermistor can read normal on a basic multimeter test at room temperature, but it may fail intermittently under freezing conditions. If your other components check out, try freezing the thermistor in a glass of ice water for 10 minutes before testing it; this will help catch failures that a dry bench test will miss. Also, always reseat the wire harness connector on the ice maker module before ordering parts. Corrosion on those pins can cause phantom sensor faults that mimic hardware failures.
First, disconnect power to your Samsung RS27T5200SR at the circuit breaker and unplug it. Remove all items from the freezer compartment and freezer door bins. Locate the ice maker shut-off switch on the left freezer wall and set it to the OFF position. Use a hair dryer on a low heat setting to carefully melt any visible ice buildup around the ice maker assembly, working from the edges toward the center. Lift straight up to remove the ice bin.
Step 2: Remove Ice Maker Assembly
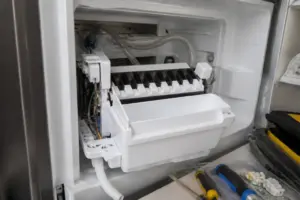
Find the two Phillips head screws securing the ice maker to the left freezer wall, located about 2 inches from the top and bottom of the unit. Remove these screws completely and set them aside. Gently pull the ice maker assembly forward about 3 inches to access the electrical connections behind. Disconnect the white 6-pin wiring harness connector by pressing the release tab and pulling it straight out. Disconnect the blue water line by pressing the collet fitting and pulling the tube free.
Step 3: Inspect Defrost Heater Element
With the ice maker removed, locate the defrost heater element mounted along the bottom rear of the ice maker housing. This appears as a metal tube about 8 inches long with two wire terminals. Using your multimeter set to resistance mode, check for continuity across the heater terminals. A functional defrost heater should read between 300-500 ohms resistance. If you get an infinite resistance reading (OL), the heater element has failed and needs replacing.
Step 4: Test Temperature Sensor
Locate the temperature sensor (thermistor) attached to the ice maker evaporator coil; it looks like a small black component with two wire leads. Disconnect the sensor and test its resistance with your multimeter. At room temperature (around 70°F), the thermistor should read about 10,000 ohms. At freezing temperature (32°F), the resistance should increase to around 16,000 ohms. If your readings fall outside these parameters, it’s time to replace the sensor.
Step 5: Examine Water Inlet Valve
Access the water inlet valve by removing the lower rear panel of the Samsung RS27T5200SR using a Phillips screwdriver to take out six screws around the panel perimeter. The inlet valve is located on the bottom left, connected to both the water supply line and internal tubing. Test the valve solenoids with your multimeter set to resistance mode. Each solenoid should read between 200-500 ohms resistance. Look for mineral buildup or debris in the valve seat.
Step 6: Check Defrost Drain System
Find the defrost drain tube running from beneath the ice maker assembly down to the drain pan. This tube needs to be clear and free of obstructions. Remove it from its grommet and inspect for any ice blockages or debris buildup. Flush the tube with warm water to ensure proper drainage. Also, check that the drain grommet in the freezer floor is seated correctly and isn’t allowing air leaks that could cause freezing.
Step 7: Replace Faulty Components
To install a new defrost heater, remove the two mounting clips holding the old element and slide out the heater tube. Insert the new heater, making sure it aligns properly with the mounting brackets. Connect the new wiring terminals, ensuring they are secure. If you’re replacing the temperature sensor, mount it in the same location against the evaporator coil using the provided clip, ensuring good thermal contact with the metal surface.
Step 8: Reassemble Ice Maker System
Reconnect the water line to the ice maker by inserting the blue tube into the quick-connect fitting until it clicks into place. Reconnect the 6-pin electrical harness, ensuring the connector locks securely. Slide the ice maker assembly back into position, aligning the mounting holes with the freezer wall brackets. Secure it with the two Phillips head screws, tightening them snugly without over-tightening.
Step 9: Restore Power and Test Operation
Replace the rear access panel on the Samsung RS27T5200SR and secure it with all six screws. Reconnect the electrical power and turn the ice maker switch back to the ON position. You should hear the ice maker begin its initialization cycle within 5 minutes, indicated by motor sounds and arm movement. Monitor it for 24 hours to ensure proper ice production without any refreezing issues.
Troubleshooting
- If the ice maker continues freezing up after replacing the heater, check the freezer temperature setting — it should be maintained between 0°F to 5°F for proper operation.
- Persistent water leaks may indicate improper defrost drain installation or a damaged drain pan, which might require a complete drain system replacement.
- If the ice maker produces small or hollow cubes, you could have water pressure issues — verify that your home water pressure meets the 20-120 PSI requirement for the Samsung RS27T5200SR.
- Intermittent freezing problems may suggest control board issues that require a professional diagnosis of the main refrigerator control module.
- If new components test fine but symptoms persist, inspect the freezer door seals for air leaks that could cause temperature fluctuations.
- Unusual noises after repair may indicate improper ice maker mounting or misaligned drive components that need readjustment.
When to Call a Professional
- Refrigerant system issues indicated by a complete loss of cooling in the freezer compartment during ice maker operation.
- Main control board replacement needed when multiple error codes appear simultaneously on the Samsung RS27T5200SR display panel.
- Electrical problems involving the main wiring harness or 115V power supply connections that require certified appliance technician expertise.
- Warranty considerations for Samsung RS27T5200SR units still under manufacturer coverage where DIY repairs may void warranty protection.
When to Call a Professional
Most of the repairs in this guide are definitely within reach for a careful DIYer with basic tools. In my experience, once you find active frost buildup extending beyond the ice maker assembly and into the back evaporator cover, or if you’ve replaced the heater and thermistor and the unit freezes up again within two weeks, you’re almost certainly dealing with a sealed system restriction or a failing main control board — both of which require refrigerant handling certification and manufacturer-level diagnostic tools that go beyond a standard DIY repair. When in doubt, a diagnostic service call typically costs $80–$120 and can save you from a misdiagnosis that ends up costing more in parts.
Recommended Parts & Tools
Samsung DA97-15217D Refrigerator Ice Maker Assembly
This genuine Samsung ice maker assembly is the complete replacement unit for the RS27T5200SR model when the ice maker is repeatedly freezing up due to internal component failure. Compatible with multiple Samsung side-by-side refrigerator models including the RS27T series.
Samsung Water Filter Wrench Tool Set
This specialized tool set helps safely remove and install components during ice maker repairs on Samsung refrigerators. Essential for accessing water lines and filter connections that may be contributing to freezing issues in the RS27T5200SR ice maker system.
The Ice Maker Assembly That Actually Stops the Freeze-Up Cycle on Your RS27T5200SR
When I’ve confirmed that the defrost heater or water inlet valve is the cause, swapping out the entire ice maker assembly is usually quicker and more reliable than trying to pinpoint individual component failures — this OEM-matched unit will restore your freezer’s ice production without the uncertainty of partial repairs.
What works
- Direct fit on the RS27T5200SR with no adapter hassles — the connector and mounting points align exactly as OEM spec intends.
- Comes with the defrost heater pre-installed, so you’re not buying the assembly and then discovering you still need a separate heater part halfway through the job.
- Eliminates the recurring freeze-up issue permanently because you’re replacing the entire thermal loop, not just one worn component masking another problem underneath.
What doesn’t
- More expensive upfront than replacing just the heater or valve separately — but I’ve learned the hard way that partial fixes on this model tend to fail again within 6 months.
- Requires you to drain residual water from the old assembly before uninstalling, which adds 10 minutes to the job if you’re not prepared with a small towel.
I made the mistake when I was starting out of ordering just the defrost heater, thinking that was the solution — but when the new heater still left ice buildup, I realized the water inlet valve was also failing and had been masking the real issue all along.That’s when I switched to replacing the entire assembly on these units, and they stopped coming back apart. Get the Samsung DA97-15217D Refrigerator Ice Maker Assembly and you’ll avoid that frustration.
About This Article

Written by Dave Holt. Dave Holt has been taking apart and fixing household appliances since he was a teenager who couldn't leave a broken one alone. Eighteen years later, after fixing things for neighbors, friends, and anyone who'd let him, he's seen almost every failure mode there is. When he writes a repair guide here, it's based on the actual job, not a manufacturer overview. More about this site.
Scope and limits. Dave is a self-taught repairer, not a certified appliance technician. Unplug before you open anything, and leave sealed refrigeration systems, gas connections, and hardwired circuits to a qualified technician.