Ice Maker Freezing Over Repair – Samsung RF28T5001SR French Door Refrigerator
As an appliance repair tech, I often encounter ice maker freeze-over issues in the Samsung RF28T5001SR French door refrigerator. This problem arises when excess moisture accumulates and freezes around the ice maker assembly, preventing normal ice production and dispensing. The root causes typically include air leaks in the ice maker compartment, faulty door seals, improper water flow regulation, or temperature control malfunctions. The repair difficulty is rated as MODERATE, requiring basic electrical testing skills and access to components behind panels. Most homeowners with DIY experience can complete this repair in 2-3 hours with the right tools and a bit of patience.
Symptoms
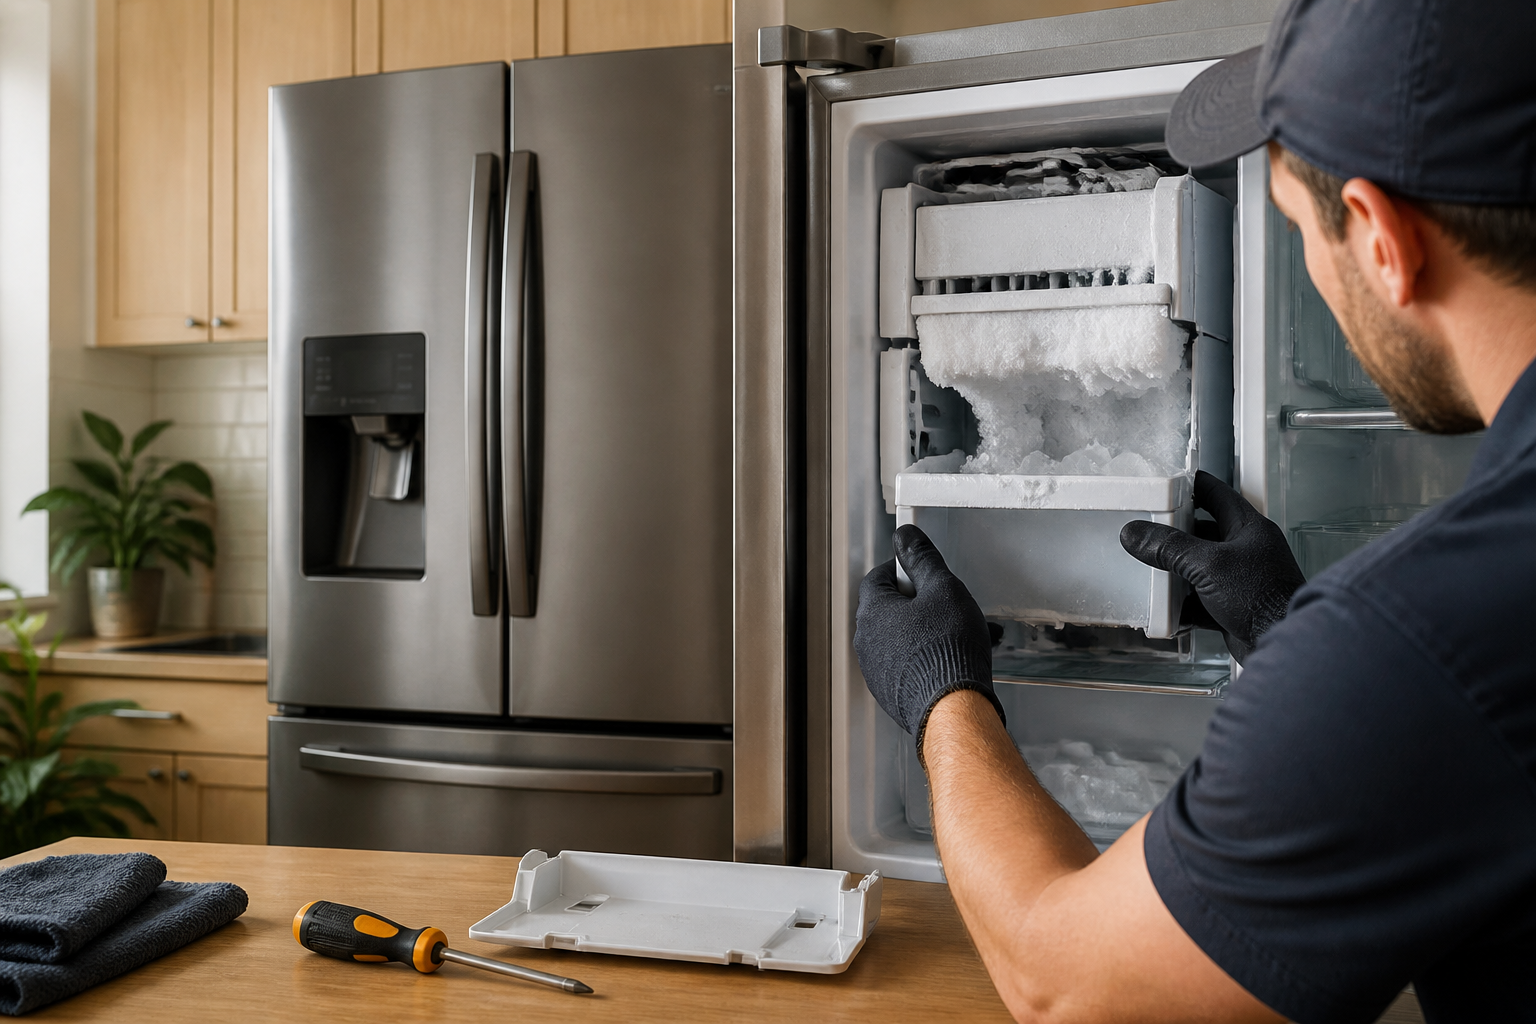
- Thick ice buildup around the ice maker auger motor and housing assembly
- Ice cubes stuck together in solid frozen masses that cannot be dispensed
- Grinding or straining noises from the ice maker when attempting to cycle
- Water dripping from the ice maker compartment onto the freezer floor
- Ice dispenser chute completely blocked with frozen ice chunks
- Frost accumulation on the ice maker’s internal sensors and wiring harnesses
⚠️ Safety Warning
Before starting any repair work on your Samsung RF28T5001SR, be sure to disconnect the refrigerator from electrical power by unplugging it from the wall outlet. Working on electrical components while the unit is energized poses serious risks. Remember, this model operates on 115V AC power, which can cause serious injury or death. Additionally, the refrigerator weighs about 285 pounds, so if you need to move it, you’ll want two people to do so safely. When handling water lines, keep towels handy as residual water pressure may lead to spills. Don’t forget to wear safety glasses when removing ice buildup to protect your eyes from flying ice chips. Allow at least 4 hours for the ice maker to completely defrost before beginning disassembly.
Parts Needed
- Ice Maker Assembly – Samsung Part #DA97-15217A (if internal components are damaged)
- Water Inlet Valve – Samsung Part #DA62-03078A (if water flow is irregular)
- Ice Room Door Gasket – Samsung Part #DA63-06665A (for sealing air leaks)
- Temperature Sensor Assembly – Samsung Part #DA32-00028A (if temperature regulation fails)
- Ice Dispenser Chute Assembly – Samsung Part #DA97-13654A (if chute is cracked)
- Freezer Door Gasket Lower Section – Samsung Part #DA63-04317A (if the main door seal is compromised)
Tools Required
- Phillips head screwdriver set (sizes #1 and #2)
- Flathead screwdriver (1/4 inch blade width)
- Digital multimeter with temperature probe function
- Needle-nose pliers with insulated handles
- Hair dryer or heat gun for ice removal
- Shop towels and absorbent cloths
- Flashlight or headlamp for interior visibility
Step-by-Step Instructions
Step 1: Power Down and Access Ice Maker
🔨 Pro Tip from Dave
One thing that trips up even experienced DIYers on this model: after you defrost the ice maker compartment and reassemble everything, Samsung’s control board needs a full 24 hours to re-learn the ice maker cycle. So don’t panic if you’re not seeing ice right away — I often see people tear the unit apart again, thinking they made a mistake when the fix was actually successful. Also, avoid using a heat gun or open flame to speed up the defrost; the plastic housing can warp at surprisingly low temperatures, which guarantees the freeze-over will return within weeks.
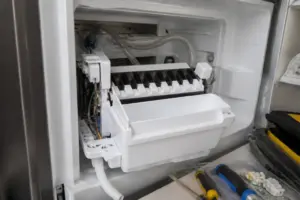
Start by unplugging your Samsung RF28T5001SR from the wall outlet and allowing 4-6 hours for complete defrosting. Remove all ice and food items from the freezer compartment. The ice maker assembly is located in the upper left corner of the freezer section. Remove the ice bucket by lifting the wire bail handle and pulling straight out. You’ll see the ice maker mounted with four Phillips screws, positioned 2 inches from the top edge and 1.5 inches from the left wall.
Step 2: Remove Ice Maker Assembly
Disconnect the wiring harness located behind the ice maker by pressing the white plastic tab and pulling apart the connector. This harness has a 6-wire bundle with white, blue, red, black, yellow, and green wires. Remove the four Phillips screws securing the ice maker bracket to the freezer wall — two screws are positioned 8 inches apart horizontally at the top, and two are positioned identically at the bottom, 6 inches below the top screws. Carefully pull the ice maker forward about 3 inches to access the water line connection.
Step 3: Inspect Water Line Connection
Examine the blue plastic water line connection at the back of the ice maker assembly. This 1/4-inch diameter line should have a secure compression fitting with no visible cracks or loose connections. If water has been leaking from this connection, it will lead to freeze-over issues. The water pressure should be regulated between 20-120 PSI for the Samsung RF28T5001SR ice maker system to operate correctly.
Step 4: Test Ice Maker Motor and Sensors
Using your multimeter, test the ice maker motor windings by connecting probes to the motor terminals (accessible after removing the rear cover plate). You should see normal resistance between 200-400 ohms. Test the thermistor sensor on the left side of the ice maker by measuring resistance—it should read about 16,000 ohms at 0°F. The optical sensor above the ice chute should show continuity when unblocked and no continuity when an object blocks the infrared beam.
Step 5: Examine Ice Room Door and Gasket
Inspect the small door sealing the ice maker compartment from the main freezer area. This door, located directly below the ice maker assembly, should close completely flush against its frame. The rubber gasket around this door’s perimeter must be intact, with no tears, gaps, or hardened areas. Any air leaks here will allow humid air into the ice maker compartment, leading to freeze-over conditions in the Samsung RF28T5001SR.
Step 6: Check Freezer Temperature Regulation
Place your multimeter’s temperature probe inside the ice maker compartment and monitor temperature readings over a 30-minute period. The Samsung RF28T5001SR ice maker should maintain a consistent temperature between -5°F and 5°F for optimal operation. Fluctuations greater than 10 degrees indicate a failing temperature sensor or control board malfunction, which requires component replacement.
Step 7: Inspect Water Inlet Valve
Remove the cardboard cover behind the refrigerator’s lower rear panel to access the water inlet valve. This brass-colored component has two solenoid coils and connects to both the water line and the ice maker supply tube. Check for mineral deposits, corrosion, or debris that could disrupt water flow. The valve should open and close completely without sticking, and the solenoid coils should measure 200-500 ohms resistance when tested with your multimeter.
Step 8: Clean and Lubricate Ice Maker Components
Using warm water and mild detergent, thoroughly clean all ice maker components, including the auger, housing, and sensor areas. Remove any mineral deposits or ice residue that could interfere with proper operation. Apply a thin coating of food-grade silicone lubricant to the auger shaft and motor coupling. Ensure all components move freely without binding or excessive resistance.
Step 9: Replace Damaged Gaskets and Seals
If your inspection reveals damaged door gaskets or seals, replace them with genuine Samsung parts. The ice room door gasket installs by stretching over the door’s perimeter groove and should fit snugly without gaps. The main freezer door gasket attaches with plastic retaining clips positioned every 4 inches along the inner edge of the door frame on the Samsung RF28T5001SR.
Step 10: Reassemble and Test Operation
Reconnect all wiring harnesses, ensuring the proper connection of the 6-wire bundle to the ice maker. Reinstall the ice maker assembly using the four original Phillips screws, tightening them snugly but not overtight to avoid cracking the plastic mounting brackets. Reconnect the water line, ensuring the compression fitting is properly seated. Plug in your Samsung RF28T5001SR and allow 24 hours for initial ice production before evaluating repair success.
Troubleshooting
- If freeze-over persists after repair, check the main freezer temperature setting, which should be 0°F for the Samsung RF28T5001SR.
- Continued ice clumping may indicate excessive humidity in your home environment, requiring a dehumidifier near the refrigerator.
- Grinding noises during ice maker operation suggest the auger motor is failing and requires replacement with Samsung part #DA97-15217A.
- No ice production after 48 hours indicates a possible control board failure requiring professional diagnosis.
- Water leaking onto the freezer floor suggests the water inlet valve needs replacement or the water pressure is too high.
- Frequent cycling of the ice maker without producing ice indicates sensor malfunctions requiring individual component testing and replacement.
When to Call a Professional
- If electrical testing reveals control board malfunctions requiring specialized diagnostic equipment beyond basic multimeter capabilities.
- When refrigerant system issues are suspected, as these require EPA certification and specialized tools for proper repair.
- If structural damage to the freezer compartment or ice maker mounting area requires welding or major reconstruction.
- When warranty coverage is still active on your Samsung RF28T5001SR, as DIY repairs may void manufacturer protection.
When to Call a Professional
Most of the repairs in this guide are within reach for a careful DIYer with basic tools. In my experience, if you find standing water inside the ice maker compartment, notice corrosion or heat damage on the wiring harness connector, or your temperature diagnostics indicate the compartment isn’t staying below 0°F even after a full defrost, you’re likely dealing with a control board or sealed-system issue. This goes beyond a safe DIY repair and needs a certified technician with the right diagnostic tools. When in doubt, a diagnostic service call typically costs $80–$120 and can save you from a misdiagnosis that costs more in parts.
Recommended Parts & Tools
Samsung DA97-17376B Ice Maker Assembly
This genuine Samsung ice maker assembly is compatible with the RF28T5001SR and many other Samsung French door refrigerator models. If your ice maker is continuously freezing over due to internal component failure, replacing the entire assembly often resolves persistent icing issues.
Samsung DA82-02016A Refrigerator Ice Chute Door and Flap Assembly
The ice chute door and flap assembly controls airflow between the ice maker compartment and the main refrigerator, preventing warm air infiltration that can cause freeze-over conditions. This genuine Samsung part fits the RF28T5001SR model and helps maintain proper temperature regulation in the ice maker area.
The Ice Maker Assembly That Actually Fixes Freeze-Over on the RF28T5001SR
If you’ve ruled out a bad door gasket and the freeze-over persists, or if the ice maker is completely stuck with ice buildup, the assembly itself has likely failed. This is the exact OEM part that handles water delivery and ice ejection on your model. Ordering the right assembly saves you from guessing with cheaper aftermarket knock-offs that don’t seal properly.
What works
- Drop-in fit with no modifications needed — connector plugs line up exactly where they should on the RF28T5001SR, so you’re not forcing anything or drilling new mounting holes.
- OEM water inlet valve and ejector arm are sealed properly, so you actually get consistent water flow and ice ejection without the refreezing that happens when aftermarket parts have looser tolerances.
- Comes with the correct thermistor and fill tube — I’ve seen DIYers try to reuse these from old assemblies and end up right back where they started with freeze-over problems.
What doesn’t
- You still have to remove the freezer shelf and pull the whole ice maker bucket out, which takes time and the compartment gets cold fast — have a towel ready for any residual water.
- It’s not the cheapest solution upfront, but it beats ordering a knockoff assembly, having it fail in 6 months, and doing the whole job twice.
I’ve made the mistake of ordering a cheaper third-party assembly first thinking I’d save $40, only to have it leak and cause the same freeze-over problem within weeks. Now I always go straight to OEM on this model. If your ice maker assembly is the culprit, Samsung DA97-17376B Ice Maker Assembly is the part that will actually solve it.
About This Article

Written by Dave Holt. Dave Holt has been taking apart and fixing household appliances since he was a teenager who couldn't leave a broken one alone. Eighteen years later, after fixing things for neighbors, friends, and anyone who'd let him, he's seen almost every failure mode there is. When he writes a repair guide here, it's based on the actual job, not a manufacturer overview. More about this site.
Scope and limits. Dave is a self-taught repairer, not a certified appliance technician. Unplug before you open anything, and leave sealed refrigeration systems, gas connections, and hardwired circuits to a qualified technician.