
Ice Maker Water Leak Repair for Samsung RF28T5001SR French Door Refrigerator
Ice maker water leaks in the Samsung RF28T5001SR are commonly caused by failed water line connections, damaged water inlet valves, or compromised ice maker assemblies. This French door refrigerator model features a built-in ice maker located in the upper left freezer compartment, which relies on precise water flow control to function properly. When water leaks occur, they typically originate from loose fittings behind the refrigerator, cracked water lines within the freezer compartment, or a malfunctioning ice maker fill cup assembly. This repair is rated as MODERATE difficulty, requiring basic plumbing skills and the ability to access components behind and inside the Samsung RF28T5001SR unit.
Symptoms
- Water pooling beneath the Samsung RF28T5001SR, particularly near the left rear corner where the water line enters
- Ice maker producing hollow, small, or malformed ice cubes due to insufficient water fill
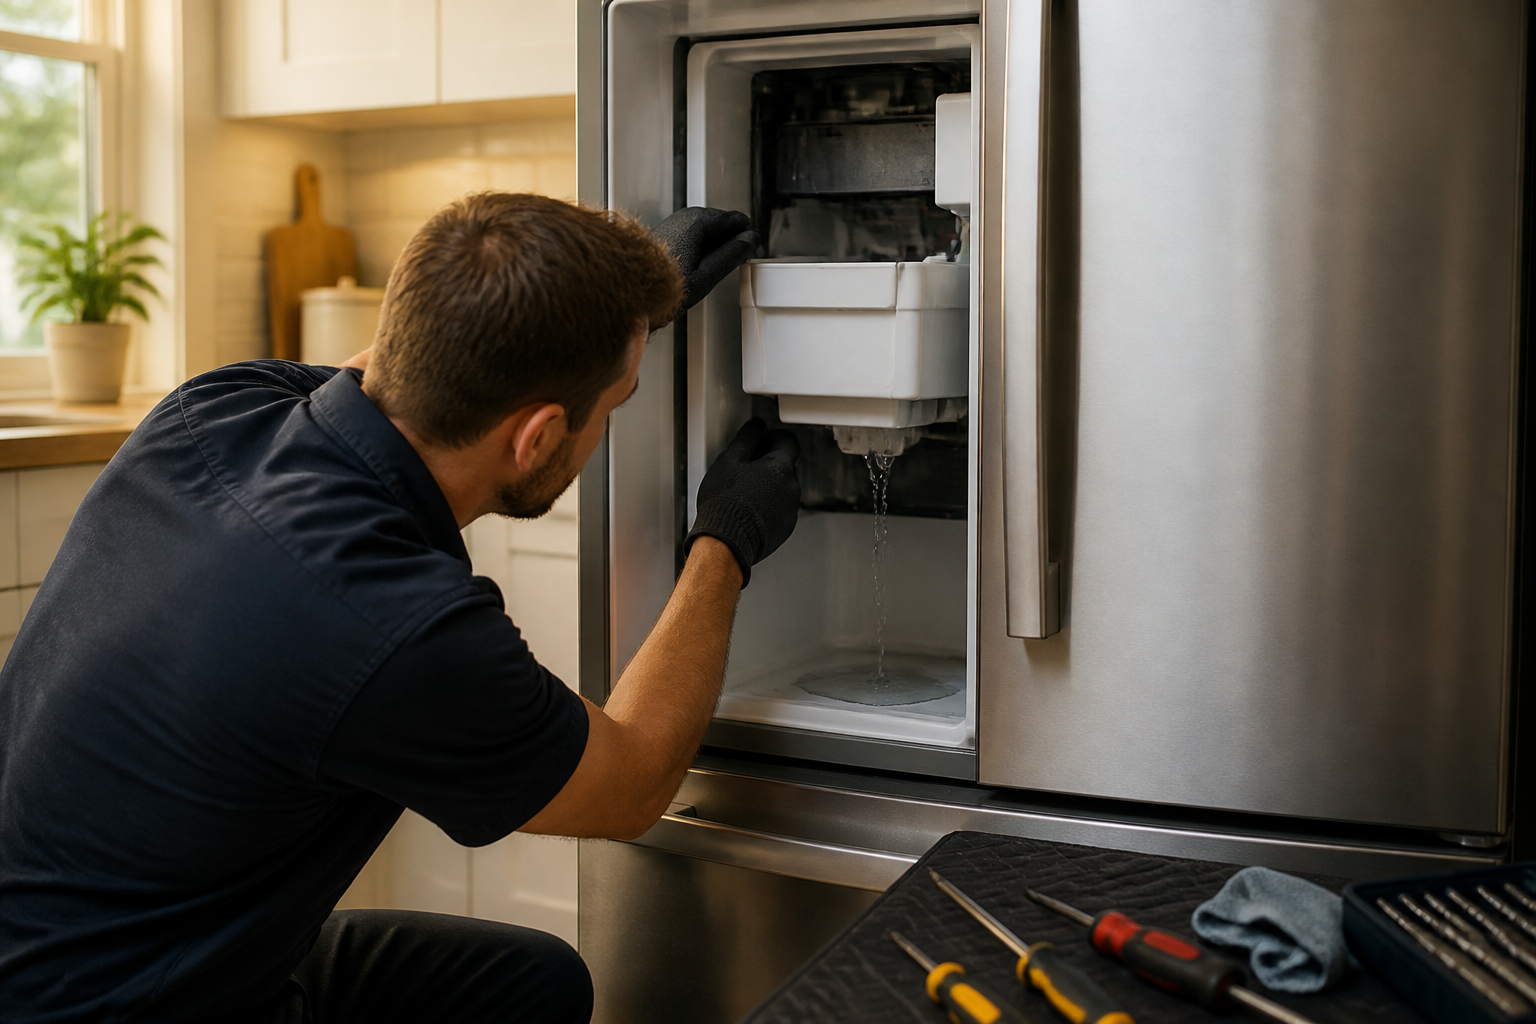
- Visible water dripping from the ice maker assembly when the freezer door is opened
- Water stains or ice buildup on the left freezer wall behind the ice maker unit
- Gurgling or hissing sounds from the water line area during ice maker fill cycles
- Error code “OF OF” or ice maker completely stopping ice production
⚠️ Safety Warning
Before beginning any repair work on the Samsung RF28T5001SR, disconnect electrical power at the circuit breaker and unplug the unit from the wall outlet. Turn off the water supply valve located behind the refrigerator or at the nearest shut-off point. This refrigerator weighs approximately 297 pounds when empty, so use proper lifting techniques and have an assistant when moving the unit. Wear safety glasses when working with water lines under pressure. Be aware that residual water pressure may remain in the lines even after shutting off the main supply. Allow the ice maker to complete any active cycle before beginning work to prevent water spillage.
Parts Needed
- Samsung Water Inlet Valve Assembly – Part Number DA62-01477A (specific to RF28T5001SR)
- Ice Maker Water Line Kit – Part Number DA97-06177A (includes 1/4″ OD tubing and compression fittings)
- Ice Maker Fill Cup Assembly – Part Number DA97-11092A
- Water Filter Head O-Ring Set – Part Number DA61-06485A
- Compression fitting kit with 1/4″ brass fittings rated for refrigerant-grade tubing
- Teflon pipe thread sealant tape (white, 1/2″ width)
Tools Required
- Phillips head screwdriver (magnetic tip recommended)
- Adjustable wrench set (8mm to 15mm)
- Digital multimeter with continuity testing capability
- Flashlight or LED work light
- Needle-nose pliers with insulated handles
- Tubing cutter designed for 1/4″ plastic tubing
- Appliance dolly or furniture sliders for moving the Samsung RF28T5001SR
Step-by-Step Instructions
Step 1: Prepare the Samsung RF28T5001SR for Service
🔨 Pro Tip from Dave
On the RF28T5001SR specifically, always check the ice maker fill tube heater before assuming the fill cup or valve is bad — Samsung uses a small resistance heater to keep that tube from freezing, and when it fails, ice builds up inside the tube, backs up water, and mimics a valve or connection leak almost perfectly. Pull the fill tube and run your finger along the inside; if you feel ice blockage, you’ve found your real culprit and saved yourself the cost of parts you don’t need.
Disconnect power to the Samsung RF28T5001SR and turn off the water supply valve. Remove all items from the freezer and refrigerator compartments. Locate the water shut-off valve approximately 3 feet behind the unit at floor level, typically connected to a copper or plastic supply line. Use an adjustable wrench to turn the valve clockwise until fully closed. Pull the refrigerator forward approximately 24 inches to access the rear panel, using furniture sliders to protect the flooring.
Step 2: Remove the Lower Rear Access Panel
Locate the lower rear access panel on the Samsung RF28T5001SR, positioned approximately 8 inches from the bottom of the unit. Remove four Phillips head screws securing this panel – two screws on each side spaced 6 inches apart vertically. Set the panel aside to expose the water inlet valve, compressor area, and water line routing. The water inlet valve will be visible as a blue or black plastic component with electrical connections on the right side of this compartment.
Step 3: Inspect the Water Inlet Valve Assembly
Examine the water inlet valve (part DA62-01477A) for visible cracks, corrosion, or loose connections. This dual-solenoid valve controls water flow to both the ice maker and water dispenser in the Samsung RF28T5001SR. Check the two water line connections – the inlet connection from the home water supply and the outlet connection leading to the ice maker. Look for mineral deposits or water stains indicating previous leakage. Disconnect the electrical harness by pressing the plastic tab and pulling straight out.
Step 4: Test the Water Inlet Valve Electrically
Using your digital multimeter, test the continuity of both solenoids in the water inlet valve. Set the multimeter to the resistance (ohms) setting and touch the probes to the solenoid terminals. The ice maker solenoid should read between 200-500 ohms, while the water dispenser solenoid should show similar resistance. If either reading shows infinite resistance (open circuit) or zero resistance (short circuit), the valve assembly requires replacement.
Step 5: Disconnect and Replace Water Lines
Using adjustable wrenches, carefully disconnect the water lines from the inlet valve. The compression fittings require a 1/2-inch wrench on the valve connection and a 5/8-inch wrench on the compression nut. Turn counterclockwise to loosen, allowing any residual water to drain into a shallow pan. Inspect the existing tubing for cracks or kinks. Cut new tubing sections 2 inches longer than the original lengths to allow for fresh compression fitting installation.
Step 6: Access the Ice Maker Assembly
Open the Samsung RF28T5001SR freezer door and locate the ice maker assembly in the upper left corner. Remove the ice bin by lifting the front edge and pulling straight out. Locate three Phillips head screws securing the ice maker to the freezer wall – one at the top center and two at the bottom corners. Remove these screws and carefully pull the ice maker assembly forward to access the water line connection and fill cup assembly at the rear.
Step 7: Inspect and Replace the Fill Cup Assembly
Examine the white plastic fill cup assembly (part DA97-11092A) located at the rear of the ice maker. This component directs water into the ice mold and commonly cracks due to temperature cycling. Look for hairline cracks or mineral buildup that could cause water misdirection. Disconnect the water line using needle-nose pliers to compress the spring clamp. Install the new fill cup by reversing the removal process, ensuring the water line seats fully into the compression fitting.
Step 8: Install the New Water Inlet Valve
Position the new water inlet valve (DA62-01477A) in the mounting location and secure with the original screws. Apply Teflon tape to the threaded connections in a clockwise direction, wrapping 3-4 times around each thread. Connect the inlet water line first, tightening the compression fitting hand-tight plus 1/4 turn with the wrench. Repeat for the outlet line connection, ensuring proper alignment to prevent stress on the tubing.
Step 9: Route and Secure New Water Lines
Route the new water line from the inlet valve through the existing clips and guides within the Samsung RF28T5001SR cabinet. The line should follow the left side of the refrigerator compartment, passing through the partition wall approximately 18 inches from the floor level. Secure the tubing every 12 inches using the plastic clips to prevent vibration and wear. Ensure adequate service loop near the ice maker connection to accommodate normal door operation.
Step 10: Reconnect Electrical Components
Reconnect the electrical harness to the new water inlet valve, ensuring the connector clicks securely into place. Reinstall the ice maker assembly in the Samsung RF28T5001SR freezer compartment, aligning the mounting holes with the original screw locations. Tighten the three Phillips head screws to secure the assembly, but avoid overtightening which could crack the plastic mounting tabs.
Step 11: Restore Water and Power Supply
Turn on the water supply valve slowly to pressurize the system gradually. Check all connection points for leaks before replacing the rear access panel. Restore electrical power to the Samsung RF28T5001SR and allow the unit to stabilize for 30 minutes before testing ice maker operation. The initial fill cycle should begin automatically within 2-3 hours of power restoration.
Step 12: Test and Calibrate Ice Maker Function
Activate the ice maker test mode by pressing and holding the test button located on the ice maker for 5 seconds until you hear a chime. The Samsung RF28T5001SR ice maker will begin a test cycle, filling with water and advancing through the complete ice-making process. Monitor for proper water fill levels and verify that no leaks occur during the 6-minute test cycle. Replace the ice bin and verify normal operation over the next 24 hours.
Troubleshooting
- If water continues to leak after valve replacement, check the compression fittings for proper tightening and ensure Teflon tape was applied correctly to all threaded connections
- When the ice maker fails to fill with water, verify that the water filter is not clogged and that water pressure at the inlet valve measures between 20-120 PSI
- If ice cubes appear cloudy or malformed, the fill cup assembly may not be properly aligned or the water line connection could have air bubbles requiring system purging
- Intermittent leaking that occurs only during ice production cycles indicates a potential issue with the ice maker solenoid valve timing or electronic control board malfunction
- When water leaks from multiple locations simultaneously, inspect the main water supply connection for excessive pressure or inadequate pressure regulation
- If the Samsung RF28T5001SR displays error codes after repair completion, perform a factory reset by unplugging the unit for 24 hours before reconnecting power
When to Call a Professional
- Water leaks originate from the sealed refrigeration system components or involve refrigerant lines that require EPA certification to service
- Electrical issues involve the main control board or require 120V circuit modifications beyond basic component replacement
- Structural damage to the Samsung RF28T5001SR cabinet or internal walls requires specialized repair techniques and replacement parts
- Multiple system failures occur simultaneously, indicating potential manufacturing defects that may be covered under warranty provisions
When to Call a Professional
Most of the repairs in this guide are within reach for a careful DIYer with basic tools. In my experience, if you’ve cleared a frozen fill tube, replaced the inlet valve, and reseated the ice maker assembly but the leak returns within a week, it’s time to call a certified technician — at that point you’re likely dealing with an intermittent control board fault cycling the valve incorrectly, and diagnosing that without a service multimeter and Samsung’s live diagnostic mode can send you chasing your tail through expensive unnecessary parts. When in doubt, a diagnostic service call typically costs $80–$120 and can save you from a misdiagnosis that costs more in parts.
Recommended Parts & Tools
Samsung DA97-17376B Ice Maker Assembly
This is the complete ice maker assembly replacement for Samsung refrigerators including the RF28T5001SR model. If your ice maker is leaking water due to cracked internal components or damaged seals, replacing the entire assembly is often the most effective solution. This OEM part ensures perfect compatibility with your Samsung French door refrigerator. Check current pricing on Amazon.
Samsung DA97-08006A Water Filter Housing Assembly
Water leaks in Samsung ice makers can often be traced to faulty water line connections or cracked filter housing. This water filter housing assembly is compatible with the RF28T5001SR and includes the necessary seals and connections that commonly fail and cause leaks. Replacing this component can resolve water leakage issues originating from the water supply system to your ice maker. Check current pricing on Amazon.


