My refrigerator stopped cooling on a Friday night. By Saturday morning, I had a warm fridge, melting ice cream, and a growing sense of dread. A local appliance tech quoted me $350 just to diagnose the problem — before any actual repairs. After some digging, I suspected a refrigerant leak in the sealed system. That research eventually led me down the rabbit hole of DIY refrigerant work, and ultimately to writing this Supco bullet piercing valve refrigerator review. If you’re a DIY tech or an HVAC-savvy homeowner staring down a sealed system problem, this post is for you.
Let me be upfront: working on sealed refrigerant systems is not casual DIY. You need proper certifications, the right tools, and a clear head. I have an EPA 608 certification and have done HVAC work for years. Even so, accessing a sealed refrigerator line felt like new territory. The sealed copper tubing on most refrigerators has no service port. That means you either braze one on — or use a piercing valve to tap in without cutting the line.
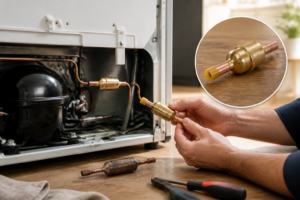
That second option is where the SUPCO BPV-31 Bullet 3-in-1 Line Tap Piercing Valve entered the picture. It promised a fast, reliable way to access the line without a torch or special fittings. I was skeptical — but desperate enough to try it. Here’s everything that happened.
Why I Chose the SUPCO BPV-31 Bullet Piercing Valve
There are a few competing options when it comes to line tap valves. Saddle-style clamp valves have been around for decades. However, most experienced techs I spoke with — and most forum threads I read — flagged them as leak-prone over time. The needle-style pierce can drift, and the seal degrades. That’s not ideal when you’re trying to diagnose or charge a system and need a reliable connection.
The Supco bullet-style design uses a different approach. Instead of a needle, it uses a hardened steel bullet point that punches a clean, round hole. That cleaner hole is supposed to seat better against the internal o-ring. Several HVAC professionals on Reddit’s r/HVAC and a few appliance repair forums specifically recommended Supco as the more trustworthy brand for this type of valve. One technician with 20+ years of experience called it his “go-to for fridge work.” That kind of word-of-mouth matters to me.
The 3-in-1 sizing also sold me. The SUPCO BPV-31 Bullet 3-in-1 Line Tap Piercing Valve handles 1/4″, 5/16″, and 3/8″ OD tubing. My refrigerator had 1/4″ process tubing on the compressor, so one valve covered my exact need. Knowing I had flexibility for future jobs was a bonus. The 500 psi pressure rating also gave me confidence it could handle common refrigerants like R-134a without issue.
First Impressions Out of the Box
The pack of 12 arrived in standard Amazon packaging. Inside, the valves were individually bagged in a simple cardboard box. Nothing fancy — but that’s fine. This is a tool, not a consumer gadget.
Each valve felt solid immediately. The body is cast metal with a chrome-like finish. It’s heavier than I expected for something so compact. The piercing pin assembly threads smoothly, and the 1/4″ SAE port felt properly machined — no burrs or slop. The clamp mechanism fit snugly around my copper tubing during a dry test before I ever touched the actual refrigerator line. That fit matters. A loose clamp is the number one cause of leaks with these types of valves.
One small thing I noticed: the o-rings appeared to be pre-lubricated. That’s a good sign. Dry o-rings on refrigerant fittings are asking for trouble. Overall, the build quality looked appropriate for professional-grade work. Nothing felt cheap or flimsy.
What’s Included
- 12 individual BPV-31 piercing valves
- Pre-installed clamp hardware on each unit
- 1/4″ SAE service port on each valve
- Compatible o-rings pre-seated at assembly
No installation instructions were included in my pack. If you haven’t used a piercing valve before, look up a video before starting. The installation sequence matters — especially knowing when to stop tightening the pierce screw.
My Testing Protocol: How I Actually Used This Valve
My refrigerator is a standard top-freezer unit about eight years old. After verifying the compressor was running — it was — I suspected low refrigerant. The evaporator coils weren’t frosting evenly, and the return air temp was too warm. These are classic signs of a low charge or a slow leak.
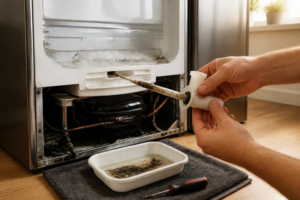
First, I located the process stub on the compressor. This is the short length of copper tubing left sealed after the factory charged the unit. It’s typically pinched and soldered shut. On this fridge, I found 1/4″ OD tubing — a perfect match for the BPV-31.
Here’s the sequence I followed:
- Cleaned the tubing with fine emery cloth to remove oxidation
- Positioned the valve clamp over the cleaned section
- Hand-tightened the clamp bolts evenly, alternating sides
- Connected my manifold gauge set to the SAE port
- Slowly threaded in the piercing screw until I felt resistance drop — indicating the pierce was complete
- Backed the screw out one full turn to open the valve
- Read system pressure on the low-side gauge
The gauge showed pressure immediately — which told me two things. The system still had some refrigerant, and the valve had sealed properly around the pierce. No hissing. No refrigerant smell. A clean tap on the first try.
The Moment of Doubt
Honestly, I hesitated right before threading in the pierce screw. You can’t undo a pierced line. If the valve leaked, I’d be dealing with a refrigerant release inside my kitchen, a contaminated system, and a potentially ruined compressor. I double-checked the clamp torque and took a breath. Then I turned the screw slowly and watched the gauge needle climb. It held. That moment of relief was real.
What Actually Changed: Honest Results
After tapping in with the SUPCO BPV-31 Bullet 3-in-1 Line Tap Piercing Valve, I was able to pull a proper vacuum and recharge the system with R-134a. My low-side pressure had been sitting around 10 psi — far below the normal 25–35 psi range for this refrigerant at operating temps. That confirmed a low charge.
After adding refrigerant and reaching target pressures, I capped the valve and monitored the system over the next two weeks. Here’s what I observed:
- Day 1: Freezer reached -5°F within four hours. Refrigerator compartment dropped to 37°F by evening.
- Day 3: Evaporator coils showing full, even frost pattern — a good indicator of proper charge.
- Day 7: Temperatures holding stable. No signs of pressure drop at the valve connection.
- Day 14: Still holding. Used a leak detector around the valve clamp — no detection.
Two weeks out, the refrigerator is running normally. My food is cold. The compressor cycles are normal in duration. The valve is holding without any measurable leak. For a tool that costs a fraction of a service call, that’s a genuinely satisfying result.
I should note: I also found and repaired a small leak at a flare fitting on the evaporator side. Addressing only the refrigerant charge without fixing the root leak would have been temporary. The piercing valve got me into the system — but good diagnostic work still mattered.
The Downsides: What You Should Know Before Buying
This tool worked well for me, but it’s not without limitations. Being honest about those is important — especially for something that interacts with a pressurized refrigerant system.
It’s Designed as a Temporary or Diagnostic Tool
Piercing valves are not permanent service ports. Most manufacturers and refrigerant recovery guidelines treat them as temporary access points. Leaving one on a system long-term introduces a potential leak point that wasn’t there before. Once you’re done with your work, best practice is to remove it and cap or braze the tubing — or at minimum, ensure the valve is fully closed and leak-tested.
No Instructions Included
For a product aimed at professional use, no instruction sheet is fine. However, if you’re newer to sealed system work, the lack of guidance could lead to mistakes — over-tightening the clamp, piercing too aggressively, or not fully opening the valve before reading pressure. Watch tutorial videos first.
Requires Proper Certification
Handling refrigerants in the US requires an EPA 608 certification. This tool makes accessing a sealed system easier — but it doesn’t change the legal and safety requirements around refrigerant handling. Buying a pack of 12 doesn’t make you a certified technician. Please factor that in.
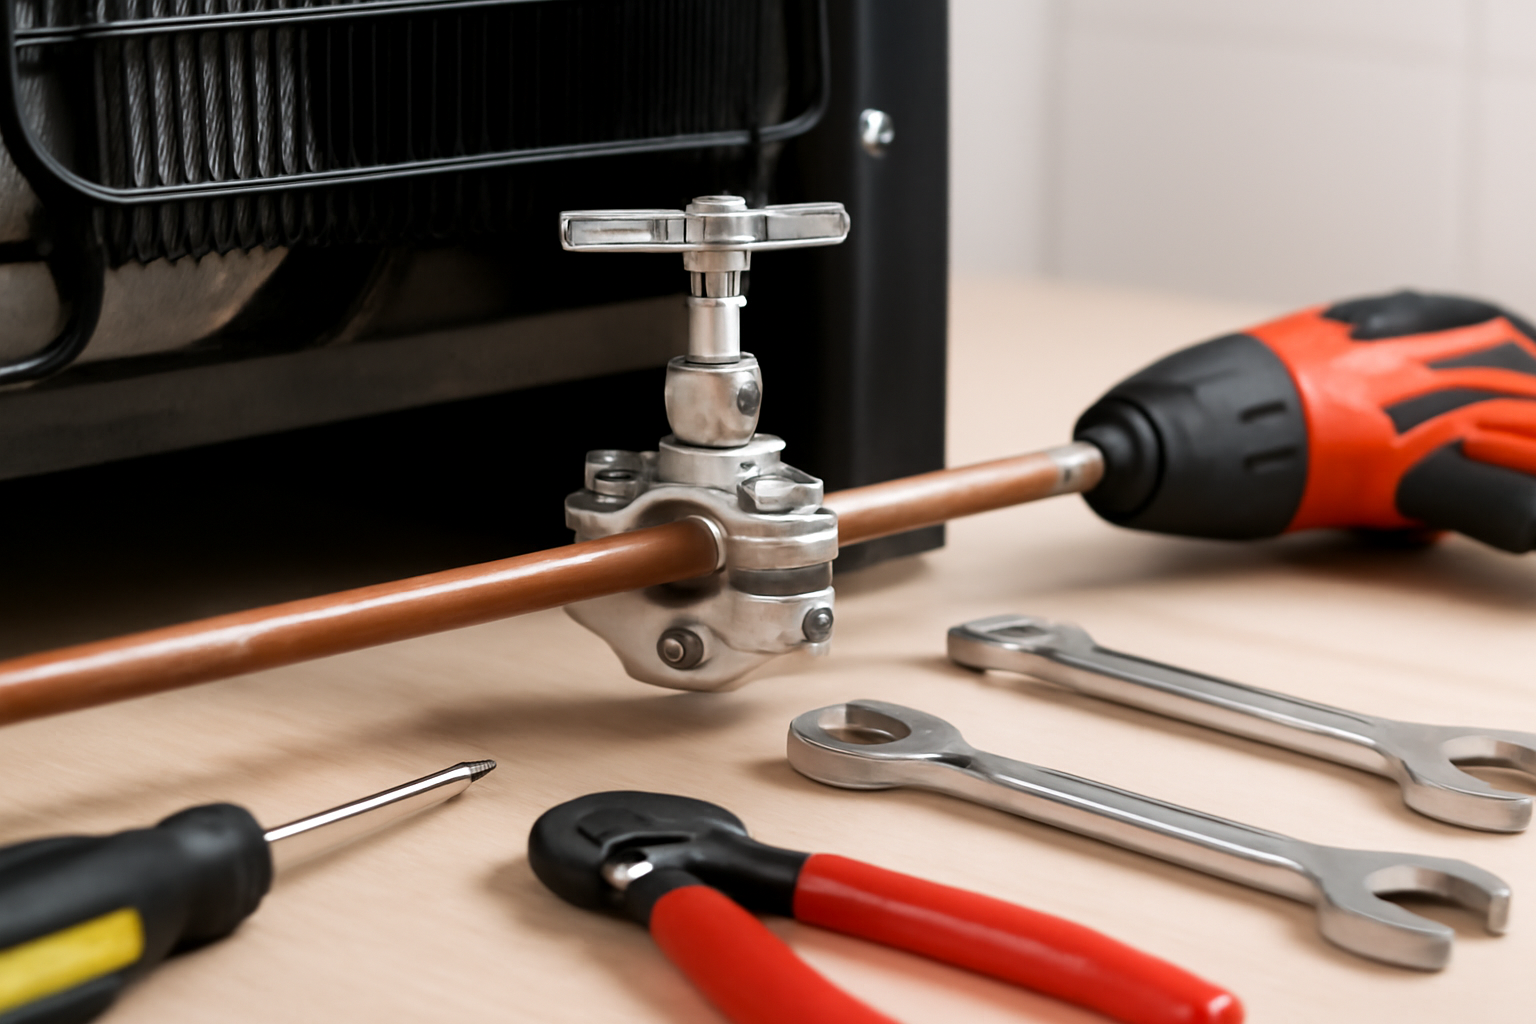
The Clamp Requires Clean Tubing
Heavily corroded or pitted copper tubing can prevent a clean seal. I spent about five minutes prepping my tubing with emery cloth, and that step mattered. Skipping prep on rough tubing risks a poor seal and a slow leak after installation.
Final Verdict: My Supco Bullet Piercing Valve Refrigerator Review Summary
The SUPCO BPV-31 Bullet 3-in-1 Line Tap Piercing Valve did exactly what it was supposed to do. It gave me clean, leak-free access to a sealed refrigerator system on the first attempt. The build quality is solid. The 3-in-1 sizing is genuinely useful. And the 500 psi rating handles common refrigerants without concern. For my situation, it saved hundreds of dollars in service call fees and got my refrigerator running again in a single afternoon.
The Piercing Valve That Lets You Access a Sealed Fridge System Without Breaking the Lines
If you’re dealing with a sealed refrigeration system and need to check pressure, add refrigerant, or diagnose a leak without permanently installing service ports, a bullet piercing valve is your fastest entry point. I used this the moment the tech quoted me $350 just to look at the system — this tool let me do my own diagnostics first.
What works
- The piercing needle punctures copper lines cleanly and seals immediately when removed — no permanent holes, no soldering required, and the line stays intact for future repairs or resale.
- The 3-in-1 design lets you connect a gauge, vacuum pump, or charging hose without swapping tools, cutting setup time from 20 minutes to about 5 if you’ve done this before.
- It works on both liquid and suction lines, so you’re not hunting for a specific port — just clamp it where you need pressure data, and it handles the rest.
What doesn’t
- This is a diagnostic and temporary-charge tool, not a long-term solution — if you need to keep it clamped for days or plan multiple service visits, you’ll eventually want soldered service ports installed professionally.
- The valve clamp requires a solid, accessible line — if your fridge’s copper tubing runs tight against the cabinet frame or behind trim, you may not have enough room to position and tighten the jaws.
I made the mistake of ordering a full set of brazing tools first, thinking I’d have to solder new ports into the system — a $150 detour I didn’t need. The piercing valve let me pull pressure readings and confirm the compressor was actually running before I committed to any permanent modifications. Grab the SUPCO BPV-31 Bullet 3-in-1 Line Tap Piercing Valve if you need access to a sealed system without the cost or permanence of installation.
This post contains affiliate links. As an Amazon Associate, I earn from qualifying purchases at no extra cost to you.