
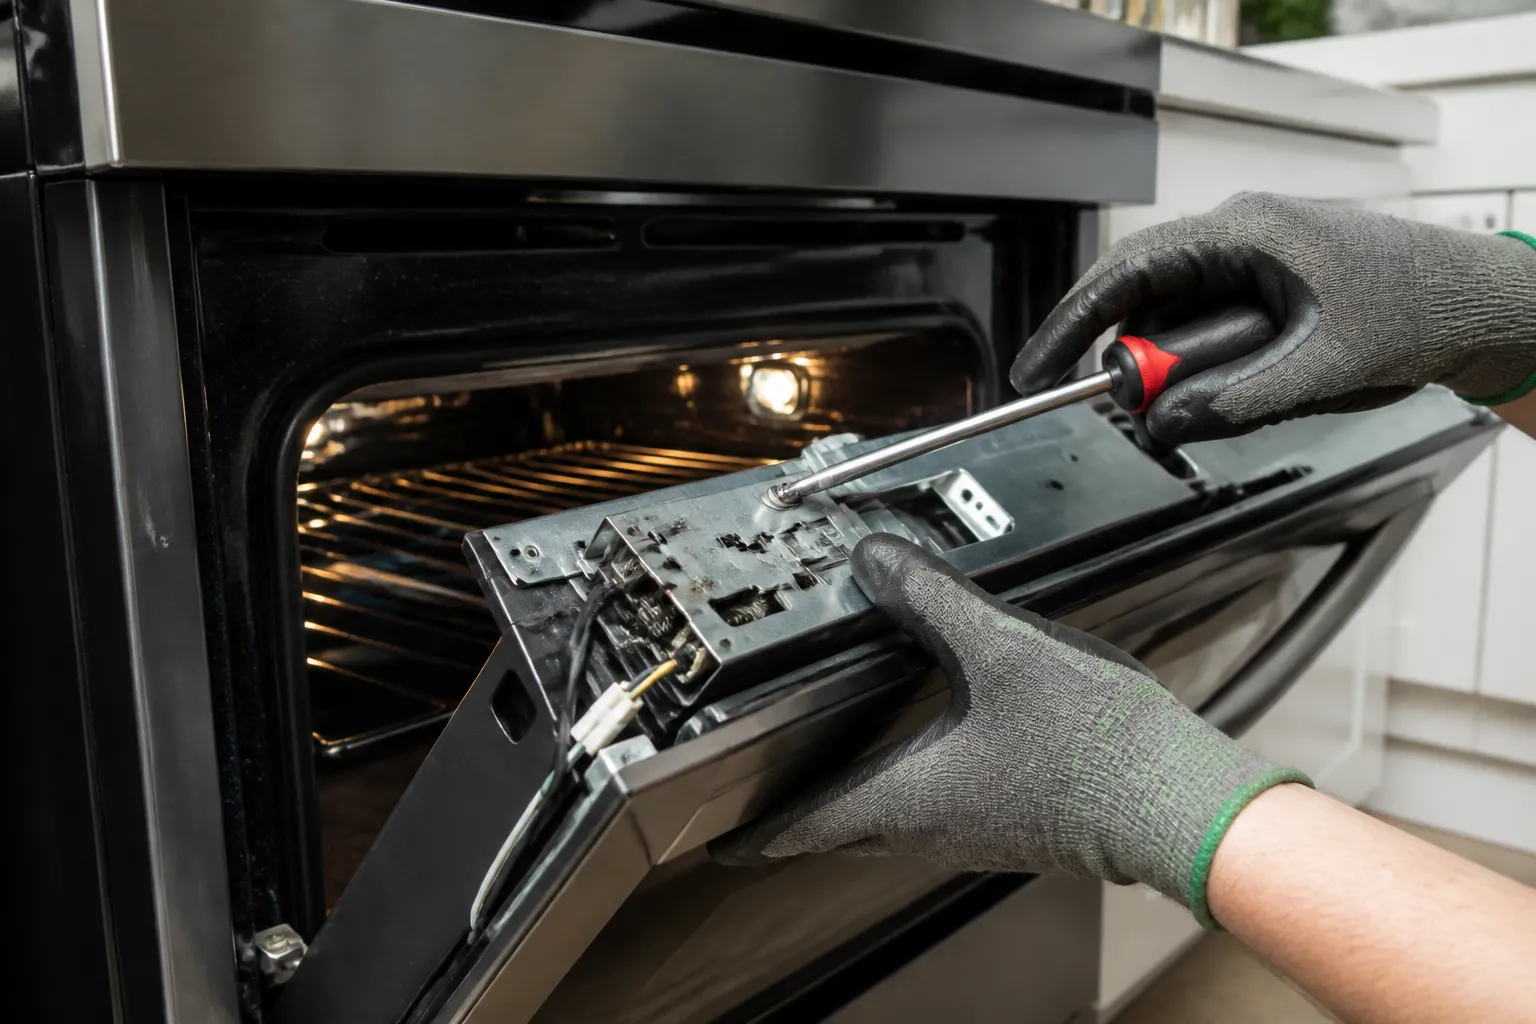
Self-clean door lock stuck
In this guide, I’ll walk you through diagnosing and fixing a self-clean door lock that’s stuck on the LG LRE3061ST electric range. When the door latch gets engaged during or after a self-clean cycle and doesn’t release, your oven becomes completely unusable. Most homeowners with basic mechanical skills can complete this repair in 1 to 2 hours using common hand tools, which can save you a significant amount compared to a professional service call.
Common Symptoms & Causes
A stuck self-clean door lock on the LG LRE3061ST typically presents in several recognizable ways during or after a cleaning cycle.
- Door will not open after the self-clean cycle has completed and the oven has cooled
- Control panel displays a door lock error or “LOC” indicator that won’t clear
- You can hear the latch motor trying to cycle, but the door remains locked
- Self-clean cycle starts, but the door never fully latches, interrupting the cycle
From my hands-on experience, the most common root cause is a failed or thermally warped door latch assembly, although a faulty door lock motor or a burned thermal fuse in the lock circuit can produce similar symptoms.
Safety First
- Unplug the range from the wall outlet or shut off the dedicated 240V breaker before starting any work
- Wear work gloves throughout the repair — interior oven components have sharp metal edges
- Photograph all wiring harness connections before disconnecting anything so you can reassemble correctly
- Work in a well-lit space and allow the oven to cool completely if it was recently used or ran a self-clean cycle
Tools & Parts Needed
Essential Tools
- Phillips head screwdriver (#2)
- Flat-head screwdriver (for prying clips)
- 1/4-inch nut driver or socket set
- Multimeter (for testing continuity on the motor and fuse)
- Needle-nose pliers
Replacement Parts
- LG LRE3061ST Door Latch Assembly (Part #AEJ73945901)
- LG LRE3061ST Door Lock Motor Assembly
- LG LRE3061ST Thermal Fuse (Part #6931EL3003D)
Step-by-Step Repair Instructions
🔨 Pro Tip from Dave
On the LRE3061ST specifically, before you order a new lock motor assembly, unplug the range for a full 5 minutes and then reconnect power. I’ve seen the control board latch the lock relay in a stuck state after a power fluctuation mid-cycle. A hard reset clears it about 20% of the time, potentially saving you the cost of the part. If the lock still won’t release after the reset, check the two-pin connector on the lock motor harness for heat damage before assuming the motor itself is dead, as that connector often sits close to the oven cavity and the pins can corrode or partially melt more frequently than the motor actually fails.
Step 1: Disconnect Power and Access the Rear Panel
First, unplug the range or switch off the 240V breaker. Next, slide the unit away from the wall to access the back panel. Remove the six to eight screws securing this panel and set it aside. This gives you a clear view of the door latch assembly mounted at the top rear of the oven cavity.
Step 2: Manually Release the Latch (Temporary Access)
Locate the door latch arm at the top of the oven interior—it’s a hooked metal rod connected to the lock motor. Using needle-nose pliers, gently slide the latch arm rearward (toward the back of the oven) to disengage it from the door strike. If the arm moves freely and the door opens, the motor is likely the failed component rather than the latch mechanism itself.
Step 3: Remove the Door Latch Assembly
With the rear panel removed, locate the two or three mounting screws securing the door latch assembly to the oven frame and remove them. Disconnect the wiring harness connector—this is where your earlier photograph will come in handy. If the plastic latch housing appears discolored, cracked, or the hook is visibly bent, the entire assembly needs replacing.
Step 4: Test the Door Lock Motor with a Multimeter
Set your multimeter to the resistance (ohms) setting and probe the two terminals on the lock motor connector. A healthy motor should read between 1,000 and 1,500 ohms; an open reading (OL or infinity) indicates the motor winding has failed. If the motor tests good, check the thermal fuse before purchasing a replacement motor.
Step 5: Check the Door Lock Thermal Fuse
The thermal fuse is located on or near the latch assembly housing and is designed to blow if the lock circuit overheats during a self-clean cycle. Test it for continuity—a good fuse reads near zero ohms, while a blown fuse reads open. A blown thermal fuse is simple to replace, but always investigate the reason it failed to prevent it from happening again.
Step 6: Install the Replacement Parts
Mount the new latch assembly or motor in the same orientation as the original and reconnect the wiring harness using your reference photographs. Secure all mounting screws firmly, but avoid overtightening, as the plastic housing can crack. If you replaced only the thermal fuse, ensure no wires are pinched against the oven cavity before reassembly.
Step 7: Reassemble and Test
Replace the rear access panel, slide the range back into position, and restore power. Press the self-clean button briefly to trigger the lock motor and confirm the latch engages and releases cleanly within 30 seconds. If the door locks, unlocks, and the error code disappears, you’ve successfully completed the repair.
How Much Does This Repair Cost?
| Repair route | Typical cost |
|---|---|
| Do it yourself | $25–$85 (parts) |
| Professional repair | $150–$300 (parts and labor) |
Doing this repair yourself typically costs between $25 and $85 in parts, depending on whether you need just a thermal fuse ($10–$20), a door lock motor ($35–$55), or the full latch assembly ($50–$85). A professional appliance technician will charge between $150 and $300 for the same repair once you factor in the service call fee, diagnostic charge, and labor. Tackling it yourself can save you $100 to $200 for a repair that genuinely takes less than two hours.
When to Call a Professional
Most of the repairs in this guide are manageable for a careful DIYer with basic tools. However, if you power up the range after reassembly and the lock motor runs continuously without stopping, or you measure 120V AC at the lock motor connector with the door already unlatched, you’re likely dealing with a control board transmitting a constant signal to the lock relay. That diagnosis and repair require reading wiring schematics, live voltage testing under load, and possibly reflowing or replacing surface-mounted relay components—tasks that go beyond typical DIY repairs. When in doubt, a diagnostic service call typically costs between $80 and $120, which can save you from a misdiagnosis that costs more in parts.
The Door Lock Motor Assembly That Actually Releases After Self-Clean on the LRE3061ST
Once you’ve confirmed the oven cavity is cool and the control board isn’t stuck in a lock cycle, the door lock motor assembly is your most likely culprit—this is what physically retracts the latch after the self-clean routine finishes, and when it fails, no amount of waiting will free that door.
What works
- Direct replacement for the stuck-door symptom on this model; the motor assembly is the component that actually moves the mechanical linkage to unlock, so a failed motor explains why the door won’t budge even after cooling.
- Replacement is straightforward once you remove the door itself—the motor assembly is accessible from the front without pulling the whole range out, saving time on what’s already a frustrating repair.
- OEM-spec assembly means no compatibility guessing; this part goes directly in where the original failed, no adapter or modification needed.
What doesn’t
- If the control board is actually holding the lock signal indefinitely, swapping the motor won’t solve it—you have to rule out that diagnosis first with a multimeter or by testing a known-good control board.
- The assembly is more expensive than simpler components like a thermal fuse, so order confirmation that the motor is actually bad (listen for audible click attempts during lock/unlock cycles) before committing to the part.
I’ve had homeowners order this first without testing for a stuck control board signal, only to find the new motor doesn’t solve the problem. Be sure to grab a multimeter and confirm the board is actually sending the unlock signal before you buy. LG LRE3061ST Door Lock Motor Assembly
About This Article

Written by Dave Holt. Dave Holt has been taking apart and fixing household appliances since he was a teenager who couldn't leave a broken one alone. Eighteen years later, after fixing things for neighbors, friends, and anyone who'd let him, he's seen almost every failure mode there is. When he writes a repair guide here, it's based on the actual job, not a manufacturer overview. More about this site.
Scope and limits. Dave is a self-taught repairer, not a certified appliance technician. Unplug before you open anything, and leave sealed refrigeration systems, gas connections, and hardwired circuits to a qualified technician.



