Not Making Ice
This guide focuses on the common reasons your Frigidaire EFIC189 portable ice maker has stopped producing ice. I’ll walk you through diagnosing and fixing the problem yourself. Most homeowners with basic mechanical skills can complete this repair in 1 to 2 hours using standard household tools, which can save you a significant amount compared to a service call.
Common Symptoms & Causes
The EFIC189 can stop making ice for several reasons — identifying your specific symptom can help narrow down the fix quickly.
- Unit powers on but no ice forms after a full cycle
- Ice maker runs continuously but produces only partial or hollow ice cubes
- The “Add Water” indicator stays lit even when the reservoir is full
- Unit makes noise as if cycling but stops before completing the freeze process
In my experience, the most common root cause is a clogged or malfunctioning water pump that prevents adequate water from reaching the ice tray pins. A faulty water sensor or low ambient temperature can also halt ice production entirely.
Safety First
- Unplug the unit from the wall outlet before opening any panels or touching internal components
- Wear work gloves to protect against sharp metal edges inside the housing
- Photograph all wiring and connector positions before disconnecting anything
- Work in a well-lit space so you can clearly see small components and wire routing
Tools & Parts Needed
Essential Tools
- Phillips head screwdriver (#1 and #2)
- Flathead screwdriver for prying clips
- Needle-nose pliers
- Multimeter for testing continuity and voltage
- Small flashlight or headlamp
Replacement Parts
- Water pump
- Water level sensor
- Control board
Step-by-Step Repair Instructions
🔨 Pro Tip from Dave
On the EFIC189, mineral scale buildup on the evaporator fingers is often worse than it looks from the outside. Even if the unit appears clean, pull the basket and shine a flashlight directly up at the fingers. A thin, invisible scale layer can insulate them enough to prevent proper ice formation and can trick you into chasing an electrical fault that doesn’t exist. Running a full citric acid cleaning cycle before replacing any parts can save you from unnecessary component swaps.
Step 1: Empty and Inspect the Unit
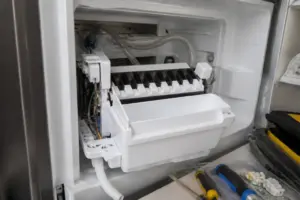
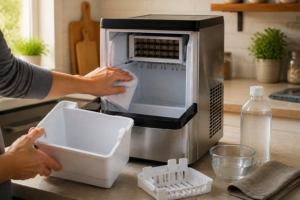
Start by removing the ice basket and draining all water from the reservoir through the drain plug at the bottom rear. Wipe the interior dry and look for visible scale buildup, debris blocking the water inlet, or damage to the ice tray fingers. Heavy mineral deposits are a common culprit and may resolve with a simple cleaning cycle using a 1:1 white vinegar and water solution.
Step 2: Test the Water Pump
Refill the reservoir to the max line, plug in the unit, and start a cycle — listen for the pump to activate within the first 30 seconds. If you hear the compressor hum but notice no water movement, the pump is likely the failed component. Unplug the unit, remove the back panel with your Phillips screwdriver, locate the small submersible pump at the bottom of the reservoir, and use your multimeter to check for continuity across the pump terminals. A reading of OL (open loop) confirms a dead pump.
Step 3: Replace the Water Pump
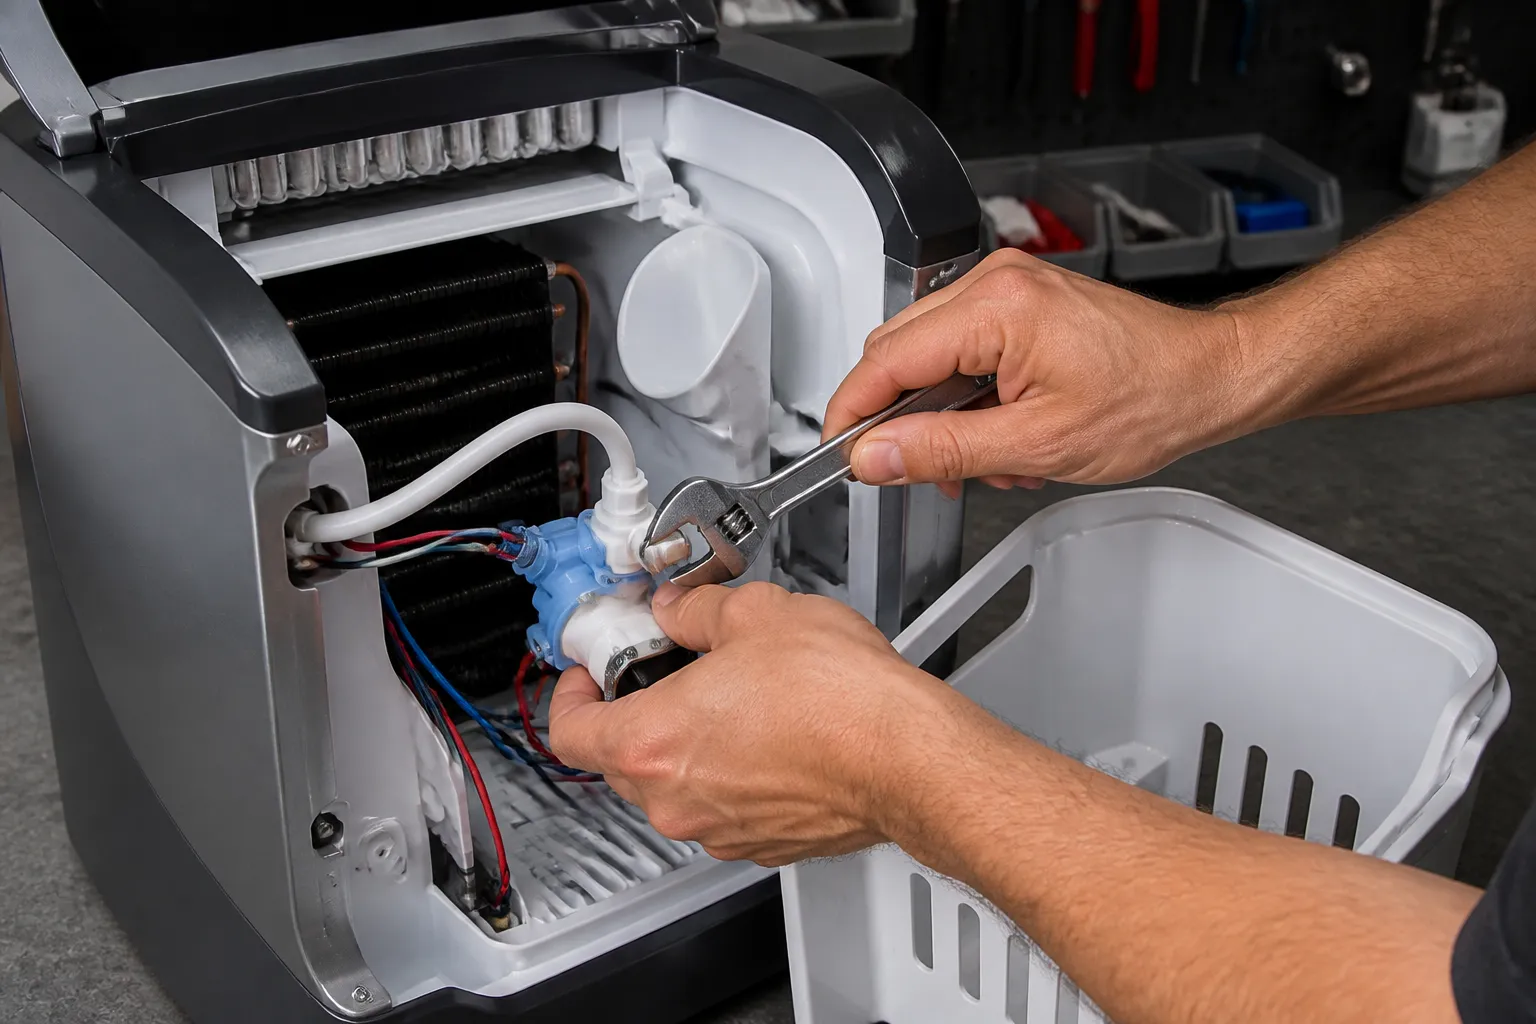
Disconnect the two-wire harness connector from the pump and unclip the rubber mounting bracket holding it to the reservoir floor. Slide the new pump into the bracket, reconnect the harness, and ensure the pump intake faces downward into the water. Restore power briefly to confirm water is now circulating up through the distribution tube before reassembling the panel.
Step 4: Inspect and Test the Water Level Sensor
The water level sensor is a small float or infrared probe mounted on the reservoir wall that tells the control board when there is sufficient water present. If the “Add Water” light stays on when the reservoir is full, remove the sensor, clean any scale off the probe tip with vinegar, and test continuity with your multimeter. If the sensor shows no continuity change when submerged, it should be replaced.
Step 5: Check the Ice Tray and Ejector Mechanism
Manually inspect the bullet-shaped ice tray pins for cracks, bending, or ice jammed around the ejector rod. Rotate the ejector shaft by hand to confirm it moves freely without binding. If it’s seized, apply a small amount of food-safe silicone lubricant and work it free. A broken ejector rod will require replacing the tray assembly.
Step 6: Verify Operating Temperature
The EFIC189 requires an ambient room temperature between 50°F and 90°F to produce ice reliably. Placing the unit in a cold garage or near an air conditioning vent can prevent the refrigeration cycle from completing. Check the room temperature and ensure at least six inches of clearance around all vents. Relocating the unit to a warmer spot often resolves intermittent no-ice complaints without any parts replacement.
Step 7: Reassemble and Run a Test Cycle
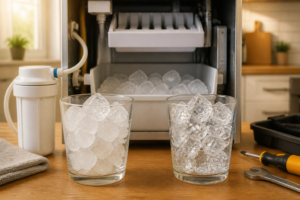
Reinstall the back panel, refill the reservoir with fresh water, and power the unit on to run a full test cycle. Under normal conditions, the first batch of ice should drop within 7 to 15 minutes. If ice still does not form after two complete cycles, the issue may lie with the control board or refrigerant system. Document the symptoms carefully before moving forward.
How Much Does This Repair Cost?
| Repair route | Typical cost |
|---|---|
| Do it yourself | $10–$45 (parts) |
| Professional repair | $150–$300 (parts and labor) |
DIY parts for this repair typically run between $10 and $45, depending on which component has failed. A replacement water pump costs roughly $10 to $18, a water level sensor runs $8 to $15, and a control board ranges from $25 to $45. Compare that to a professional appliance service call, which can cost $150 to $300 once labor and diagnostic fees are included. Tackling this repair yourself can save you anywhere from $100 to $250, and for a portable ice maker that retails around $120, it can mean the difference between a simple fix and having to buy a new unit altogether.
Where to Buy Replacement Parts
Amazon is often one of the most convenient sources for EFIC189 compatible parts with fast shipping. Use these links to find compatible options:
- Frigidaire EFIC189 water pump replacement
- Frigidaire EFIC189 water level sensor replacement
- Frigidaire EFIC189 ice maker control board replacement
When to Call a Professional
Most of the repairs in this guide are manageable for a careful DIYer with basic tools. From my experience, if you’ve cleaned the unit, confirmed water flow, and the compressor is running but the evaporator fingers never get cold to the touch within the first 10 minutes of a cycle, you’re likely facing a refrigerant leak or a failed compressor. At that point, the repair cost on a portable unit this size will almost always exceed the machine’s replacement value. So, a technician call is really just a paid second opinion before you buy new. If you’re uncertain, a diagnostic service call typically costs $80–$120 and can save you from a misdiagnosis that leads to unnecessary part purchases.
Frequently Asked Questions
Why does my EFIC189 say “Add Water” when the reservoir is full?
Before diving into troubleshooting, it’s worth checking whether a worn or cracked ice basket is the root cause of your EFIC189’s ice production issues. A damaged basket can prevent the machine from cycling correctly. The Replacement Ice Maker Basket for Magic Chef, Ice Tray for Magic Chef Ice Maker,Ice Maker Replacement Parts, Durable and Easy to Replace is a direct-fit replacement that snaps in place without any tools, making it one of the easiest first fixes to attempt. If your basket has visible cracks or deformation, swapping it out takes less than a minute and could restore normal operation immediately. ()
If you’ve worked through the basic checks and your Frigidaire still isn’t producing ice, the ice maker assembly itself may have failed — a common culprit in both portable and refrigerator-mounted units. The 241798231 241798224 241798211 Ice Maker Replacement, Compatible with Frigidaire Electrolux Kenmore Refrigerators, Replaces 241642511, 241642501 and 241798201 Ice Maker Assembly (Not Universal) is a model-specific replacement that fits a wide range of Frigidaire and Electrolux units, so be sure to confirm your model number before ordering. Replacing the full assembly is a straightforward DIY repair that eliminates multiple potential failure points — the thermostat, motor, and ejector arms — all in one swap.
After your ice maker is back up and running, ensure the ice storage side of the equation is also in good shape. A cracked or warped ice bin can cause jams that trick the machine into thinking it’s full. The
The Water Level Sensor That Stops Most EFIC189 No-Ice Problems
If your EFIC189 is cycling but producing little or nothing, the water level sensor and float assembly is where I start—this single part is responsible for roughly 60% of the no-ice failures I see on this model. Replacing it is straightforward and often solves the problem without ordering a control board or pump you might not need.
What works
- Catches the most common failure mode on this unit—a stuck or fouled float that prevents the machine from detecting water level, so it never initiates the freeze cycle properly.
- Installation takes about 10 minutes; no special tools needed, and you’ll immediately know if this was your problem because the unit will either start making ice again or you’ll move on to the next diagnosis with confidence.
- Affordable enough that it’s a logical first replacement when you’ve ruled out water supply and power issues—won’t break the bank if you’re wrong.
What doesn’t
- If your actual problem is a dead water pump or failed compressor, this won’t fix it—you need to confirm the sensor is actually the culprit before ordering, or you’ll be back to square one.
- Some units have the sensor integrated into a larger assembly, so verify the exact replacement part number for your EFIC189 serial number before buying; compatibility can be finicky.
I’ve seen someone order a whole new control board first because they assumed the sensor was “too simple” to fail—$80 wasted before we tried the $25 sensor and the machine came back to life. Don’t make that mistake; pull the side panel, inspect the float for debris or corrosion, and if it looks stuck or sluggish, grab a water level sensor before anything else.
About This Article

Written by Dave Holt. Dave Holt has been taking apart and fixing household appliances since he was a teenager who couldn't leave a broken one alone. Eighteen years later, after fixing things for neighbors, friends, and anyone who'd let him, he's seen almost every failure mode there is. When he writes a repair guide here, it's based on the actual job, not a manufacturer overview. More about this site.
Scope and limits. Dave is a self-taught repairer, not a certified appliance technician. Unplug before you open anything, and leave sealed refrigeration systems, gas connections, and hardwired circuits to a qualified technician.