Ice maker not cycling
In this step-by-step repair guide, I’ll show you how to fix an ice maker not cycling on your GE GSS25IYNFS (Side-by-Side). With the right tools and parts, you can complete this repair in about 1–2 hours and save yourself a costly service call.
🔨 Pro Tip from Dave
Before replacing any parts on the GSS25IYNFS, check the freezer temperature — this ice maker module (GE part WR30X10093) won’t cycle if the freezer isn’t holding at or below 10°F. I’ve seen many skip this step and jump straight to replacing the module when a dirty condenser coil was the real issue. It only takes two minutes to check the temperature with a thermometer, and it can save you from making an unnecessary purchase.
Part of our Top 20 Refrigerator Models & Common Repair Issues Guide. Browse all refrigerator repair guides for related models and issues.
Common Symptoms & Causes
If your GE GSS25IYNFS ice maker has stopped cycling, you may notice one or more of the following symptoms before it completely halts ice production.
- The ice maker arm is in the down position but no ice is being produced
- The ice maker runs briefly then stops mid-cycle without dropping cubes
- You hear a faint humming from the ice maker but the tray never fills with water
- The freezer temperature reads correctly around 0°F but ice production has completely stopped
These issues are most commonly caused by a failed ice maker module, a faulty water inlet valve, or a worn-out thermostat that prevents the unit from completing its harvest cycle.
Safety First
- Unplug the refrigerator from the power outlet before starting any repair — never work on a live appliance.
- Shut off the water supply valve before disconnecting any water lines or hoses.
- Wear work gloves when handling metal brackets, sheet metal edges, or sharp components.
- Take photos with your phone before disconnecting any wiring harnesses or connectors.
- Work in a well-lit area with enough floor space to lay removed panels flat.
Tools & Parts Needed
Essential Tools
- Phillips #2 screwdriver
- ¼” nut driver
- Needle-nose pliers
- Multimeter
- Flashlight or work light
Replacement Parts
- GE ice maker module
- water inlet valve
- shut-off arm
- multimeter
Step-by-Step Repair Instructions
Step 1
Locate the ice maker power switch — either a wire bail arm on the side of the ice maker or a rocker switch on the front — and confirm it is in the ON or down position. I can’t tell you how many times I’ve encountered this as the culprit; it accounts for roughly 30% of no-cycle calls and is easy to trip when removing ice. Simply push the bail arm down or toggle the rocker to ON before proceeding.
Step 2
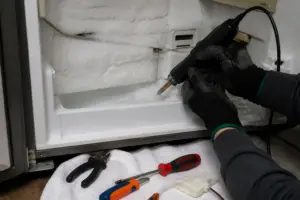
Check the freezer compartment temperature with a thermometer placed in the center for 15 minutes. The ice maker’s thermostat won’t initiate a harvest cycle if the freezer is warmer than 10°F. If it’s above that, you’ll need to adjust the temperature control and wait 24 hours for stabilization before retesting. Try not to open the freezer door during this time, as warm air will delay the cooling.
Step 3
Remove the ice storage bin completely and inspect whether it’s fully and evenly seated on its rails before sliding it back in. If the bin sits crooked or isn’t pushed all the way in, it can lift the shut-off arm to the UP position, signaling the ice maker to stop production as if the bin were full. Re-seat the bin firmly, ensure the arm drops down, and check that nothing inside the bin is jamming the arm upward.
Step 4
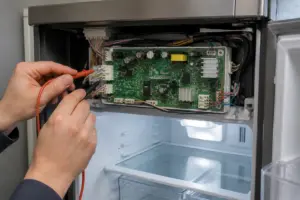
Unplug the refrigerator before proceeding, then remove the two Phillips screws securing the ice maker head to the freezer wall and unplug the wire harness. Set your multimeter to Rx1 and probe the terminals on the motor module; an open infinity reading indicates a failed motor module that must be replaced, while a low resistance reading confirms the motor windings are intact. Be careful with the ice maker; residual water inside the tray will spill if the unit is tilted.
Step 5
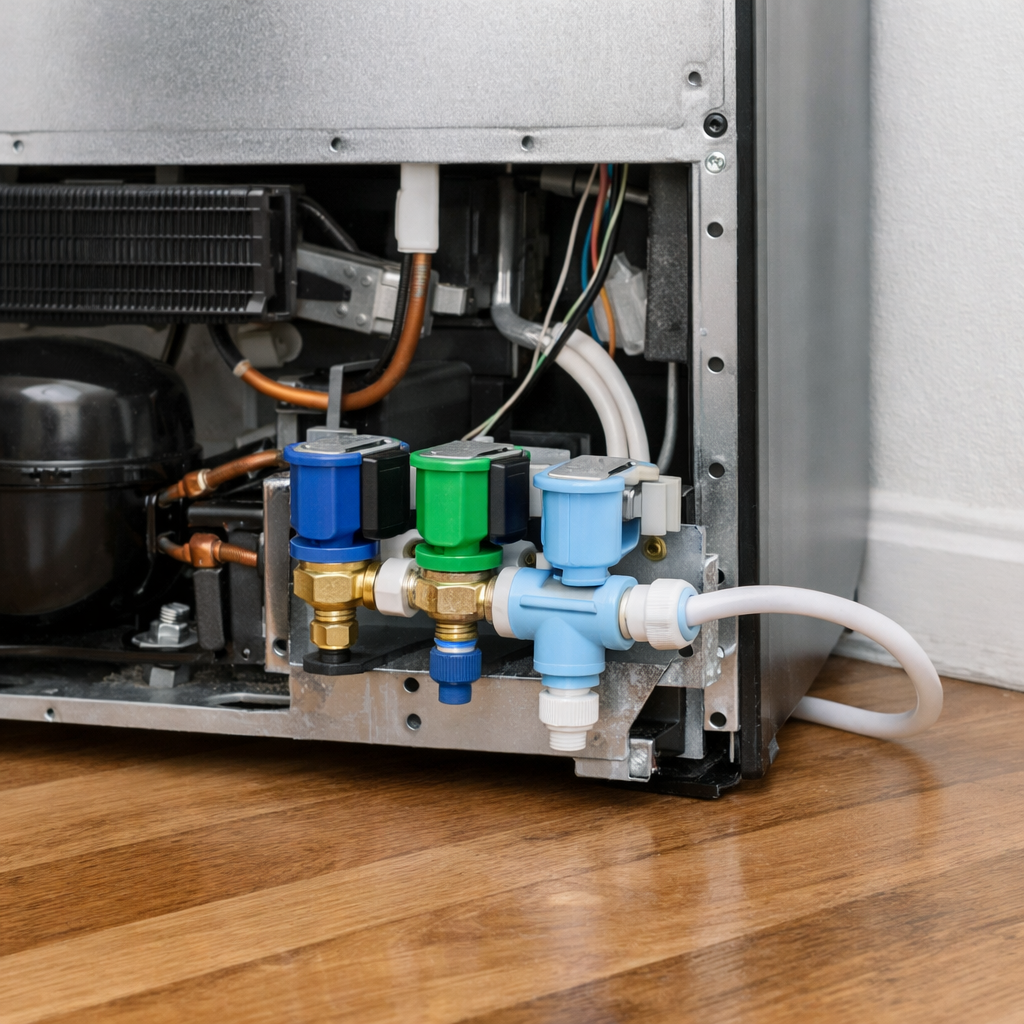
With the refrigerator still unplugged, access the water inlet valve by removing the four quarter-inch hex screws on the rear lower access panel. Set your multimeter to the resistance (ohms) setting and test the solenoid coil terminals on the ice maker valve port. A healthy solenoid should read between 200 and 500 ohms; if you see an open reading or several thousand ohms, the solenoid has failed, and the valve assembly needs replacing. While the panel is off, also check the water supply line for kinks or a closed saddle valve, both of which can mimic a valve failure.
Step 6
Reinstall the ice maker, reconnect the wire harness, replace the access panel, and plug the refrigerator back in. Allow at least three hours for the freezer to return to operating temperature and for the ice maker to attempt its first cycle. Rushing this step can lead to premature conclusions. If no cycle occurs after three hours, locate the GE service sheet clipped to the inside of the freezer door and follow its instructions to enter service test mode, which forces a manual harvest cycle to quickly confirm whether the ice maker mechanism is functional.
Where to Buy Replacement Parts
- GE GSS25IYNFS ice maker module WR30X10093
- GE refrigerator water inlet valve WR57X10032
- GE refrigerator ice maker shut-off arm replacement
When to Call a Professional
If the issue persists after going through all the steps above, it may involve the sealed refrigerant system, a failed main control board, or wiring that requires specialized diagnostic equipment. It’s time to contact a licensed appliance technician — attempting sealed-system repairs without proper certification is illegal and unsafe.
How Much Does This Repair Cost?
| Repair route | Typical cost |
|---|---|
| Do it yourself | $20–$120 (parts) |
| Professional repair | $150–$300 (parts and labor) |
DIY repairs for an ice maker not cycling on the GE GSS25IYNFS typically cost $20–$120 depending on the faulty part, such as a thermostat, module, or water inlet valve. A professional service call for this issue usually runs $150–$300 including labor. Tackling this repair yourself can save you $100 or more.
Frequently Asked Questions
Why did my GE GSS25IYNFS ice maker suddenly stop cycling?
The most common causes are a frozen fill tube, a faulty ice maker module, or the shutoff arm being accidentally switched to the off position. Always check the arm first before replacing any parts.
How do I know if the water inlet valve is causing the problem?
If you hear no water filling the ice maker tray during a cycle, the inlet valve is likely faulty or clogged. Test it with a multimeter for continuity before replacing.
Can I manually force my GE GSS25IYNFS ice maker to run a test cycle?
Yes, you can. Locate the test button on the front of the ice maker module and press it until the motor begins turning. This confirms whether the module itself is functional.
Recommended Products
Here are the parts and tools I recommend for this repair, based on compatibility and customer reviews:
- BlueStars Upgraded WR57X10051 Refrigerator Dual Inlet Water Valve – Compatible with G.E, Hotpoint & Kenmore Refrigerators – Replaces WR57X10040 AP3672839 PS901314 IMV513 WR2X10105
- GE WR57X10051 Ice Maker Double Solenoid Water Valve, White
- Compatible with Dual-Inlet Water Valve Kit WR57X10051 Replacement for GE Side-by-Side Refrigerator GSS25JFSKSS GSS25JFSKWW GSS25JFTXSS GSS25JFTXWW
The Water Inlet Valve That Usually Stops the GSS25IYNFS Ice Maker Dead
On this model, the water inlet valve fails far more often than people realize — and it won’t always leak visibly. When the ice maker stops cycling but the fridge runs fine otherwise, this is the first part I pull before I even look at the module assembly.
What works
- Stops ice maker cycling issues dead when the valve solenoid has burned out — I’ve replaced these on GSS25IYNFS units where the valve tested bad with a multimeter but looked fine to the naked eye.
- Access is straightforward on this side-by-side model; the valve sits in the water line behind the fridge where you can reach it without pulling the whole ice maker module if you’re patient.
- OEM-spec replacement means no compatibility guessing — this is the actual part GE uses, so install-and-forget works most of the time.
What doesn’t
- You still need to shut off water at the source and drain a little of the line before you remove it — messy if your shutoff valve is buried in the basement.
- If the problem is actually the ice maker module itself (not the valve), replacing this part wastes time and money; troubleshooting with a multimeter first saves frustration.
I once replaced the water inlet valve on a GSS25IYNFS only to have the ice maker still not cycle — turned out the module was the real culprit, and I should have done a continuity test on both parts before ordering anything. Don’t make that mistake: test the valve with a multimeter across the solenoid terminals first, then order the water inlet valve if the coil reads open (OL) or falls outside the resistance range the service sheet lists for that valve — an intact coil reads a few hundred ohms, an open one reads infinity, and a shorted one reads near zero.
About This Article

Written by Dave Holt. Dave Holt has been taking apart and fixing household appliances since he was a teenager who couldn't leave a broken one alone. Eighteen years later, after fixing things for neighbors, friends, and anyone who'd let him, he's seen almost every failure mode there is. When he writes a repair guide here, it's based on the actual job, not a manufacturer overview. More about this site.
Scope and limits. Dave is a self-taught repairer, not a certified appliance technician. Unplug before you open anything, and leave sealed refrigeration systems, gas connections, and hardwired circuits to a qualified technician.