
Water leaking inside
This step-by-step repair guide walks you through fixing water leaking inside on your GE GSS25IYNFS (Side-by-Side). With the right tools and parts, most homeowners can complete this repair in 1–2 hours and avoid a costly service call.
🔨 Pro Tip from Dave
On the GSS25IYNFS, a common mistake is only flushing the drain trough and calling it done — but you also need to check the drain tube that runs down to the drip pan, part number WR02X12138, because it frequently kinks or gets plugged with slime buildup right where it exits the freezer floor. If you skip that tube, the leak comes right back within a few weeks.
Part of our Top 20 Refrigerator Models & Common Repair Issues Guide. Browse all refrigerator repair guides for related models and issues.
“`html
Common Symptoms & Causes
If your GE GSS25IYNFS is leaking water inside the refrigerator, these are the most common signs homeowners notice first.
- Water pooling at the bottom of the fresh food compartment floor
- Ice buildup or frost accumulating along the back interior wall
- Puddles forming underneath the vegetable or deli drawers
- Water dripping visibly from the freezer section into the refrigerator below
These symptoms are most commonly caused by a clogged or frozen defrost drain, a cracked drain tube, or a worn door gasket allowing warm, humid air inside the unit.
“`
Safety First
- Unplug the refrigerator from the power outlet before starting any repair — never work on a live appliance.
- Shut off the water supply valve before disconnecting any water lines or hoses.
- Wear work gloves when handling metal brackets, sheet metal edges, or sharp components.
- Take photos with your phone before disconnecting any wiring harnesses or connectors.
- Work in a well-lit area with enough floor space to lay removed panels flat.
Tools & Parts Needed
Essential Tools
- Phillips #2 screwdriver
- ¼” nut driver
- Needle-nose pliers
- Multimeter
- Flashlight or work light
Replacement Parts
- Turkey baster
- drain tube brush
- drain pan
- water inlet line compression fitting
- towels
Step-by-Step Repair Instructions
Step 1
Remove all items from the freezer compartment, then unscrew the four Phillips screws securing the back panel and lift it away to expose the evaporator and drain opening at the bottom. A clogged drain is the most common cause of interior water pooling — ice, food debris, or mold can completely block it, causing meltwater to back up and spill inside instead of flowing to the drain pan. Use a turkey baster filled with hot water to flush the drain repeatedly until water flows through freely; pro tip: adding a small amount of baking soda to the hot water helps break up mold buildup and deodorize the drain channel.
Step 2
If the turkey baster flush doesn’t clear the drain, work a flexible brush through the drain tube to physically break up any compacted debris or ice dam blocking the passage. Ice dams form when the defrost cycle is insufficient or the drain freezes over repeatedly, and they won’t clear with water alone. Aim a hair dryer set to low heat at the drain opening to melt any remaining ice, keeping the dryer moving to avoid overheating the plastic components around the evaporator.
Step 3
Slide the drain pan out from beneath the front of the unit, empty any accumulated water, and clean the pan thoroughly with a mild disinfectant to remove mold or odors. The drain pan collects condensate from normal operation, but a cracked pan will leak that water directly onto your floor rather than allowing it to evaporate, which is often mistaken for an interior leak. Inspect the entire pan surface carefully for hairline cracks or warping, and replace it if any damage is found — a replacement pan is inexpensive and a cracked one will cause the problem to persist.
Step 4
Open both the fresh food and freezer doors and run your fingers along the full perimeter of each door gasket, pressing inward to check for gaps, tears, or sections that have gone stiff and no longer seal flush against the cabinet. A failed gasket allows warm, humid room air to continuously enter the refrigerator, where it condenses on cold surfaces and accumulates as water puddles on shelves or the floor of the compartment. To confirm a weak seal, close each door on a dollar bill — if the bill slides out with no resistance, the gasket is not sealing properly and should be replaced.
Step 5
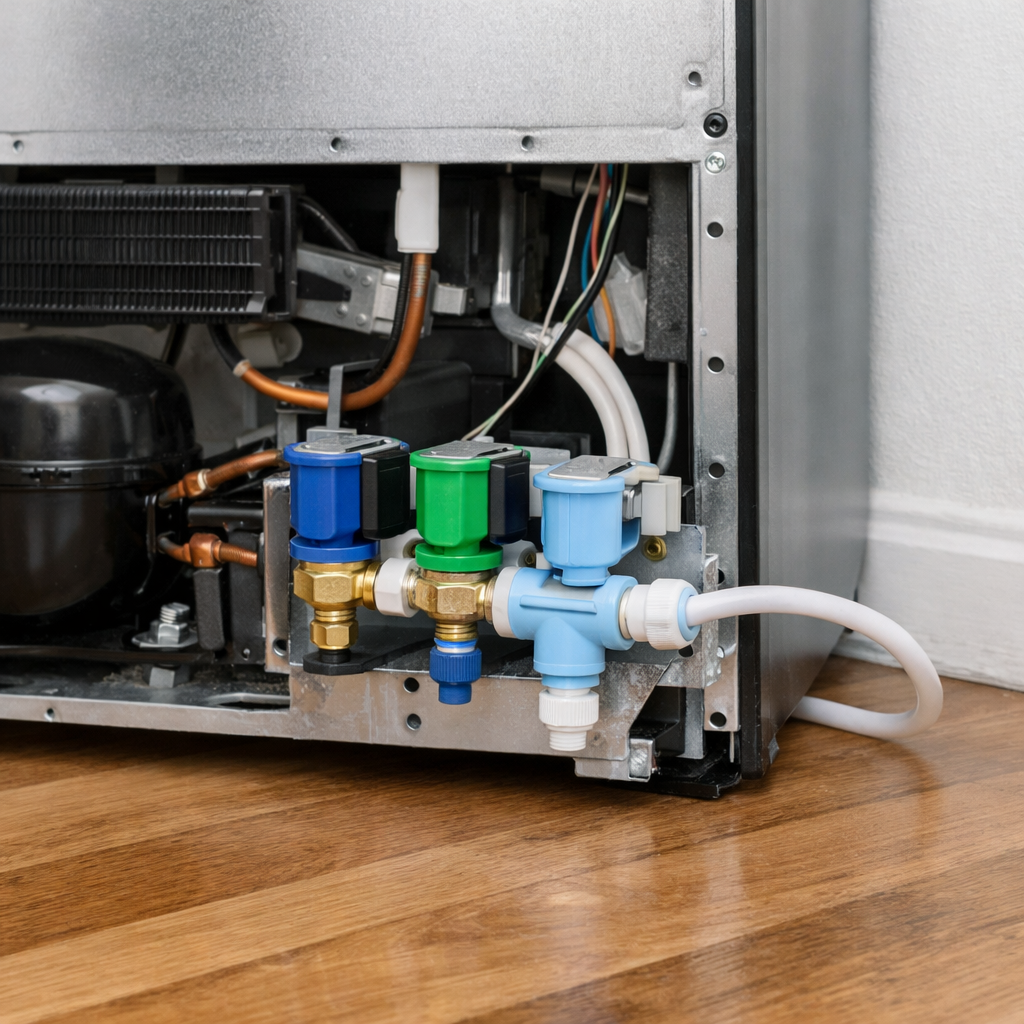
Move to the rear of the unit and inspect the water inlet valve connection where the household supply line meets the valve, looking for any moisture, mineral deposits, or dripping that indicates a weeping fitting. A loose compression fitting is a common source of a slow drip that travels down the back of the unit and appears as an interior or floor leak. Using an adjustable wrench, tighten any suspect fitting no more than one-quarter turn past finger-tight — overtightening a compression fitting can crack the fitting body and make the leak significantly worse.
Step 6
Plug the refrigerator back in and lay paper towels flat on each shelf and on the floor of both compartments, then leave them undisturbed overnight. Paper towels reveal exactly where residual moisture is originating — a wet towel on a specific shelf points to a localized source such as a remaining drain blockage or a gasket issue near that area, while a wet towel on the floor suggests the drain pan or inlet valve may still be contributing. Check the towels in the morning and cross-reference any wet spots with the components addressed in earlier steps to confirm the repair is complete.
Where to Buy Replacement Parts
Find genuine OEM and aftermarket replacement parts for your GE GSS25IYNFS (Side-by-Side) on Amazon:
- GE GSS25IYNFS defrost drain pan WR17X11655 replacement
- GE refrigerator drain tube clog flush kit
- GE refrigerator water inlet valve WR57X10032
When to Call a Professional
If the issue persists after completing all steps above, the problem may involve the sealed refrigerant system, a failed main control board, or wiring that requires specialized diagnostic equipment. Contact a licensed appliance technician — attempting sealed-system repairs without EPA 608 certification is illegal and unsafe.
How Much Does This Repair Cost?
DIY parts for fixing water leaking inside your GE GSS25IYNFS typically cost between $10 and $75, depending on whether you need a new water inlet valve, door gasket, or drain components. A professional service call usually runs $150–$300 once you factor in labor. Tackling this repair yourself can save you $100 or more.
## Frequently Asked Questions
### What causes water to leak inside my GE GSS25IYNFS refrigerator?
The most common causes are a clogged defrost drain, a faulty water inlet valve, or a cracked water line inside the unit. Inspecting the drain tube behind the back panel is usually the best starting point.
### Can I fix the leaking water myself without calling a technician?
Yes, many repairs like clearing a clogged defrost drain or tightening a loose water line connection are straightforward DIY fixes. Always unplug the refrigerator before attempting any internal repair.
### How do I know if the defrost drain is clogged on my GE GSS25IYNFS?
You’ll typically notice pooling water at the bottom of the fresh food compartment or ice buildup near the back wall. Flushing the drain tube with warm water usually confirms and clears the blockage.
Recommended Products
These are the parts and tools we recommend for this repair, based on compatibility and customer reviews:
- Drain Tube Refrigerator Drain Tube WR02X11426 Genuine OEM White Rubber Refrigerator Defrost Cycle Drainage 1 Pack
- GE WR49X10021 Genuine OEM Freezer Drain Pan Icing Repair Kit for GE Refrigerators
- Upgrade Ice Maker Dispenser Auger for GE Refrigerator Replacement Parts WR17X11705 WR17X11939 PS1018130 AP3849786 AP3672963 PS964350 Ice Bucket Auger
As an Amazon Associate, I earn from qualifying purchases.


