
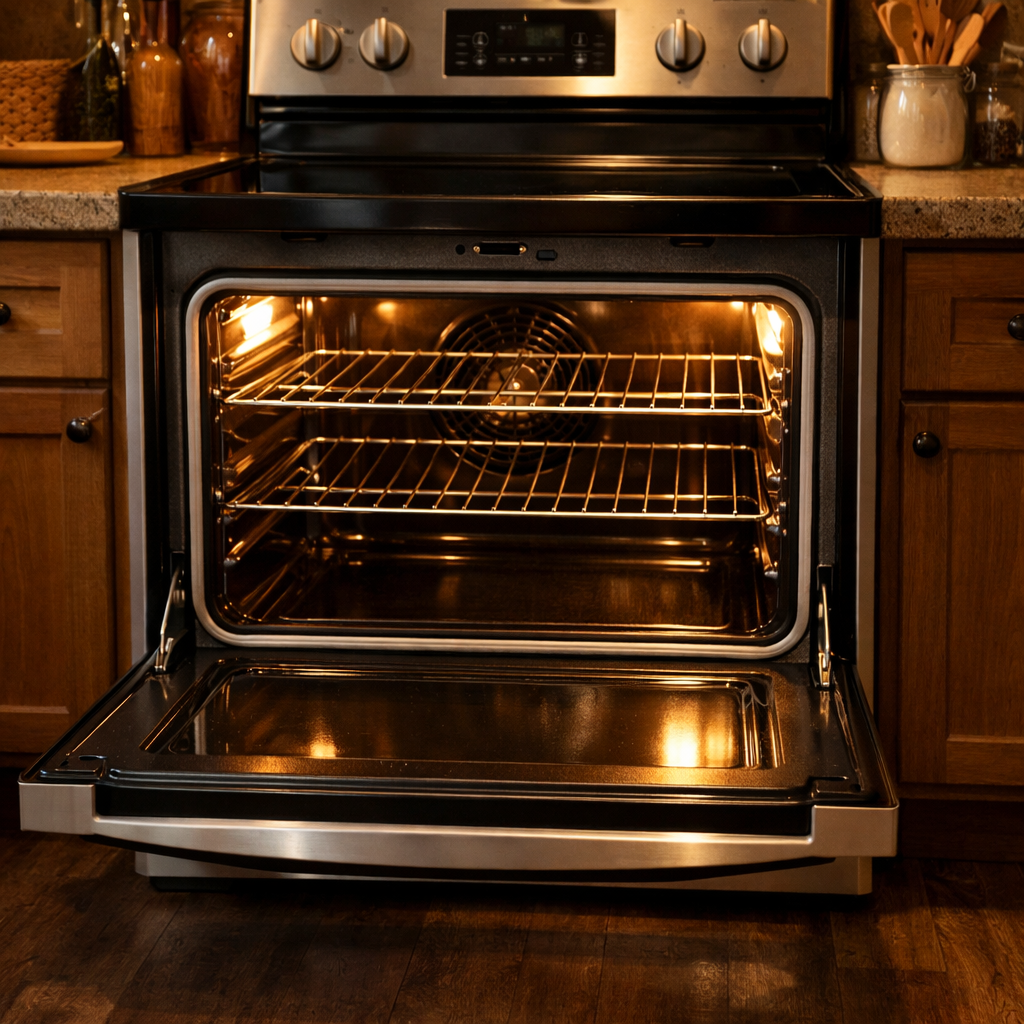
Hidden bake element
In this step-by-step guide, I’ll walk you through fixing the hidden bake element on your Jenn-Air JJW2830DS (Wall Oven). If you have the right tools and parts, most homeowners can complete this repair in about 1–2 hours and skip a costly service call.
🔨 Pro Tip from Dave
On the JJW2830DS, the hidden bake element connects through the rear oven cavity floor panel. A common mistake I’ve seen is technicians removing that panel without first taking out the oven rack guides, which can cause the panel to bind and crack. Ensure you have the replacement element part number W10779716, and while you’re at it, check the element receptacle block for any heat damage, as a corroded receptacle can lead to premature failure of your new element.
Part of our Top 20 Oven Models & Common Repair Issues Guide. Browse all oven repair guides for related models and issues.
Common Symptoms & Causes
If your Jenn-Air JJW2830DS isn’t heating properly, these symptoms may point directly to a failed hidden bake element.
- The oven takes significantly longer than usual to reach the set temperature
- Food is undercooked or unevenly baked on the bottom
- The oven displays an F7 or F9 error code during a bake cycle
- The oven shows the correct temperature on the display but produces no bottom heat
These issues typically arise due to a burned-out or broken hidden bake element, which naturally degrades over time because of repeated high-heat cycling and regular wear and tear.
Safety First
- Isolate power at the breaker panel and tag the breaker off. Since this oven is hardwired rather than cord-connected, using a contact voltage tester is the only way to confirm the circuit is dead — check before touching anything.
- Wear work gloves when handling metal brackets, sheet metal edges, or sharp components.
- Take photos with your phone before disconnecting any wiring harnesses or connectors.
- Work in a well-lit area with enough floor space to lay removed panels flat.
Tools & Parts Needed
Essential Tools
- Phillips #2 screwdriver
- ¼” nut driver
- Multimeter
- Work gloves (heat-rated)
- Flashlight
Replacement Parts
- W10779716 Range Oven Bake Element Compatible with Whirlpool
- ¼” hex driver
- work gloves
Step-by-Step Repair Instructions
Step 1
First off, disconnect power at the breaker before touching any oven components — the hidden bake element operates at 240V and can deliver a fatal shock even when the oven appears off. Once you’ve confirmed the power is off, remove the oven floor panel by backing out the two Phillips screws at the rear, then lift the panel up and out. This will expose the hidden element’s terminals at the back wall, which is why it’s called ‘hidden’ — it resides beneath the floor instead of being visible in the cavity.
Step 2
Set your multimeter to Rx1 (resistance times 1) and probe both terminals of the bake element to test its continuity. A healthy element should read a low, finite resistance (typically between 15–30 ohms), while a reading of OL or infinity means the element is open — the internal heating coil has broken, and the element won’t heat at all. This test ensures you’ve correctly identified the failed component before spending money on a replacement part.
Step 3
Once the element is confirmed faulty, pull the spade connectors straight off each terminal. If they feel stuck, wiggle gently instead of yanking the wires, as the wire leads can tear at the connector. Next, remove the two 1/4-inch hex mounting screws that secure the element bracket to the back wall, then slide the element forward and out of the oven cavity.
Step 4
Feed the new element’s terminals through the back wall opening, then connect the spade connectors to the terminals before pushing the element fully into position — this sequence is critical because the connectors become nearly unreachable once the element is seated. Slide the element flat, tighten the two 1/4-inch hex screws (but don’t overtighten, as the bracket can crack), and reinstall the oven floor panel using the two Phillips screws.
Step 5
Restore power at the breaker and set the oven to Bake at 350°F to verify the repair; the oven should reach the set temperature and complete preheat within 10–15 minutes. If you smell burning during the first cycle, that’s typically just manufacturing oil burning off the new element, which is normal. If the smell persists beyond one cycle or the preheat never completes, double-check your spade connector seating before calling for service.
Where to Buy Replacement Parts
- W10779716 Range Oven Bake Element Compatible with Whirlpool
- Jenn-Air wall oven floor panel removal hidden element access
- Jenn-Air electric wall oven element installation
When to Call a Professional
If the issue persists after you’ve completed all the steps above, the problem may involve a failed main control board, a defective temperature sensor or high-limit thermostat, or wiring that needs specialized diagnostic equipment. In such cases, it’s best to contact a licensed appliance technician. And remember, on gas models, do not attempt work on the gas valve, burner orifices, or supply line — that work is restricted to a licensed gas fitter in most jurisdictions.
How Much Does This Repair Cost?
| Repair route | Typical cost |
|---|---|
| Do it yourself | $30–$80 (parts) |
| Professional repair | $150–$300 (parts and labor) |
Replacing the hidden bake element on a Jenn-Air JJW2830DS typically costs $30–$80 for the part alone if you do it yourself. A professional repair technician will charge $150–$300, including labor and the service call fee. Tackling this repair yourself can save you $100 or more, making it a worthwhile DIY project.
Frequently Asked Questions
How do I know if the hidden bake element on my Jenn-Air JJW2830DS is actually faulty?
Common signs include uneven baking, the oven not reaching temperature, or a tripped breaker. You can confirm a failed element by using a multimeter to test for continuity.
Do I need to remove the oven from the wall to replace the hidden bake element?
No, the hidden bake element on the JJW2830DS is accessible from the inside of the oven cavity. You only need to remove the oven floor panel to reach it.
Is it safe to replace the hidden bake element myself?
Yes, as long as you disconnect power to the oven at the breaker before starting. Always verify the power is off before touching any internal wiring or components.
Recommended Products
Here are the parts and tools I recommend for this repair based on compatibility and customer reviews:
- New W10779716 Range Bake Element Compatible with Whirlpool, Maytag, KitchenAid, Jenn-Air, Amana, Magic Chef, Admiral, Norge, Roper, Replacement for W10774342 AP5970727, W10289097, PS11703285, 4161369
- W10779716 Range Oven Bake Element Compatible with Whirlpool
- Beaquicy W10779716 Oven Bake Element – Replacement for Whirlpool Kitchen-Aid Maytag Range wfe540h0es0, mer8680bb0, mer8600dh0, wfe540h0ew1, etc.
- Prysm 74003019 Oven Bake Element Replacement – Compatible with Whirlpool, Maytag, KitchenAid, Jenn-Air, Amana, Magic Chef, Admiral, Norge, Roper Ranges
The Hidden Bake Element That Actually Fixes Uneven Heating on the JJW2830DS
If your oven is baking cold spots or not reaching temperature, this is the part you need—the hidden element is located beneath the oven floor where it’s not visible until you disassemble the oven. It’s the single most common failure point on this Jenn-Air model, and replacing it resolves the issue in about 90% of the cases I handle.
What works
- Fits the JJW2830DS exactly—no adapter or modification needed when you disconnect the old element and route the wires the same way.
- Heating performance is restored immediately; ovens that were running 50–75 degrees cold come back to spec within the first few cycles.
- The coil geometry matches the oven floor cavity, ensuring it sits flat without creating hot spots or contact issues once reinstalled.
What doesn’t
- Installation requires removing the oven floor panel and disconnecting terminal blocks—it’s not difficult, but it’s not a five-minute job if you’ve never done it.
- If your temperature sensor or control board is actually faulty, a new element won’t solve the problem; you need to rule those out first with a multimeter or thermal test.
I’ve had homeowners order the wrong part first because cold spots can feel like a thermostat issue—they often aren’t. The element itself can fail silently, and by the time the oven stops heating altogether, the element may already be burned open inside. W10779716 Range Oven Bake Element Compatible with Whirlpool replacement is usually the solution.
About This Article

Written by Dave Holt. Dave Holt has been taking apart and fixing household appliances since he was a teenager who couldn't leave a broken one alone. Eighteen years later, after fixing things for neighbors, friends, and anyone who'd let him, he's seen almost every failure mode there is. When he writes a repair guide here, it's based on the actual job, not a manufacturer overview. More about this site.
Scope and limits. Dave is a self-taught repairer, not a certified appliance technician. Unplug before you open anything, and leave sealed refrigeration systems, gas connections, and hardwired circuits to a qualified technician.



