
Exterior condensation
This step-by-step repair guide walks you through fixing exterior condensation on your Whirlpool WRX735SDHZ (French Door). With the right tools and parts, most homeowners can complete this repair in 1–2 hours and avoid a costly service call.
🔨 Pro Tip from Dave
On the WRX735SDHZ, techs often overlook the mullion bar gasket between the French doors (part W10830162) — it’s just as prone to failure as the main door gaskets and is frequently the real source of condensation. A common mistake is replacing only one door gasket and calling it done; always inspect all contact points, including the mullion, before closing the job.
Part of our Top 20 Refrigerator Models & Common Repair Issues Guide. Browse all refrigerator repair guides for related models and issues.
“`html
Common Symptoms & Causes
These symptoms on your Whirlpool WRX735SDHZ typically point to an exterior condensation problem worth addressing promptly.
- Visible water droplets or moisture forming on the French door exterior panels
- Wet streaks running down the outside of the refrigerator doors toward the floor
- Condensation pooling around the door handles or gasket edges
- Exterior surfaces feel consistently damp or clammy to the touch
This issue is most commonly caused by a worn or damaged door gasket failing to seal properly, high ambient humidity levels, or the anti-sweat heater not functioning correctly along the door frame.
“`
Safety First
- Unplug the refrigerator from the power outlet before starting any repair — never work on a live appliance.
- Shut off the water supply valve before disconnecting any water lines or hoses.
- Wear work gloves when handling metal brackets, sheet metal edges, or sharp components.
- Take photos with your phone before disconnecting any wiring harnesses or connectors.
- Work in a well-lit area with enough floor space to lay removed panels flat.
Tools & Parts Needed
Essential Tools
- Phillips #2 screwdriver
- ¼” nut driver
- Needle-nose pliers
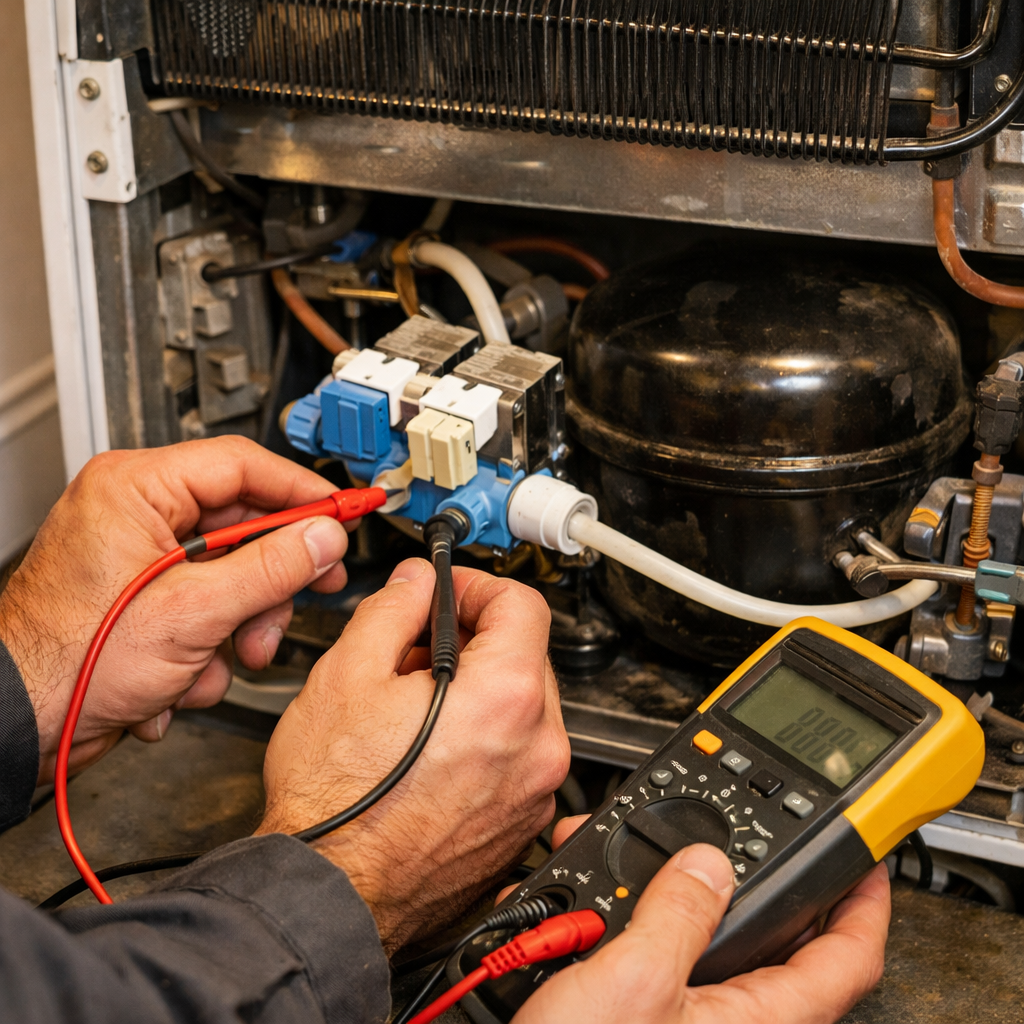
- Multimeter
- Flashlight or work light
Replacement Parts
Step-by-Step Repair Instructions
Step 1
The mullion heater runs along the frame between the fresh food and freezer sections and prevents moisture from condensing on that seam. To test it, clip your multimeter leads onto the heater wire terminals — a healthy heater reads 120–500Ω, while an open (infinite) reading means the element has failed and needs replacement. Pro tip: unplug the refrigerator before disconnecting any wiring, then restore power only for the resistance test if the heater circuit requires it.
Step 2
Inspect the door gaskets on all three doors — left fresh food, right fresh food, and freezer — because even a small gap lets warm, humid air reach the cold cabinet wall and condense. Run your hand slowly around each gasket perimeter feeling for cold air escape, or use the dollar-bill test: close the door on a bill and tug — if it pulls out easily, the seal is too weak. A warped or torn gasket is one of the most common causes of persistent exterior sweating on this model.
Step 3
Verify the unit has at least ½-inch of clearance on each side and 1 inch at the rear, because restricted airflow traps heat around the cabinet exterior, raising the outer wall temperature just enough to worsen condensation differentials. Pull the refrigerator forward and check with a tape measure before assuming ventilation is adequate. Many installs in tight cabinet surrounds are under-clearanced from day one, and no amount of heater or gasket repair will fully resolve sweating until airflow is corrected.
Step 4
Confirm your temperature settings are at Whirlpool’s recommended levels — 37°F for the fresh food section and 0°F for the freezer — because running the unit colder than necessary increases the temperature differential between the cabinet walls and the ambient air, making condensation more likely. Access settings through the control panel on the dispenser and allow 24 hours for the interior to stabilize before re-evaluating. Overly aggressive cooling also stresses the compressor, so correct settings serve both condensation control and appliance longevity.
Step 5
In high-humidity climates, a light film of condensation on the cabinet exterior during summer is normal and not a fault condition, so don’t chase it unnecessarily. However, if you see water pooling at the base of the unit or wet streaks running down the doors, that points to gasket failure allowing sustained moisture intrusion rather than harmless ambient sweat. Distinguishing between these two situations saves you from replacing parts that don’t need replacing.
Step 6
Once you have repaired or replaced the mullion heater and any faulty gaskets, wipe down all exterior surfaces thoroughly to remove existing moisture and give the refrigerator a full 24 hours to normalize before judging the results. Residual condensation from before the repair can linger on cold surfaces and create a false impression that the problem persists. If sweating continues beyond 24 hours after confirmed repairs, re-examine clearances and verify the mullion heater is receiving power at the harness connector.
Where to Buy Replacement Parts
Find genuine OEM and aftermarket replacement parts for your Whirlpool WRX735SDHZ (French Door) on Amazon:
- Whirlpool WRX735SDHZ anti-sweat heater W10822286
- Whirlpool French door refrigerator door gasket WPW10290699
- refrigerator mullion heater strip anti-sweat replacement
When to Call a Professional
If the issue persists after completing all steps above, the problem may involve the sealed refrigerant system, a failed main control board, or wiring that requires specialized diagnostic equipment. Contact a licensed appliance technician — attempting sealed-system repairs without EPA 608 certification is illegal and unsafe.
“`html
How Much Does This Repair Cost?
DIY repairs for exterior condensation on the Whirlpool WRX735SDHZ typically cost between $10–$60, covering door gaskets or a door heater strip. A professional service call for the same issue runs $150–$300 including labor. Tackling this repair yourself can save you $100 or more while restoring your refrigerator’s performance.
“`
## Frequently Asked Questions
Frequently Asked Questions
Is exterior condensation on my Whirlpool WRX735SDHZ a sign of a serious problem?
Not always — exterior condensation is often caused by high humidity or a worn door gasket rather than a mechanical failure. Check the door seals first before assuming a costly repair is needed.
How do I know if the door gasket needs replacing on my WRX735SDHZ?
Run your hand along the door seal and feel for cold air escaping, or place a dollar bill in the door and check for resistance when pulling it out. A loose or cracked gasket should be replaced promptly.
Can I reduce condensation without calling a technician?
Yes — lowering indoor humidity, ensuring the refrigerator is level, and cleaning the door gaskets can resolve most condensation issues. Only contact a technician if the problem persists after these adjustments.


