
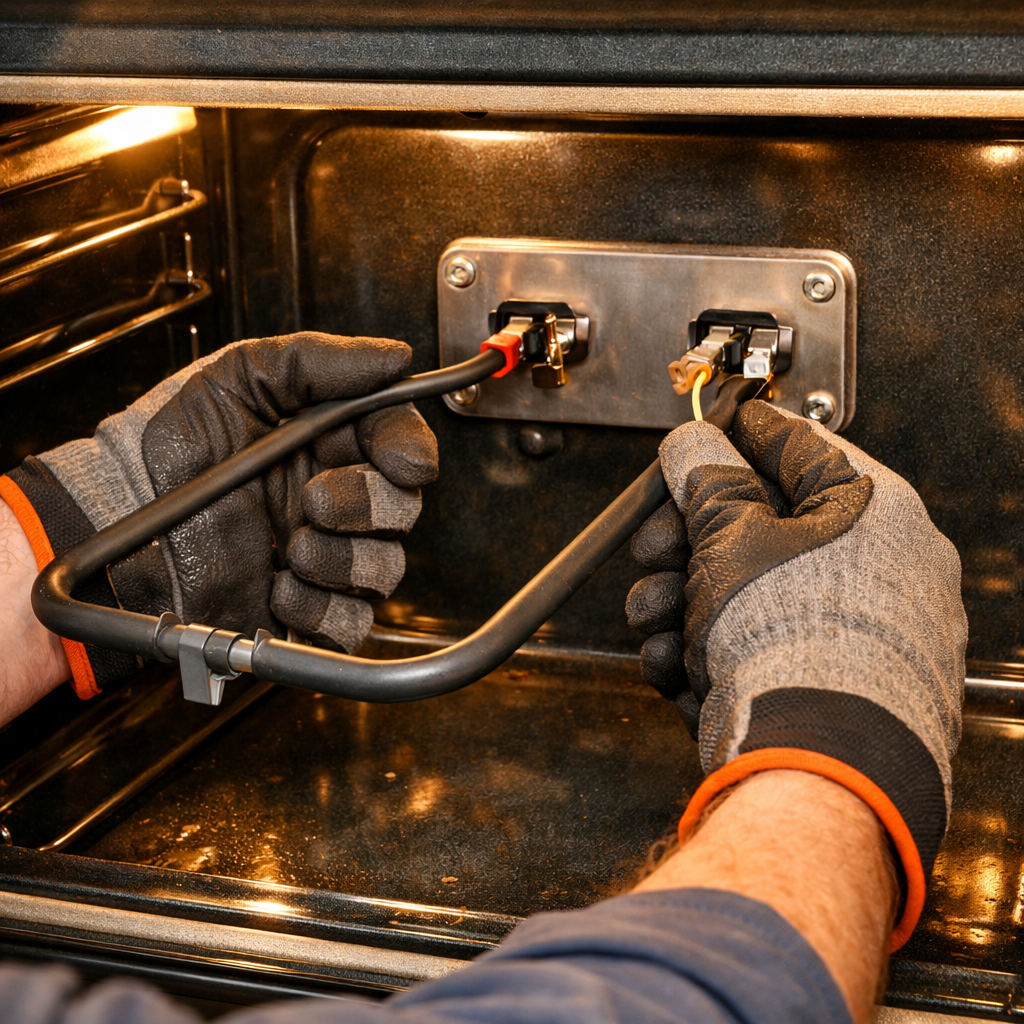
Door not closing properly
This step-by-step repair guide walks you through fixing door not closing properly on your Whirlpool WOS51EC0HS (Wall Oven). With the right tools and parts, most homeowners can complete this repair in 1–2 hours and avoid a costly service call.
🔨 Pro Tip from Dave
On the WOS51EC0HS, the door hinges (part number W10534452) have a locking tab that is often overlooked after reinstalling the door. If this tab isn’t re-engaged, the door may sit crooked even after you’ve replaced the hinges. Also, clean the hinge receiver slots inside the oven cavity thoroughly, as grease and debris can prevent the hinge from seating flush, which is critical for a proper seal.
Part of our Top 20 Oven Models & Common Repair Issues Guide. Browse all oven repair guides for related models and issues.
Common Symptoms & Causes
If your Whirlpool WOS51EC0HS wall oven door isn’t closing properly, you may notice one or more of the following symptoms.
- The oven door springs open or won’t stay fully shut after pushing it closed
- A visible gap remains between the door and the oven frame when closed
- The oven takes significantly longer to preheat or struggles to reach set temperatures
- Heat or steam escapes from around the door edges during cooking
These issues are most commonly caused by worn or broken door hinges, a damaged door gasket, or a stretched door spring that can no longer hold proper tension.
Safety First
- Cut power at the electrical panel before starting any repair. A wall oven is wired directly into its own circuit, not into a wall outlet, so switch the breaker off, lock or tag it, and confirm no voltage with a contact tester.
- Wear work gloves when handling metal brackets, sheet metal edges, or sharp components.
- Take photos with your phone before disconnecting any wiring harnesses or connectors.
- Work in a well-lit area with enough floor space to lay removed panels flat.
Tools & Parts Needed
Essential Tools
- Phillips #2 screwdriver
- ¼” nut driver
- Multimeter
- Work gloves (heat-rated)
- Flashlight
Replacement Parts
- Door hinge kit (pair)
- door gasket
- door spring
Step-by-Step Repair Instructions
Step 1
Start by opening the oven door fully and inspect both hinge arms where they sit in the frame slots on either side of the oven cavity. Look for cracks in the hinge arm casting or elongated, worn-out hinge slot holes, as these will cause the door to sag and fail to seal properly. A sagging door is a common reason heat escapes, so confirming the failure point before ordering parts is crucial to save time and money.
Step 2
Before removing the door, lock each hinge by flipping its locking tab to the locked position — this step is important to prevent the hinge spring from snapping back and causing injury. With both hinges locked, grip the door firmly on both sides and lift it straight up and out of the frame slots. Set it face-down on a padded surface to avoid scratching the glass, and to prevent cracking under uneven pressure during disassembly.
Step 3
Next, remove the outer door panel by taking out all T20 Torx screws around the door perimeter. This will expose the hinge mounting points inside the door. Each hinge is secured by two Phillips screws; remove these, install the new hinge, and reinstall those screws before reassembling the panel. To keep things organized, I recommend using a divided tray to keep all screws sorted by location, since the perimeter screws can vary slightly in length.
Step 4
With the door disassembled, inspect the fibreglass braid gasket that runs around the oven cavity opening. Press it firmly and check for flattened sections or tears. If you find any damage, a compromised gasket will allow heat to escape, reducing cooking efficiency. When replacing it, start at the top corners and press the new gasket into the frame channel, ensuring it seats fully without bunching.
Step 5
To reinstall the door, align the hinge ears with their corresponding slots in the oven frame and lower them straight in. Next, swing the door open to the broil stop position (about 45 degrees) to access the hinge locking tabs. Flip these back to the operating position — doing this correctly is crucial to prevent bending the tab or leaving the hinge improperly secured. Once both tabs are flipped, gently close the door to confirm it swings smoothly without binding.
Step 6
Finally, perform a dollar-bill test by closing the door on a folded dollar bill at multiple points around the perimeter. You should feel noticeable resistance when pulling the bill out, indicating a consistent seal. The door should close with a solid, firm thud instead of a loose or bouncy contact, which would indicate lingering hinge or gasket issues. If the bill slides out easily at any point, double-check the gasket seating and hinge alignment before using the oven, as an incomplete seal can affect cooking performance and exterior temperatures.
Where to Buy Replacement Parts
- Whirlpool WOS51EC0HS wall oven door hinge kit W10185291 replacement
- Whirlpool wall oven door gasket WPW10208183
- Whirlpool wall oven door spring replacement
When to Call a Professional
If the issue persists after completing all steps above, there may be a problem with the main control board, a defective temperature sensor or high-limit thermostat, or wiring that requires specialized diagnostic equipment. In that case, it’s best to contact a licensed appliance technician. For gas models, do not attempt work on the gas valve, burner orifices, or supply line — this work should only be done by a licensed gas fitter in most jurisdictions.
How Much Does This Repair Cost?
| Repair route | Typical cost |
|---|---|
| Do it yourself | $10–$80 (parts) |
| Professional repair | $150–$300 (parts and labor) |
DIY parts for fixing a door that won’t close properly on your Whirlpool WOS51EC0HS typically cost between $10–$80, depending on whether you need a new hinge, gasket, or latch assembly. A professional service call for the same repair usually runs $150–$300 including labor. Tackling this repair yourself can save you $100 or more.
Frequently Asked Questions
Why is my Whirlpool WOS51EC0HS oven door not sealing shut?
The most common causes are a worn door gasket, misaligned hinges, or a damaged door latch. Start by inspecting the rubber gasket around the door frame, as cracks or gaps are usually the quickest fix.
Can I replace the oven door hinges myself?
Yes, hinge replacement on the WOS51EC0HS is a manageable DIY repair. You’ll need a Torx screwdriver and a compatible replacement hinge rated for your specific model.
Is it safe to use the oven while the door won’t close properly?
No, you should avoid using the oven until the door is fully repaired. An improper seal releases heat, reduces cooking efficiency, and can create a burn hazard.
The Door Gasket That Stops Heat Loss on the WOS51EC0HS
If the door closes but you’re noticing heat escaping around the edges or the gasket looks compressed and cracked, this is your first stop before assuming the hinges are bad. A worn gasket is often mistaken for a hinge problem, but it’s actually the easier fix and catches most closure issues early.
What works
- Gasket peels out cleanly from the door frame groove without needing tools—just takes patience and doesn’t require disassembly of hinges or springs.
- New gasket seats properly and creates an immediate seal you can feel; the door closes with noticeably more resistance, which is exactly what you want.
- Solves both the draft problem and often eliminates that slight gap appearance that makes people think the door itself is warped.
What doesn’t
- Won’t fix an actual mechanical closure problem—if the door swings open on its own or closes at an angle, the hinges are the real culprit and gasket alone won’t help.
- Gasket material can be slightly stiff out of the box on cold days; I’ve had DIYers think they installed it wrong when it just needs the door cycled a few times to conform.
I’ve had more than a few people order hinge kits first only to realize the gasket was the culprit all along—save yourself the return trip by peeling back the old gasket and inspecting it under the kitchen light before you go any further. Grab a replacement door gasket and test the seal for yourself.
About This Article

Written by Dave Holt. Dave Holt has been taking apart and fixing household appliances since he was a teenager who couldn't leave a broken one alone. Eighteen years later, after fixing things for neighbors, friends, and anyone who'd let him, he's seen almost every failure mode there is. When he writes a repair guide here, it's based on the actual job, not a manufacturer overview. More about this site.
Scope and limits. Dave is a self-taught repairer, not a certified appliance technician. Unplug before you open anything, and leave sealed refrigeration systems, gas connections, and hardwired circuits to a qualified technician.



