
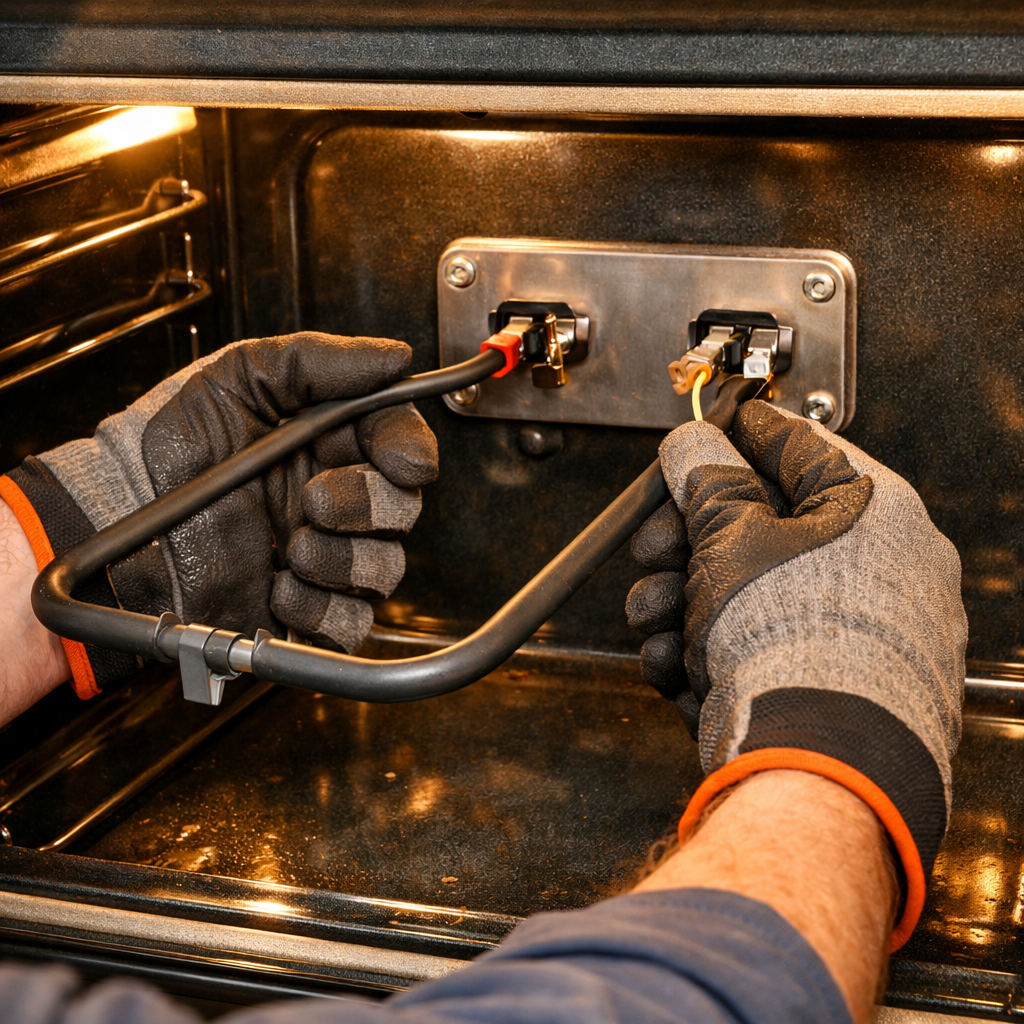
F5 error — door latch
In this guide, I’ll walk you through how to fix the F5 error — door latch on your Whirlpool WOS51EC0HS (Wall Oven). With the right tools and parts, most homeowners can complete this repair in 1–2 hours, saving you the hassle and cost of a service call.
🔨 Pro Tip from Dave
On the WOS51EC0HS, the door latch assembly part number is W10902020. Don’t waste time just replacing the latch switch alone, because the motor and switch come as one unit on this model. A common oversight is forgetting to power-cycle the oven for a full 60 seconds after the repair; if you don’t, the control board won’t reset the F5 code, and you might think your fix didn’t work.
Part of our Top 20 Oven Models & Common Repair Issues Guide. Browse all oven repair guides for related models and issues.
Common Symptoms & Causes
When you’re facing a door latch fault that triggers the F5 error on your Whirlpool WOS51EC0HS wall oven, look for these symptoms.
- The oven display shows the “F5” error code and the oven stops operating
- The self-clean cycle fails to start or cancels mid-cycle
- The oven door refuses to lock or unlock after a clean cycle
- The door latch motor runs continuously without fully engaging
Typically, this issue stems from a worn or failed door latch assembly, a faulty latch motor, or a damaged door latch switch that can no longer send the correct signal to the control board.
Safety First
- Kill power at the breaker — this oven is hardwired to a dedicated 240V circuit, so there is no cord to unplug. Switch the breaker off, tag the panel so nobody flips it back, and verify the oven is dead with a contact voltage tester.
- Wear work gloves when handling metal brackets, sheet metal edges, or sharp components.
- Take photos with your phone before disconnecting any wiring harnesses or connectors.
- Work in a well-lit area with enough floor space to lay removed panels flat.
Tools & Parts Needed
Essential Tools
- Phillips #2 screwdriver
- ¼” nut driver
- Multimeter
- Work gloves (heat-rated)
- Flashlight
Replacement Parts
- Door lock motor assembly
- door latch mechanism
- Phillips screwdriver
- multimeter
Step-by-Step Repair Instructions
Step 1
First things first: disconnect power at the breaker before touching any components. The door lock motor operates at 120V AC and can deliver a fatal shock. The F5 error specifically indicates a door lock motor failure, so start by isolating the motor. With the breaker still off, unplug the 2-pin motor harness and measure across the motor terminals with your multimeter set to ohms. You’ll want to compare that reading to the winding resistance in the service sheet. An open winding reads OL, and a shorted one reads near zero—either result means the motor itself has failed and must be replaced, not just the latch mechanism.
Step 2
To get to the door lock assembly, remove the rear access panel (4 × ¼” hex screws) or work through the oven’s top interior panel. The assembly is located at the top rear of the oven cavity. Before you start disassembly, I recommend taking a photo of the wiring and latch rod orientation, so you have a reference for reassembly. A pro tip: label or bag the screws immediately; losing a ¼” hex screw inside a wall oven cavity can be a frustrating setback.
Step 3
With the assembly exposed, manually move the latch arm through its full range of motion to check for stiffness or binding, which could cause the motor to stall and trigger an F5 even if the motor itself is healthy. If the arm feels stiff, apply a small amount of high-temp grease (rated for 400°F or higher) to the pivot point and work it in by hand. If the arm remains seized after lubrication, the assembly is mechanically compromised, and it’s better to replace the entire unit rather than force it.
Step 4
To replace the lock motor assembly, unplug the 2-pin harness connector, release the latch rod clip, and remove the 2 Phillips screws securing the assembly. Install the new assembly in reverse order, making sure the latch rod clip seats fully and the harness connector clicks into place. A partially connected harness is a common cause of repeat F5 errors after a repair. Before restoring power, confirm that the latch arm moves freely by hand.
Step 5
Now, restore power at the breaker and press Self Clean to command the oven to lock its door. This directly tests the motor you just serviced. The door should lock within 30 seconds; if it does, the F5 code will clear automatically once the control confirms successful motor operation. If the error persists after confirming a good motor and free latch arm, you’ll need to inspect the door lock control board or wiring harness between the board and motor.
Where to Buy Replacement Parts
- Whirlpool WOS51EC0HS wall oven door lock motor W11040541 replacement
- Whirlpool wall oven F5 door latch assembly replacement
- Whirlpool wall oven self-clean door lock test
When to Call a Professional
If the issue persists after completing all the steps above, the problem might involve a failed main control board, a defective temperature sensor, or a high-limit thermostat, or there may be wiring that requires specialized diagnostic equipment. In that case, it’s best to contact a licensed appliance technician. On gas models, do not attempt work on the gas valve, burner orifices, or supply line — that work should be handled by a licensed gas fitter in most jurisdictions.
How Much Does This Repair Cost?
| Repair route | Typical cost |
|---|---|
| Do it yourself | $20–$65 (parts) |
| Professional repair | $150–$300 (parts and labor) |
Replacing the door latch on a Whirlpool WOS51EC0HS typically costs $20–$65 in parts when you do it yourself. If you hire a professional repair technician, expect to pay $150–$300 once you factor in the service call fee and labor. Tackling this repair yourself can save you over $100 while clearing the F5 error for good.
Frequently Asked Questions
What does the F5 error code mean on my Whirlpool WOS51EC0HS?
The F5 error indicates a door latch failure, meaning the oven’s control board isn’t detecting that the door is properly secured. This commonly occurs when the latch motor, latch switch, or wiring connection has worn out or failed.
Can I still use my wall oven while the F5 error is displaying?
It’s not recommended, as the oven may refuse to operate or behave unpredictably until the latch issue is resolved. Continuing to use it could also cause further damage to the control board.
Do I need a professional to replace the door latch on this model?
A confident DIYer can replace the door latch using basic tools, though the oven must be fully disconnected from power first. If you’re unsure about wiring connections, hiring a certified appliance technician is the safer choice.
Recommended Products
These are the parts and tools I recommend for this repair, based on compatibility and customer reviews:
- Whirlpool W10883049 OEM Wall Oven Door Lock Motor Assembly
- SUPPLYZ Direct Replacement for Whirlpool W11029221 Wall Oven Latch Door W10128708 1373123 8303692 AH1960278
- Whirlpool W11029221 Genuine OEM Oven Door Lock Motor Assembly Replacement Part – Replaces W10195935, W10128708, 8303692, and W10830016
The OEM Door Lock Motor That Actually Stops the F5 Code on This Model
When you’re staring at that F5 error on the WOS51EC0HS, the door lock motor assembly is what you need to replace. This is the genuine Whirlpool part that handles the actual locking mechanism and the sensor that tells the control board the door is secure.
What works
- Drops right into the existing bracket—no adapter hunting or creative bracket bending required, which saves you 30 minutes of frustration.
- The internal switch continuity is solid on fresh units, so the control board actually sees the door latch signal and clears the F5 immediately after installation.
- Whirlpool’s OEM part numbers are cross-compatible across several model years of this oven, so you’re not locked into hunting down the exact variant.
What doesn’t
- You have to remove the interior oven trim and access panel to reach the latch—it’s not a top-mounted repair, so budget 45 minutes to an hour for the full swap including cooling time.
- Aftermarket or counterfeit versions of this part circulate online; stick with the official Whirlpool OEM number or you risk another failed latch in 18 months.
I’ve had homeowners order the cheaper third-party knockoff first, install it, and then call me back two months later because the F5 came right back. The motor housing cracks and the switch contact wears faster on the off-brand units. Grab the Whirlpool W11029221 Genuine OEM Oven Door Lock Motor Assembly, and you’ll have peace of mind that this oven won’t throw the same code next season.
About This Article

Written by Dave Holt. Dave Holt has been taking apart and fixing household appliances since he was a teenager who couldn't leave a broken one alone. Eighteen years later, after fixing things for neighbors, friends, and anyone who'd let him, he's seen almost every failure mode there is. When he writes a repair guide here, it's based on the actual job, not a manufacturer overview. More about this site.
Scope and limits. Dave is a self-taught repairer, not a certified appliance technician. Unplug before you open anything, and leave sealed refrigeration systems, gas connections, and hardwired circuits to a qualified technician.



