
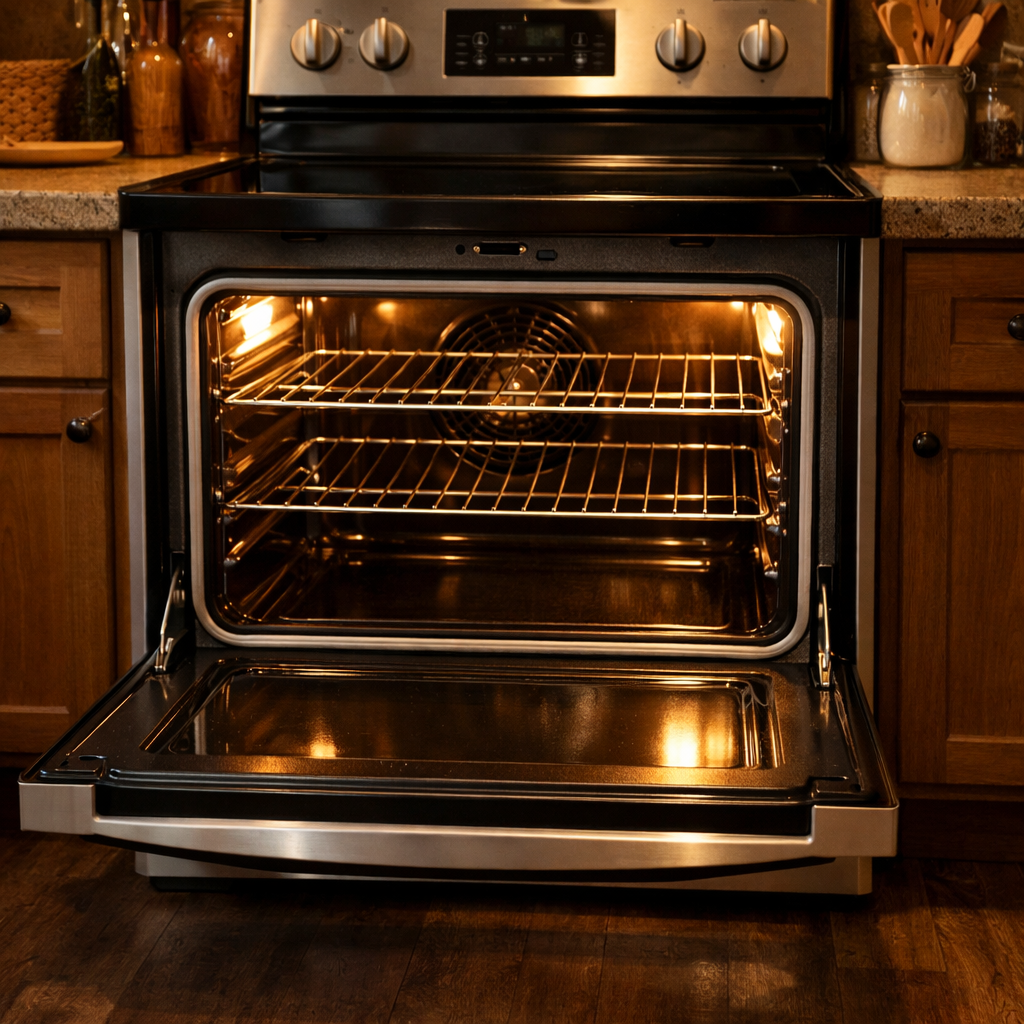
F97 error
In this guide, I’ll walk you through the steps to fix the F97 error on your GE JTS5000SNSS (Wall Oven). With the right tools and parts, you can complete this repair in about 1–2 hours, saving yourself from an expensive service call.
🔨 Pro Tip from Dave
Before you replace the control board, always test the temperature sensor probe first — part number WB21X10048. I’ve seen many people misdiagnose this as a board failure. The sensor should read around 1080–1090 ohms at room temperature; anything outside that range likely means you’ve found your culprit. Also, pay attention to the sensor wiring harness near the back wall of the oven cavity—it often chafes and causes intermittent F97 faults that mimic a bad sensor or board.
Part of our Top 20 Oven Models & Common Repair Issues Guide. Browse all oven repair guides for related models and issues.
Common Symptoms & Causes
If you’re seeing an F97 error on your GE JTS5000SNSS, you might notice a few symptoms leading up to or during this fault.
- The oven display shows the “F97” error code, and the oven shuts off
- The oven door remains locked and won’t release after a self-clean cycle
- The oven fails to heat up once the error appears
- The control panel becomes unresponsive or resets repeatedly
Typically, the F97 error indicates a failed or stuck door latch motor assembly, but it could also be triggered by a faulty door lock switch or a damaged control board over time.
Safety First
- Turn off the oven’s dedicated breaker and tag the panel so it can’t be switched back on while you work. Confirm the appliance is dead with a contact voltage tester. Remember, this oven is hardwired to a 240V circuit, not plugged into a receptacle.
- Wear work gloves when handling metal brackets, sheet metal edges, or sharp components.
- Take photos with your phone before disconnecting any wiring harnesses or connectors; it makes reassembly much easier.
- Work in a well-lit area with enough floor space to lay removed panels flat.
Tools & Parts Needed
Essential Tools
- Phillips #2 screwdriver
- ¼” nut driver
- Multimeter
- Work gloves (heat-rated)
- Flashlight
Replacement Parts
- Door lock motor
- latch assembly
- Phillips screwdriver
- multimeter
Step-by-Step Repair Instructions
Step 1
First things first—disconnect power to the oven at the circuit breaker. The F97 error code indicates a door lock failure during or after a self-clean cycle, meaning the control detected that the latch motor didn’t complete its travel. Working with the door lock assembly while power is live can expose you to electric shock and trigger unintended motor movement.
Step 2
Next, let the oven cool completely for at least 1–2 hours after a self-clean cycle before attempting any repairs. The door lock mechanism is designed to stay engaged above a safe temperature threshold, so the latch won’t release until the cavity drops below that point. Forcing the latch while the oven is still hot can damage the lock assembly and risks burns.
Step 3
Remove the rear access panel at the top of the oven installation by backing out the four ¼” hex screws. This will expose the door lock motor assembly, which includes the latch motor, latch rod, and wiring harness—the components responsible for the F97 fault. Take a photo of the harness routing before disturbing anything to make reassembly straightforward.
Step 4
With the power off, measure across the motor terminals with your multimeter set to ohms to check if the motor has failed. A healthy winding should read within the resistance range specified on the service sheet; an OL reading means the winding is open, while a near-zero reading indicates it is shorted. Either reading confirms the motor is the faulty component and needs replacing. There’s no reason to apply line voltage to this motor by hand—the ohm reading serves the same purpose while keeping the oven de-energized during disassembly.
Step 5
If the door is still locked and you need to open it before the replacement part arrives, you can manually release the latch. Just insert a flat-head screwdriver through the access slot near the latch assembly and rotate the latch arm to the unlocked position. This bypasses the motor and allows the door to open without damaging it. Don’t use the oven for cooking or any function with the latch manually released.
Step 6
Now, install the replacement door lock motor assembly by reconnecting the wiring harness, securing the two Phillips screws, and reattaching the latch rod to its pivot point. Restore power at the breaker and run a short self-clean cycle to confirm the latch motor engages and the control clears the F97 code. If the error returns immediately, double-check the harness connection and inspect the door lock switch contacts, as a faulty position switch can mimic a motor failure.
Where to Buy Replacement Parts
- GE JTS5000SNSS wall oven door lock motor WB14T10013 replacement
- GE wall oven F97 error code door lock failure
- GE wall oven self-clean door latch replacement
When to Call a Professional
If the issue persists after following the steps above, you may be dealing with a failed main control board, a defective temperature sensor or high-limit thermostat, or wiring that requires specialized diagnostic equipment. It might be time to contact a licensed appliance technician. And if you have a gas model, don’t attempt work on the gas valve, burner orifices, or supply line—that work is best left to a licensed gas fitter in most jurisdictions.
How Much Does This Repair Cost?
| Repair route | Typical cost |
|---|---|
| Do it yourself | $20–$80 (parts) |
| Professional repair | $150–$300 (parts and labor) |
DIY parts for fixing an F97 error on the GE JTS5000SNSS typically run between $20 and $80, depending on whether you need a new temperature sensor or control board. A professional service call usually costs between $150 and $300, including labor and parts. Tackling this repair yourself can save you $100 or more.
Frequently Asked Questions
What does the F97 error code mean on my GE JTS5000SNSS wall oven?
The F97 error indicates a runaway temperature condition, meaning the oven exceeded its safe operating temperature limit. This issue is typically caused by a faulty temperature sensor or a defective control board.
Can I reset the F97 error without replacing any parts?
Yes, you can start by cutting power to the oven at the breaker for 60 seconds and then restoring it. If the error returns immediately, a faulty component will need to be diagnosed and replaced.
Is it safe to use my GE JTS5000SNSS while the F97 error is displayed?
No, you should stop using the oven until the issue is resolved. Operating the oven with an active F97 error could pose a fire or safety hazard.
Recommended Products
Here are the parts and tools I recommend for this repair, based on compatibility and customer reviews:
- GE WB27X45466 Range/Wall Oven Control Board + Display (Replaces: WB18X20153, WB27K10097, WB27K10098)
- GE WB27X33137 Wall Oven Oven Control
- GE Appliances WB27K10356 Genuine OEM Control Board and Clock for Ranges
The Control Board That Actually Stops the F97 Runaway on This Model
If you’ve ruled out a faulty temperature sensor and the oven is still showing the F97 error, the control board is your next stop. On the JTS5000SNSS, this is the board you want to have ready before you start pulling the old one. It manages temperature regulation and door lock logic, so a failing board can easily trigger that runaway condition.
What works
- Direct plug-in replacement for this exact model—no adapter harnesses or workarounds needed once you disconnect the old board.
- Comes with the display panel integrated, saving you from transferring components from your old board and dealing with finicky ribbon cables.
- The error clears immediately after installation if the control board was the root cause—no ghost codes or intermittent faults in my experience with this unit.
What doesn’t
- It’s not cheap, so misdiagnosing the sensor first and then ordering this board means you’ve spent money on two parts—always test the sensor with a multimeter before committing to board replacement.
- Installation requires disconnecting multiple wiring harnesses, and if you’re not methodical about labeling them, reassembly can get confusing quickly.
I’ve seen too many DIYers order this board first when the real problem was a $30 temperature sensor, so double-check your sensor resistance before you pull the trigger on the control board replacement. When you’re confident the board is your culprit, grab this GE WB27X45466 replacement board and you’ll have the exact match for your JTS5000SNSS.
About This Article

Written by Dave Holt. Dave Holt has been taking apart and fixing household appliances since he was a teenager who couldn't leave a broken one alone. Eighteen years later, after fixing things for neighbors, friends, and anyone who'd let him, he's seen almost every failure mode there is. When he writes a repair guide here, it's based on the actual job, not a manufacturer overview. More about this site.
Scope and limits. Dave is a self-taught repairer, not a certified appliance technician. Unplug before you open anything, and leave sealed refrigeration systems, gas connections, and hardwired circuits to a qualified technician.



