
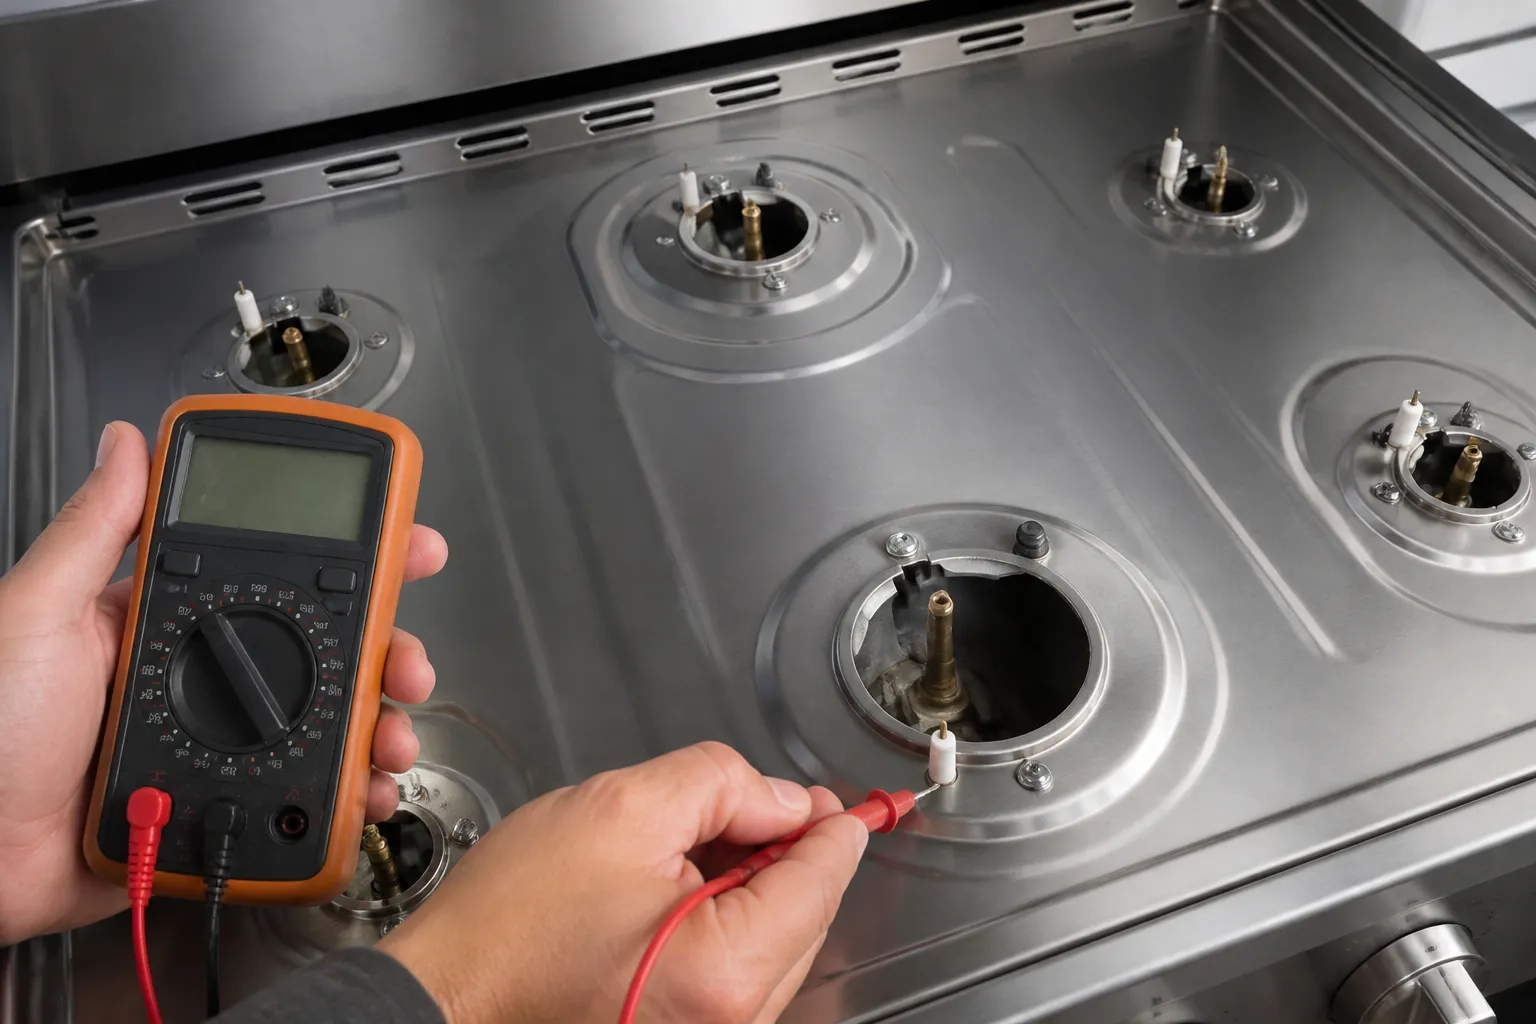
Burner Not Igniting
This guide will help you diagnose and fix a burner that won’t ignite on the Samsung NX58H5600SS gas range. I’ll cover the common causes, the parts you’ll likely need, and provide clear, step-by-step instructions to get your range working again. Most homeowners with basic mechanical skills can complete this repair in about 1–2 hours without needing a technician.
Common Symptoms & Causes
Before we dive in, let’s identify whether you’re experiencing one or more of these typical signs of an ignition problem on the NX58H5600SS:
- Burner clicks repeatedly but never lights
- No clicking sound at all when you turn the knob to ignite
- One burner fails while others work normally
- Burner lights intermittently or only after several attempts
The primary culprit is often a fouled or cracked igniter electrode, typically caused by food spills, grease buildup, or moisture. A faulty spark module or damaged igniter wire can also be the issue.
Safety First
- Turn the range off and unplug it from the wall outlet before starting any work
- Shut off the gas supply valve behind or beneath the range
- Wear work gloves to protect against sharp metal edges inside the cooktop
- Photograph all wiring connections before disconnecting anything
- Work in a well-lit space so you can clearly see igniter tips and wire routing
Tools & Parts Needed
Essential Tools
- Phillips head screwdriver (#2)
- Flat-head screwdriver
- Needle-nose pliers
- Multimeter (to test igniter continuity)
- Soft toothbrush and mild degreaser (for cleaning electrodes)
Replacement Parts
- Surface Burner Igniter Electrode
- Spark Ignition Module (6-outlet)
- Burner Igniter Switch
Step-by-Step Repair Instructions
🔨 Pro Tip from Dave
On the NX58H5600SS, the surface igniter module is shared across multiple burners. So if more than one burner is clicking but not sparking, don’t waste time replacing individual igniters. The problem is almost always a single faulty spark module or a grounding issue. Before ordering any parts, press and hold one burner knob and watch if ALL the igniters try to fire simultaneously; if they don’t, you’ve already narrowed it down to that burner’s specific igniter wire connection rather than the module itself.
Step 1: Remove Grates and Burner Caps
Start by lifting off the cast-iron grates and setting them aside. Then, remove the burner caps by lifting them straight up — they aren’t fastened. Inspect each cap for cracks or heavy carbon deposits that could block the gas ports. If you find any damage, replace the caps even if the igniter itself seems fine.
Step 2: Clean the Igniter Electrodes
Next, locate the ceramic igniter tip beside each burner head. Using a soft toothbrush and a small amount of rubbing alcohol or mild degreaser, scrub away any grease, food residue, or white mineral buildup from the tip. A dirty electrode is the most common reason for ignition failure on this model — many repairs end right here.
Step 3: Test the Igniter Electrode
Set your multimeter to the resistance (Ohms) setting and test the igniter electrode leads. A healthy electrode typically reads between 1,000 and 4,000 ohms; if you get an open circuit (OL or infinite resistance), it indicates a failed electrode that needs replacing. Also, do a visual inspection of the ceramic body for hairline cracks, which can also cause intermittent ignition failures.
Step 4: Access and Inspect the Spark Module
Remove the cooktop panel by unscrewing the fasteners along the front edge, then carefully lift the top and prop it open. Locate the spark module — a small black box usually mounted near the front of the chassis with wires running to each burner igniter. Check all wire harness connectors for corrosion, burn marks, or loose terminals, and reseat any that look suspect.
Step 5: Replace the Igniter Electrode (If Defective)
Disconnect the igniter wire from the old electrode and remove the mounting screw holding it to the burner base. Slide the new electrode into position, secure it with the screw, and reconnect the wire, using your earlier photographs to confirm correct terminal placement. Reassemble the cooktop, restore power, and test ignition with the gas supply still off; you should hear a sharp, consistent click.
Step 6: Replace the Spark Module (If Multiple Burners Fail)
If two or more burners fail to spark after cleaning and electrode testing, the spark ignition module is likely the problem. Disconnect all igniter wires and the module’s power connector, remove the mounting screws, and swap in the new module. Reconnect the wires in the same order as the original — the module ports are usually labeled by burner position.
Step 7: Reassemble and Final Test
Finally, replace the cooktop panel, reinstall the burner caps and grates, restore the gas supply, and plug the range back in. Turn each knob to ignite and confirm a clean, consistent flame on every burner within two seconds. If a burner still won’t light after all these steps, it may be time to seek professional help.
How Much Does This Repair Cost?
| Repair route | Typical cost |
|---|---|
| Do it yourself | $15–$75 (parts) |
| Professional repair | $150–$300 (parts and labor) |
DIY parts for this repair typically range from $15 to $75, depending on what needs replacing. A single igniter electrode usually costs around $15–$30, while a full spark module is priced at $40–$75. In comparison, a professional service call for the Samsung NX58H5600SS averages between $150 and $300 once you factor in the diagnostic fee, labor, and parts markup. Completing this repair yourself can save you $100–$250 and keeps your range out of a service queue that can stretch for days or even weeks.
When to Call a Professional
Most repairs in this guide are within reach for a careful DIYer with basic tools. From my experience, the moment you detect the smell of gas after reassembly, hear a hissing from the valve area, or find that the burner valve itself feels stiff or was disturbed during the repair, that job needs to stop immediately and be handed to a licensed gas appliance technician — gas valve integrity is not something to test with trial and error. When in doubt, a diagnostic service call typically costs $80–$120 and can save you from a misdiagnosis that might cost more in parts.
The DG94-00520A Igniter — The Part That Actually Fixes Most Samsung NX58H5600SS Burner No-Spark Issues
If you’ve confirmed the igniter tip is cracked, corroded, or visibly wet, this is the replacement you need — it’s the exact OEM-spec igniter for this model, and it’s the one to reach for nine times out of ten when a burner won’t light. Once you pull the burner cap and see the damage yourself, you’ll know immediately whether this is your fix.
What works
- Direct OEM match for the NX58H5600SS — no guessing on fitment or whether you’re ordering the right electrode shape.
- Installation is genuinely simple: two screws, one connector, takes about five minutes per burner. You don’t need special tools or thermal paste.
- The spark returns immediately after install — I’ve never had one of these igniters fail to restore ignition on a unit where the original was actually damaged.
What doesn’t
- If your igniter is actually fine and the problem is a failed spark module or igniter switch, this part won’t solve it — which is why I always visually inspect first.
- Shipping time can be slow if you order through a third-party seller; the official Samsung part from a local appliance supplier sometimes arrives faster if you’re in a hurry.
The most common mistake I see is people ordering a spark module or switch before they’ve actually looked at the igniter itself — moisture or a hairline crack on the ceramic electrode looks like nothing under kitchen lights, but it’s 100% the culprit. Pull the cap, shine a flashlight on the igniter tip, and if you see damage, order the DG94-00520A Gas Range Oven Igniter Replacement Compatible with Samsung NX58F5500SS NX58H5600SS NX58H9500WS.
About This Article

Written by Dave Holt. Dave Holt has been taking apart and fixing household appliances since he was a teenager who couldn't leave a broken one alone. Eighteen years later, after fixing things for neighbors, friends, and anyone who'd let him, he's seen almost every failure mode there is. When he writes a repair guide here, it's based on the actual job, not a manufacturer overview. More about this site.
Scope and limits. Dave is a self-taught repairer, not a certified appliance technician. Unplug before you open anything, and leave sealed refrigeration systems, gas connections, and hardwired circuits to a qualified technician.



