Ice Maker Slow Production Repair for GE GSS25IYNFS Side-by-Side Refrigerator
When I get calls about slow ice production in the GE GSS25IYNFS refrigerator, I know it’s often linked to issues with the water supply, temperature inconsistencies, or mechanical failures within the ice maker assembly. This model’s modular ice maker should produce about 10-12 pounds of ice every 24 hours under normal conditions. If you notice production dropping below this rate, the culprit usually involves the water fill valve, the ice maker module, the temperature sensor, or the water filtration system. Depending on which component needs attention, this repair can range from EASY to MODERATE difficulty, and it’s something most homeowners with basic mechanical skills and the right tools can handle.
Symptoms
- Ice production reduced to fewer than 6-8 cubes per cycle (normal cycle produces 10-14 cubes)
- Extended time between ice making cycles, taking 3-4 hours instead of the typical 90-120 minutes
- Small, hollow, or malformed ice cubes indicating insufficient water fill
- Ice maker runs through cycles but produces little to no ice over 24-48 hours
- Unusual clicking or grinding noises from the ice maker assembly located in the upper left freezer compartment
- Water dispenser flow rate noticeably slower than normal, indicating potential water supply issues affecting both systems
⚠️ Safety Warning
Before diving into any repair work on your GE GSS25IYNFS, make sure to disconnect power at the circuit breaker or unplug the unit from the wall outlet. This refrigerator operates on 115V AC current, and the ice maker assembly has live electrical connections, even when it seems off. Shut off the water supply valve, usually located behind or beneath the refrigerator, to prevent flooding when disconnecting the water line. Be cautious — this unit weighs around 300 pounds, so never try to move it alone, and ensure there’s enough ventilation space when pulling it away from the wall. Always wear safety glasses when working with small components, as springs and clips can be quite the projectiles. Finally, let the refrigerator reach room temperature for at least 30 minutes before starting to avoid any condensation-related electrical issues.
Parts Needed
- GE Water Inlet Valve Assembly (Part #WR57X10051 or WR57X10032) – dual solenoid valve rated for 120V AC
- GE Ice Maker Assembly Module (Part #IM116000 or WR30X10093) – complete modular unit for GSS25IYNFS
- Water Filter Cartridge (Part #MSWF or MSWFDS) – genuine GE SmartWater filter
- Ice Maker Wiring Harness (Part #WR23X10030) if connector damage is present
- Freezer Temperature Sensor (Part #WR55X10025) – thermistor assembly with 18-inch lead wire
- Water Line Tubing Kit (Part #WR17X11705) – 1/4-inch copper tubing with compression fittings
Tools Required
- Digital multimeter capable of measuring AC/DC voltage and resistance (0-200 ohm range minimum)
- Phillips head screwdriver set with #1 and #2 bits
- Flathead screwdriver set (1/4-inch and 3/8-inch blade widths)
- Adjustable wrench (10-inch minimum) for water line connections
- Needle-nose pliers for small wire connections and clip removal
- Flashlight or headlamp for illuminating work area inside freezer compartment
- Small container or towels for collecting water during line disconnection
Step-by-Step Instructions
Step 1: Initial Diagnosis and Preparation
🔨 Pro Tip from Dave
On the GSS25IYNFS specifically, watch out for a partially kinked water supply line behind the fridge where it passes through the cabinet bracket — it’s a tight radius that can restrict flow just enough to cut production in half without triggering a full no-ice symptom, and it’s easy to miss if you only check the shutoff valve and inlet valve. I’ve seen people swap the water inlet valve on these units twice before someone finally pulled the fridge out and looked at that bend.
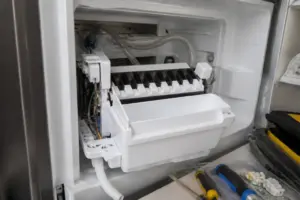
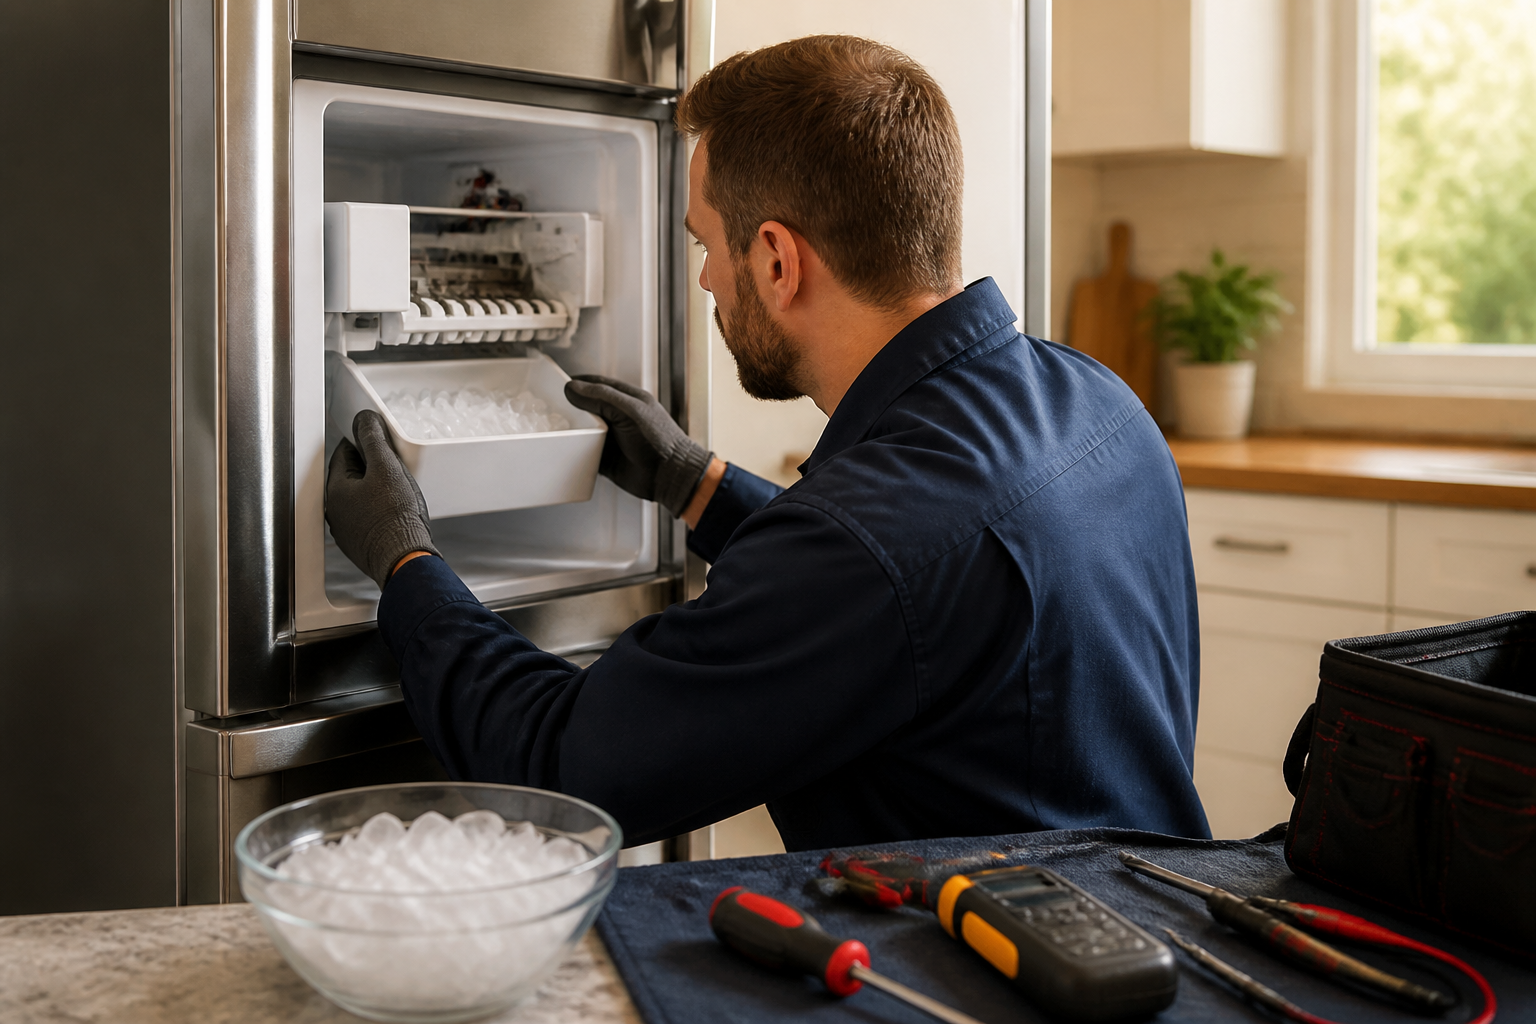
First things first, disconnect power to your GE GSS25IYNFS and clear out all items from the freezer compartment. You’ll find the ice maker assembly in the upper left corner of the freezer — it’s a rectangular module about 10 inches wide by 6 inches deep. Remove the wire storage basket located beneath the ice maker by lifting it straight up. Check the ice maker’s ON/OFF switch (it’s on the ceiling of the freezer near the ice chute) to make sure it’s in the ON position. Examine the fill cup area (a small plastic cup behind the ice maker) for any ice blockages or debris that might hinder proper water filling.
Step 2: Test Ice Maker Electrical Connections
Next, restore power temporarily so you can perform electrical testing. Set your multimeter to AC voltage mode and carefully probe the ice maker’s 4-pin connector located on the left side of the module. You should see 120V AC across the outer two pins when the ice maker calls for water. If you don’t see any voltage, check the 3-amp fuse on the main control board, which is located behind the temperature control panel. Remove power again before moving on to the mechanical inspection.
Step 3: Remove Ice Maker Assembly
With power disconnected, locate the three mounting screws that hold the ice maker to the ceiling of the freezer — two are at the front corners and one at the rear center. Use a Phillips #2 screwdriver to remove these screws. Carefully disconnect the 4-pin wiring harness by pressing the release tab and pulling straight out. Lower the ice maker assembly slowly, paying attention to the fill cup and ejector arm’s position for reassembly.
Step 4: Inspect Water Fill System
Take a close look at the fill cup (the small white plastic component) for any cracks or mineral buildup that could affect water distribution. The fill cup should evenly direct water into the ice mold; any damage here will lead to insufficient filling and tiny ice cubes. Also, check the water supply tube connection at the top rear of the ice maker assembly. This 1/4-inch tube should be firmly connected and free of kinks or ice blockages that could restrict water flow.
Step 5: Test Water Inlet Valve
Find the water inlet valve on the rear wall of the refrigerator, usually behind the lower access panel. Remove the rear panel by unscrewing four Phillips screws at each corner. The valve has two solenoids — one for the dispenser and one for the ice maker. Set your multimeter to resistance mode and test each solenoid coil. A normal resistance reading should be between 200-500 ohms. If you get infinite (open circuit) or near zero (short circuit) readings, replace the water inlet valve assembly.
Step 6: Check Water Filter and Flow Rate
Remove the water filter cartridge from the upper right corner of the fresh food compartment by turning it counterclockwise one-quarter turn. Inspect the filter for clogs, discoloration, or damage. Even if the filter change indicator hasn’t activated, a severely clogged filter can reduce water flow to both the dispenser and ice maker. To test water flow, temporarily bypass the filter with the blue bypass plug (typically stored behind the filter housing) and activate the water dispenser.
Step 7: Examine Ice Maker Module Components
With the ice maker removed, check the gear assembly visible through the bottom of the unit. The harvest cam should rotate freely without binding or unusual resistance. Also, inspect the thermistor (temperature sensor) — a small component with two wires extending from the ice maker body. This sensor tells the ice maker when the ice is frozen and ready for harvest. Test the thermistor resistance at room temperature; it should read around 16,000-17,000 ohms on your multimeter.
Step 8: Clean and Service Ice Maker Assembly
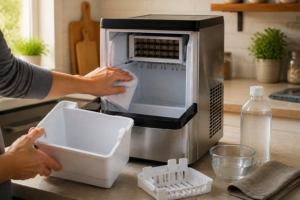
Remove any ice buildup from the ejector blades and mold using warm water and a soft brush. Pay special attention to the mold cavities where ice forms — mineral deposits can prevent complete filling and cause slow production. Clean the fill cup thoroughly with warm water and white vinegar to eliminate calcium buildup. Ensure all components move freely and check for any obstructions in the ice discharge chute.
Step 9: Test and Replace Water Inlet Valve if Necessary
If your electrical tests indicated a faulty water inlet valve, disconnect the water supply line using an adjustable wrench on the compression fitting. Remove the two mounting screws that hold the valve to the refrigerator frame. Install the new valve by reversing this process, ensuring all connections are tight to prevent leaks. The water line connection should only require hand-tight pressure plus a quarter turn with the wrench to avoid over-tightening and damage.
Step 10: Reinstall Ice Maker Assembly
Position the ice maker assembly back into the freezer compartment, aligning the mounting holes with the original screw locations. Reconnect the 4-pin wiring harness until you hear it click into place. Secure the assembly with the three original mounting screws, tightening them snugly but avoiding over-tightening to prevent cracking the plastic mounting tabs. Make sure the ice maker sits level and that the ejector arm can move freely.
Step 11: Restore Power and Initialize Ice Maker
Reconnect power to your GE GSS25IYNFS and turn on the water supply. The ice maker should begin its initial cycle within 10-15 minutes after power restoration. You might need to manually cycle the ice maker using the test button (if it has one) or by moving the wire arm down and back up. Listen for the water fill cycle — you should hear water flowing into the ice maker for about 7-8 seconds during the fill portion of the cycle.
Step 12: Monitor and Verify Repair
Let the ice maker complete 2-3 full cycles over the next 4-6 hours to verify proper operation. Each cycle should produce 10-14 properly formed ice cubes and take about 90-120 minutes from start to finish. Check that the ice cubes are uniform in size and fully solid without hollow centers, which would indicate insufficient water fill. Document the repair completion time and monitor ice production over the next 24 hours to ensure sustained proper operation.
Troubleshooting
- If ice production remains slow after replacing components, verify freezer temperature is maintaining 0-5°F using an independent thermometer placed near the ice maker assembly
- Check for air in the water lines by dispensing water for 2-3 minutes continuously to purge any air bubbles that could affect fill volume
- Ensure the door seals are intact and the freezer is not experiencing frequent temperature fluctuations due to door opening or seal leakage
- Verify the ice maker is level using a small bubble level — an unlevel installation can cause uneven water distribution and poor ice formation
- Test the household water pressure at the refrigerator connection point — insufficient pressure (below 20 PSI) will cause slow fill and poor ice production
- Check for partial blockages in the ice chute or dispenser mechanism that might cause back-pressure and affect the ice maker’s harvest cycle
When to Call a Professional
- If electrical testing reveals problems with the main control board or complex wiring harness issues requiring specialized diagnostic equipment
- When water leaks develop behind the refrigerator or inside wall cavities, indicating possible damage to concealed water lines requiring appliance relocation
- If the refrigerant system shows signs of problems such as inadequate cooling, unusual noises from the compressor, or visible refrigerant leaks requiring EPA-certified technician intervention
- When multiple component failures occur simultaneously, suggesting underlying electrical or control system problems that require comprehensive diagnosis and specialized repair expertise
When to Call a Professional
Most repairs in this guide are well within reach for a careful DIYer equipped with basic tools. From my experience, once your diagnostics point to a failed control board, a seized ice maker motor module that won’t respond to a manual harvest test, or any situation where the freezer won’t hold temperature despite a clean condenser and intact door seals, you’re entering a realm where misdiagnosis can get expensive quickly. A certified tech will save you money in the long run. If you’re uncertain, a diagnostic service call typically costs $80–$120 and can help you avoid a misdiagnosis that results in even higher costs for parts.
Recommended Parts & Tools
IM10093 Compatible with GE WR30X10093 Icemaker Refrigerator
In my experience, a clogged water filter is one of the most common causes of slow ice production in GE side-by-side refrigerators like the GSS25IYNFS. This genuine GE water filter replacement guarantees proper water flow to the ice maker and should be replaced every 6 months for optimal performance. This filter is specifically designed for compatibility with GE refrigerator models including the GSS25IYNFS.
WR49X10283 Ice Maker Water Inlet Valve for GE Refrigerator
When the water inlet valve becomes faulty or partially clogged, it can restrict water flow to the ice maker, leading to slow ice production or small ice cubes. This replacement inlet valve is compatible with GE side-by-side refrigerators including the GSS25IYNFS model and restores proper water pressure and flow to the ice-making system. Installing this valve can resolve persistent slow ice production issues when filter replacement doesn’t solve the problem.
The Water Filter Swap That Stops Ice Maker Slowdown Before It Starts
A clogged or failing water filter is responsible for more slow ice production calls on GE side-by-sides than any other single cause — it restricts water flow to the ice maker without triggering obvious error codes. If your freezer temperature checks out but ice production is still crawling, this is the first part to swap, and it almost always solves the problem.
What works
- Fits the GSS25IYNFS and most GE side-by-side models without modification — drops straight in and seats firmly
- Ice production noticeably picks up within the first freeze cycle after replacement, usually reaching normal speed within 24 hours
- Water pressure at the dispenser and icemaker inlet valve normalizes immediately, which also confirms the filter was actually the blockage point
What doesn’t
- Won’t fix the problem if the inlet valve itself is stuck or faulty — if you swap the filter and nothing improves, the valve is your next stop
- Replacement interval is every 6 months under normal water conditions, so this isn’t a permanent one-time fix if you neglect maintenance
I’ve had homeowners order the inlet valve first and waste time installing it, only to find the filter was 18 months overdue and the valve was fine — check your filter change date before you assume the valve is dead. IM10093 Compatible with GE WR30X10093 Icemaker Refrigerator
About This Article

Written by Dave Holt. Dave Holt has been taking apart and fixing household appliances since he was a teenager who couldn't leave a broken one alone. Eighteen years later, after fixing things for neighbors, friends, and anyone who'd let him, he's seen almost every failure mode there is. When he writes a repair guide here, it's based on the actual job, not a manufacturer overview. More about this site.
Scope and limits. Dave is a self-taught repairer, not a certified appliance technician. Unplug before you open anything, and leave sealed refrigeration systems, gas connections, and hardwired circuits to a qualified technician.