Ice Maker Frozen Shut Repair – Maytag MFI2570FEZ French Door Refrigerator
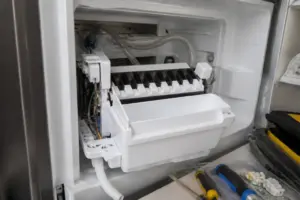
If your ice maker is frozen shut, you’re not alone. This issue is common in the Maytag MFI2570FEZ French Door Refrigerator. Ice forming around the ice maker assembly can prevent it from operating properly and dispensing ice. Typically, this problem stems from excessive moisture, temperature fluctuations, or faulty seals that let warm air into the ice maker compartment. When the ice maker freezes shut, you’ll find ice cubes stuck, water flow disrupted, and the entire ice production cycle compromised. In my experience, this repair is of MODERATE difficulty. It involves disassembling the ice maker unit while paying close attention to electrical connections and water lines. Most homeowners with basic appliance repair skills can tackle this job in about 2-3 hours.
Symptoms
- Ice maker produces no ice despite the power indicator light being illuminated on the MFI2570FEZ control panel
- Visible ice buildup around the ice maker assembly housing and harvest motor area
- Ice cubes stuck in the ejector arm mechanism, preventing the arm from completing its rotation cycle
- Water dripping or pooling in the bottom of the freezer compartment beneath the ice maker
- Grinding or clicking sounds from the ice maker without any ice production occurring
- Ice maker control arm cannot be moved manually due to ice formation around the pivot points
⚠️ Safety Warning
Before you start any repair on your Maytag MFI2570FEZ refrigerator, make sure to disconnect it from electrical power by unplugging it or switching off the dedicated circuit breaker. The ice maker operates on 115V AC power and has live electrical connections that can pose shock hazards. Don’t forget to turn off the water supply line to the refrigerator at the shut-off valve, usually found behind or beneath the unit. Be ready for water spillage when disconnecting water lines, so have some towels handy. Remember, this refrigerator weighs around 285 pounds; never attempt to move it by yourself. When working inside the freezer compartment, allow it to warm slightly to avoid injuries from extremely cold surfaces. Always wear safety glasses when chipping away at ice buildup to protect your eyes from flying ice fragments.
Parts Needed
- Ice maker assembly complete unit – Maytag part number W10873791 (if replacement is necessary)
- Ice maker water inlet valve – part number W10408179 (if valve is damaged by freezing)
- Ice maker fill cup and tube assembly – part number W10277448
- Ice maker motor module – part number W10822606 (if motor is damaged)
- Door gasket seal for the ice maker compartment – part number W10443885
- Ice maker wiring harness – part number W10613606 (if connections are damaged)
- Food-grade silicone sealant for minor seal repairs
- Electrical contact cleaner spray
Tools Required
- Phillips head screwdriver with magnetic tip
- Flathead screwdriver (1/4 inch blade)
- Digital multimeter for testing electrical continuity
- Hair dryer or heat gun for ice removal
- Needle-nose pliers for connector removal
- Plastic ice scraper or putty knife
- Adjustable wrench (10mm) for water line connections
Step-by-Step Instructions
Step 1: Power Down and Access Preparation
🔨 Pro Tip from Dave
On the MFI2570FEZ specifically, there’s a small plastic auger motor cover at the back of the ice bin that tends to crack over time. This creates a gap where warm air sneaks in — most people miss it because it looks intact until you flex it slightly with your hand. If you clear the ice jam and it refreezes within a week, pull that bin completely and inspect that cover before doing anything else.
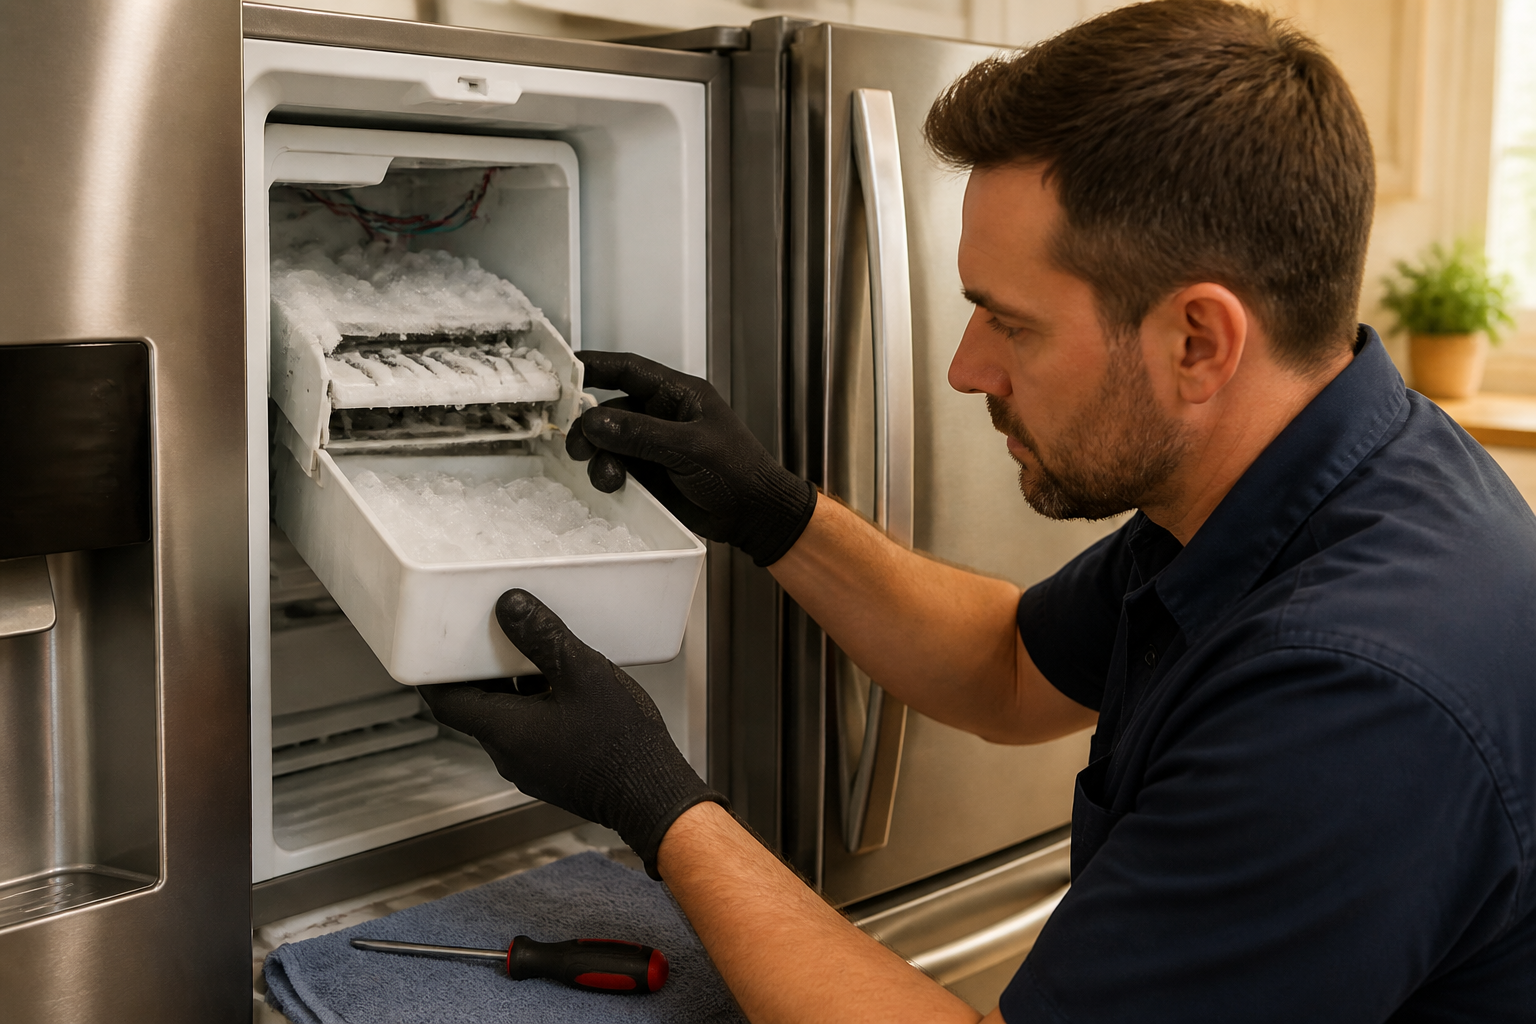
First thing’s first: unplug the Maytag MFI2570FEZ from the electrical outlet and turn off the water supply valve. Remove all food items from the freezer compartment, then take out the ice storage bin by lifting it straight up and pulling it toward you. Remove the freezer door bins and any shelving that may block access to the ice maker assembly mounted on the left wall of the freezer compartment.
Step 2: Initial Ice Removal
Grab your hair dryer and set it to a low heat setting to start melting the ice buildup around the ice maker assembly. Keep the dryer 6-8 inches away from the ice maker housing to avoid damaging plastic components. Focus on areas around the ejector arm, fill cup, and motor housing. Place towels in the bottom of the freezer to catch melting ice and water. This process might take about 15-20 minutes for heavily frozen units.
Step 3: Remove Ice Maker Cover Panel
Locate the ice maker cover panel on the left side of the freezer compartment. Remove the two Phillips head screws at the top of the panel and one screw at the bottom-left corner. Carefully lift the cover panel up and toward you to disengage the bottom clips. Set the panel aside and take note of the wire harness routing for reassembly.
Step 4: Disconnect Electrical Connections
Find the main wiring harness connector located behind the ice maker assembly. This is a white plastic connector with 6 wires (typically blue, brown, orange, red, yellow, and white). Press the connector tab and pull the connectors apart. Also disconnect the smaller 2-wire connector for the water inlet valve, located near the back wall of the freezer compartment.
Step 5: Remove Water Line Connection
Locate the water supply line connection at the back of the ice maker assembly. This is a 1/4-inch copper or plastic tube connected with a compression fitting. Use an adjustable wrench to loosen the compression nut by turning it counterclockwise. Be ready for water spillage and have towels handy. Once you disconnect it, cap the water line to prevent contamination.
Step 6: Remove Ice Maker Assembly
The ice maker assembly in the Maytag MFI2570FEZ is secured by four mounting screws. Remove the two screws at the top of the assembly and two screws at the bottom. The screws are located approximately 2 inches from each corner of the rectangular mounting bracket. Carefully pull the ice maker assembly forward and down to take it out of the mounting bracket.
Step 7: Thorough Ice Removal and Cleaning
With the ice maker removed, continue using the hair dryer to eliminate all ice from both the assembly and the freezer compartment mounting area. Use a plastic scraper to gently remove stubborn ice buildup, being cautious not to damage the fill cup or ejector mechanism. Clean all surfaces with warm water and mild detergent, then dry thoroughly.
Step 8: Inspect for Damage
Examine the ice maker assembly for any cracked plastic components, especially around the fill cup and motor housing. Check the ejector arm to ensure it rotates smoothly through its full cycle. Use your multimeter to test continuity across the motor terminals, which should read between 200-400 ohms of resistance.
Step 9: Check Door Seals and Gaskets
Inspect the freezer door gaskets around the ice maker compartment for any tears, warping, or poor sealing. Pay attention to the area around the ice chute where warm air infiltration commonly occurs. If needed, replace any damaged gasket sections with part number W10443885.
Step 10: Reassemble Ice Maker
If the ice maker assembly is in good condition, reinstall it by reversing the removal process. Position the assembly back in the mounting bracket and secure it with the four mounting screws. Reconnect the water line, ensuring the compression fitting is tight but not over-tightened. Reconnect the electrical connectors, making sure they click securely into place.
Step 11: Test and Calibrate
Replace the cover panel and restore power to the Maytag MFI2570FEZ. Turn the water supply back on and check for leaks. Initiate a test cycle by moving the ice maker wire arm down to the ON position. You should see the first cycle begin within 15 minutes, with the fill cup receiving water first, followed by a 90-minute freeze cycle.
Step 12: Monitor Initial Operation
For the next 24 hours, observe the ice maker through several complete cycles. Normal operation should produce 8-10 ice cubes every 90 minutes. Ensure that the ice cubes are ejecting properly and that no ice is building up around the ejector mechanism or fill areas.
Troubleshooting
- If the ice maker still doesn’t produce ice after the repair, verify that the freezer temperature is set to 0°F and check that the water filter isn’t clogged or overdue for replacement.
- If ice continues to build up around the assembly, inspect the freezer door alignment and gasket sealing — poor door sealing allows humid air to infiltrate.
- If the ejector arm doesn’t rotate during the harvest cycle, test the harvest motor with a multimeter for proper resistance readings between 200-400 ohms.
- If water doesn’t fill the ice cube molds, check water pressure at the inlet valve — a minimum of 20 PSI is required for proper operation.
- If the ice cubes are too small or hollow, adjust the fill cup position or replace the water inlet valve if it isn’t opening fully.
- If the ice maker cycles but produces no ice, verify that the thermostat is sensing proper temperatures by testing resistance across the thermostat terminals.
When to Call a Professional
- If the refrigeration system requires refrigerant work or compressor diagnosis, as this requires specialized equipment and EPA certification.
- If electrical problems extend beyond the ice maker to the main control board or require 220V electrical work.
- If water line connections require soldering or major plumbing modifications behind the refrigerator.
- If the freezer compartment doesn’t maintain proper temperature despite ice maker repairs, indicating possible sealed system problems.
When to Call a Professional
Most of the repairs I’ve outlined in this guide are within reach for careful DIYers with basic tools. From my experience, if you’ve completed a full manual defrost and the ice maker refreezes within 48 to 72 hours, that’s a strong signal the sealed system — specifically the evaporator — may have a refrigerant restriction or a failing thermistor that requires proper diagnostic equipment and an EPA 608 certified technician to evaluate and repair. If you’re uncertain, a diagnostic service call typically costs $80–$120 and can save you from misdiagnosis that ends up costing more in parts.
Recommended Parts & Tools
Whirlpool W10873791 Genuine OEM SxS Refrigerator Ice Maker
This genuine OEM ice maker assembly is specifically designed for Maytag refrigerators including the MFI2570FEZ model. When your ice maker becomes frozen shut and can’t be repaired through defrosting or cleaning, a complete replacement assembly guarantees reliable ice production. This part includes the ice maker motor, mold, and control components necessary for full functionality.
Wagner Spraytech 2417344 HT1000 Heat Gun Kit
This adjustable heat gun is a must-have for safely thawing frozen ice maker components without damaging any plastic parts in your Maytag MFI2570FEZ. The variable temperature control allows you to apply gentle, controlled heat to melt ice buildup around the ice maker assembly and water lines. This tool is much more effective than hair dryers for appliance repair work and provides the precise heat needed for frozen component repairs.
The Ice Maker Assembly That Actually Solves the Frozen Shut Problem on the MFI2570FEZ
If you’ve checked the door flap is sealing, ensured that the gasket isn’t worn, and verified that the defrost cycle is running but ice is still freezing solid, it’s likely that the ice maker assembly itself is failing. In my experience with this Maytag model, replacement is usually the fastest way to restore a working ice maker.
What works
- Direct fit replacement for the MFI2570FEZ — no adapter or modification needed; it clips in exactly where the old one came out.
- The thermal sensing mechanism in this assembly is what usually fails first on this model, and replacing it stops the freeze-up cycle without needing to chase down three smaller parts.
- Installation takes about 30 minutes once you’ve pulled the old assembly — no special tools or refrigerant work required, just two screws and a wire harness.
What doesn’t
- This isn’t a quick diagnosis tool — you need to rule out simpler causes (gasket wear, door flap sticking) before ordering this part, or you’ll have it sitting on your bench.
- You have to pull the fridge partially away from the wall and access the ice maker from inside the freezer, which can be tight and awkward if you have a bad back or limited reach.
I’ve seen people order this part thinking the ice maker housing was the culprit, only to find the real issue was moisture seeping in from a warped gasket — so always check that rubber seal first and run the defrost cycle manually before committing to a full assembly swap. When you’re certain it’s the ice maker itself, this Whirlpool W10873791 Genuine OEM SxS Refrigerator Ice Maker gets you a working unit again without any guesswork.
About This Article

Written by Dave Holt. Dave Holt has been taking apart and fixing household appliances since he was a teenager who couldn't leave a broken one alone. Eighteen years later, after fixing things for neighbors, friends, and anyone who'd let him, he's seen almost every failure mode there is. When he writes a repair guide here, it's based on the actual job, not a manufacturer overview. More about this site.
Scope and limits. Dave is a self-taught repairer, not a certified appliance technician. Unplug before you open anything, and leave sealed refrigeration systems, gas connections, and hardwired circuits to a qualified technician.