
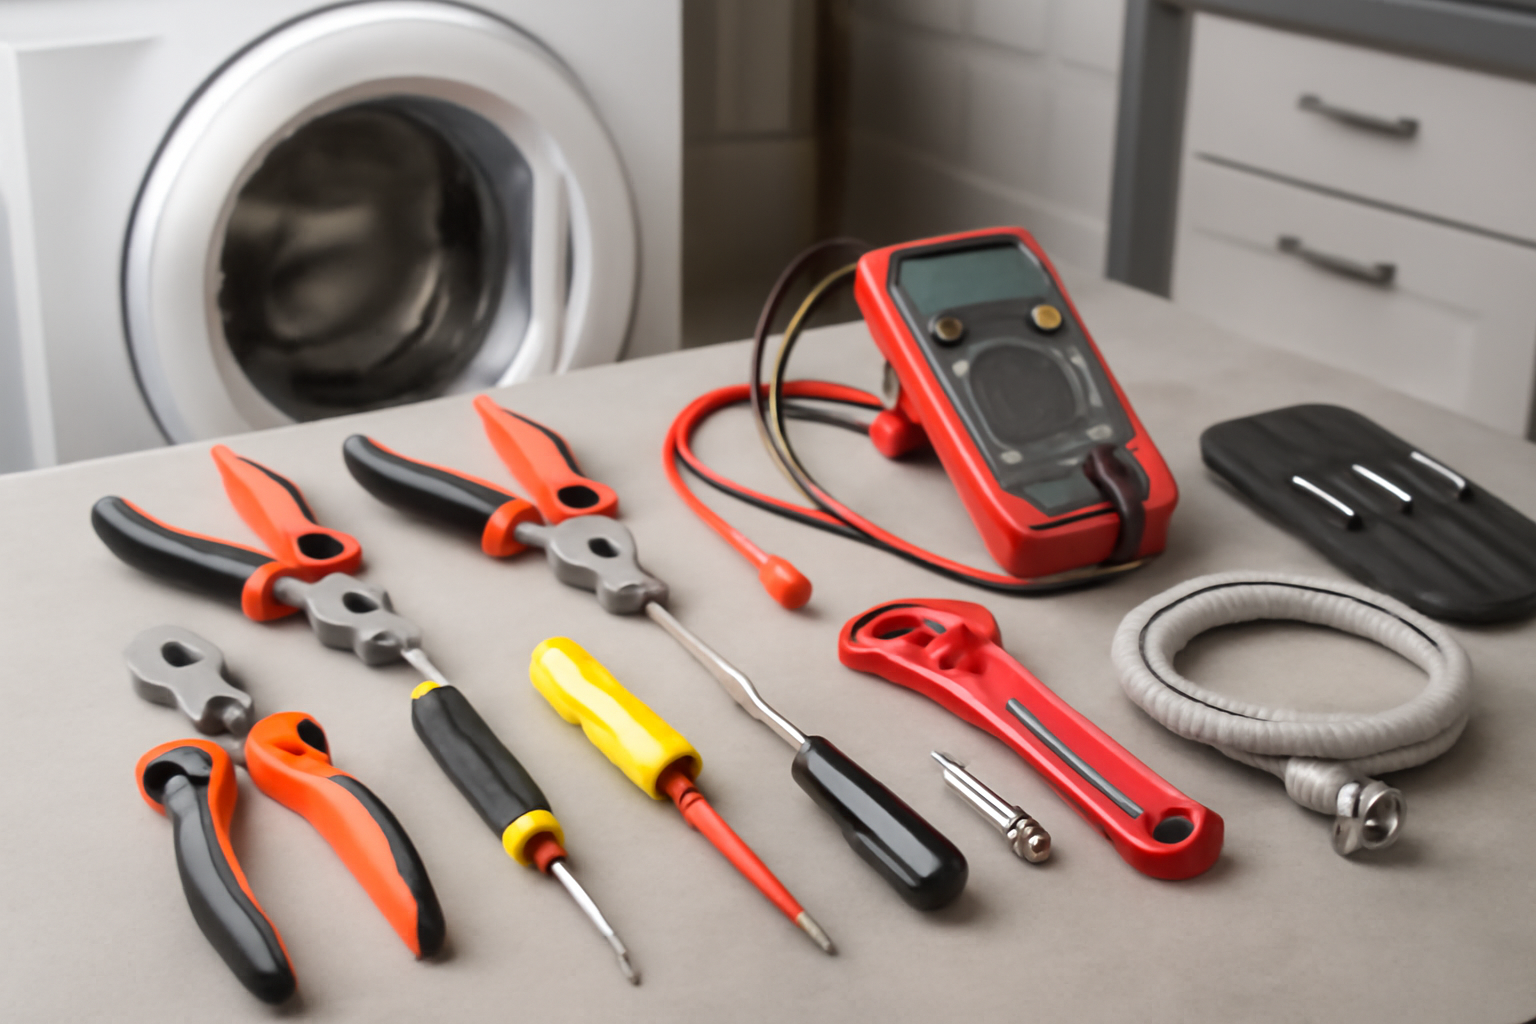
A few years back, I received a call from a homeowner who was on the verge of giving up on her LG front-loader. It had thrown an error code she hadn’t seen before, the drum wouldn’t spin, and she was ready to schedule a new washer delivery.I got to it in under 40 minutes, for less than a service call would have cost on its own. That machine is still running today, and it’s a perfect example of why I’m passionate about troubleshooting these problems.
Throughout my years of appliance repair, I’ve found that around 60 to 70 percent of washing machine error codes can be traced back to one of three simple root causes. Most of the time, these issues don’t require any parts replacement, specialized training, or anything more than a basic toolkit and an hour of your time.
The error code I’m referring to is the door lock or door latch error. On LG machines, it’s shown as dE or dE1. Samsung displays it as dC or dL, while Whirlpool and Maytag often show F5 E1 or F5 E2. The names vary, but the troubleshooting process is strikingly similar across brands, and it almost never indicates a failed door lock assembly.
Why This Code Gets Misread
Here’s the typical scenario. A homeowner runs a load, returns to find a locked door and an error message. They Google the code, land on a page stating “door lock assembly failure,” and immediately consider buying a replacement part. Depending on the brand, that part can run anywhere from $35 to $90. Some opt to buy it outright, while others call a technician like me, but most skip over the actual issue.
🔨 Pro Tip from Dave
On LG front-loaders, many technicians replace the pump motor immediately, but it’s crucial to check the coin trap filter behind the lower access panel first. A single forgotten sock jammed against the impeller can mimic a dead pump. If cleaning doesn’t resolve the issue, then the actual drain pump assembly (LG part #5859EA1004D) might be the real culprit.
The door lock error doesn’t mean the lock itself is faulty. It indicates that the machine tried to confirm the door was latched but either couldn’t get the expected signal or couldn’t engage the lock mechanically. These are two very different problems, and only one of them pertains to the lock assembly.
The Three Causes I Check First — Every Single Time
1. Door Boot Seal Obstruction or Partial Dislodge
The rubber door gasket, or boot seal, has a lip that fits into a channel around the drum opening. In front-loaders, particularly those over three years old, this seal can partially pull away from the outer tub retaining ring. When that occurs, the seal folds into the door gap, preventing the latch from fully seating. The machine registers an incomplete lock signal, leading to the error.
I’ve encountered this issue on LG, Samsung, Kenmore, and Whirlpool units countless times. The fix involves reseating the seal into its retaining groove. While this sounds straightforward, the clamp ring holding the seal is under significant tension, making it genuinely difficult to reposition without the right tool. I’ve seen homeowners struggle for an hour using a flathead screwdriver and end up making the problem worse.
This is precisely where having the right expansion tool saves time and prevents damage to the seal itself.
2. Foreign Object in the Door Strike or Latch Receiver
A sock. A bra underwire. A small piece of plastic from a zipper pull. I’ve pulled all of these out of door strikes. The latch receiver, where the door hook engages, can easily become clogged. A partial obstruction means the hook doesn’t fully seat, the lock solenoid fails to engage, and you receive the error. This is a quick two-minute fix: grab a flashlight, check inside the receiver, and remove any debris.
Always check this before doing anything else. Seriously.
3. Wiring Harness Issue Between the Door Latch and Control Board
This issue is less common but can often be misdiagnosed as a bad lock assembly or control board — both of which are costly repairs. The wiring harness running from the door latch switch to the main board passes through the hinge area and is flexed thousands of times throughout the machine’s life. On older units, especially those over five years of heavy use, this harness can develop an intermittent open circuit at a stress point — typically near the connector at either end.
I always verify harness continuity before condemning a latch assembly. An intermittent break may not be detected during a standard multimeter resistance check because the wire appears fine when it’s not under movement stress. For this reason, I’ve switched to using a proper wire tracer for these diagnostics — it catches intermittent faults that static resistance checks miss.
How I Actually Diagnose It
When a door lock error code shows up, my process is as follows:
- Visually inspect the door boot seal around the full circumference for any sections that have pulled out of the retaining ring channel.
- Inspect the door strike and latch receiver with a flashlight for any debris.
- Manually press the door closed with firm, even pressure and listen for a clean double-click from the lock actuator.
- If the error recurs or the click is absent, pull the bottom access panel and check the wiring harness routing from the door latch to the control board.
- Use a wire tracer to check for intermittent faults in the harness — not just a static continuity check.
- Only after all of the above checks out do I consider the latch assembly itself to be at fault.
In my 18 years of experience, I’ve replaced the door lock assembly due to actual failure roughly 25 to 30 percent of the time when called for this specific code. The other 70-plus percent of the time, it’s been one of the three issues above.
The Honest Caveat
I want to be upfront with you: if your machine is a Samsung front-loader and over seven years old, the wiring harness issue becomes significantly more likely, and the boot seal on those machines is prone to tearing compared to LG or Whirlpool units. Even if you address the immediate cause of the error, you may find yourself back in this diagnosis loop within six months. I’m not saying don’t fix it — just consider that if you’re already facing other repair needs on the same machine.
Additionally, for machines with a digital inverter control board, a door lock error can sometimes indicate a control board issue rather than a mechanical one. That’s rare, but it happens. If you’ve gone through the full checklist and everything checks out, don’t assume you’ve missed something obvious. Sometimes the board can be the culprit, and that leads to a different repair conversation.
How Much Does This Repair Cost?
| Repair route | Typical cost |
|---|---|
| Do it yourself | $25–$55 (parts) |
| Professional repair | $150–$250 (parts and labor) |
Typically, a replacement LG drain pump assembly runs $25–$55 in parts if you decide to DIY, while filter cleaning costs nothing. A professional repair for this same issue usually falls between $150–$250 once you factor in the service call fee, labor, and parts markup. This makes it one of the best value DIY repairs you can tackle.
Recommended Products for This Repair
People often ask which tools are worth owning. For door-related washer repairs, here’s what’s in my toolkit:
For reseating the boot seal and getting the clamp ring back into position, I utilize two different expansion tools based on the machine type. The Beaquicy 383EER4001A Washer Inner/Outer Tub Spring Expansion Tool is built from solid metal and works for most LG and Samsung applications, expanding up to 4.3 inches. For jobs requiring a bit more range, I opt for the 383EER4001A Washer Inner/Outer Tub Spring Expansion Tool, which is also suitable for Kenmore and Whirlpool door boot seal clamp rings. Both tools outperform the old screwdriver method by a large margin — they’re faster and significantly less likely to tear the seal in the process.
For wiring harness diagnostics, reach for the VDIAGTOOL V210 Wire Tracer and Circuit Fault Finder. It operates on DC 6 to 42 volts, which covers washer harness circuits efficiently, and it detects intermittent opens that a multimeter simply won’t catch during static tests. It’s saved me countless hours on calls like these.
Bottom Line
A washing machine error code pointing to the door lock isn’t a death sentence for your appliance, and it’s likely not even an indication of a faulty lock assembly. Before purchasing parts, calling a technician, or considering a new washer, check the boot seal, inspect the latch receiver for debris, and if those are clear, ensure someone traces the wiring harness properly.
Most of the time, that’s all it takes. And it’s a fixable issue for a reasonably handy homeowner armed with the right information and tools.
The Spring Tool That Makes Drain Pump Access Actually Manageable
Accessing that drain pump filter without damaging the tub seals is often the trickiest part of this repair—the inner tub is under significant spring tension, and you need a tool that distributes that load evenly while you work. This is where the spring expansion tool prevents you from either cracking plastic or spending hours trying to rig a solution.
What works
- Safely distributes the inner tub spring load, allowing you to access the pump filter housing without the tub snapping back and pinching hoses or wiring.
- Prevents over-compression of springs by hand, which is how most DIYers accidentally crack the pump mounting bracket or bend the filter cover.
- Compatible with both LG and Samsung front-loaders that share similar tub designs, making it a worthwhile investment if you own multiple machines.
What doesn’t
- Won’t help if your model has a side-mounted pump that’s accessible from the front panel—you’re actually better off without it in those cases.
- Takes up shelf space and isn’t useful for any other appliance repair, so it’s a one-job tool unless you’re a frequent washer tech.
I learned the hard way that trying to compress those springs by hand or with a block of wood leads to bent brackets and pinched wiring. I once encountered a homeowner who rigged up a car jack and nearly cracked the plastic housing. The spring tool isn’t fancy, but it’s the right way to handle these repairs. Beaquicy 383EER4001A Washer Inner/Outer Tub Spring Expansion Tool.
About This Article

Written by Dave Holt. Dave Holt has been taking apart and fixing household appliances since he was a teenager who couldn't leave a broken one alone. Eighteen years later, after fixing things for neighbors, friends, and anyone who'd let him, he's seen almost every failure mode there is. When he writes a repair guide here, it's based on the actual job, not a manufacturer overview. More about this site.
Scope and limits. Dave is a self-taught repairer, not a certified appliance technician. Unplug before you open anything, and leave sealed refrigeration systems, gas connections, and hardwired circuits to a qualified technician.


