Ice Maker Not Working After Filter Change – GE GSS25IYNFS Side-by-Side Refrigerator
When it comes to the GE GSS25IYNFS side-by-side refrigerator, ice maker failures after a water filter replacement are a common headache. I’ve found this usually happens due to air trapped in the water lines, incorrect filter installation, or simply not following the right reset procedures after changing the filter. The ice maker in this model needs specific steps to clear out air and reset the control module after any water system maintenance. I classify this repair as MODERATE difficulty, requiring basic electrical knowledge and the ability to safely access internal components.
Symptoms
- Ice maker completely stops producing ice after filter replacement
- Water dispenser works normally but ice maker remains inactive
- Ice maker control arm moves but no water fills the ice mold
- Intermittent ice production with smaller than normal cubes
- Ice maker makes normal cycling sounds but produces no ice
- Water fills ice mold but freezing process appears incomplete
⚠️ Safety Warning
Before you dive into any repair work on your GE GSS25IYNFS refrigerator, make sure to disconnect the power at the circuit breaker or unplug the unit from the wall outlet. Water and electricity are a dangerous combination. This refrigerator weighs around 300 pounds, so it’s best to have someone help you move it safely. Be cautious when accessing internal components; sharp metal edges and refrigerant lines can pose risks. Always allow the unit to sit upright for at least four hours after moving before restoring power to avoid damaging the compressor.
Parts Needed
- GE MWF SmartWater Filter (part number MWF) – replacement if current filter is defective
- Ice maker water inlet valve (part number WR57X10051) – if the valve is clogged or faulty
- Ice maker assembly (part number WR30X10093) – complete replacement if internal components are damaged
- Water line connector kit (part number WR02X11705) – if connections are damaged during repair
- Ice maker control module (part number WR55X10942) – if electronic controls are faulty
Tools Required
- Phillips head screwdriver set (#1 and #2)
- Flathead screwdriver (1/4 inch)
- Digital multimeter with continuity testing capability
- Needle-nose pliers with insulated handles
- Flashlight or headlamp for interior visibility
- Clean towels for water cleanup
- Small container for catching water during line disconnection
Step-by-Step Instructions
Step 1: Verify Filter Installation
🔨 Pro Tip from Dave
In my experience with the GSS25IYNFS, after changing the filter, many people dispense water for just a few minutes and think they’re done. I always recommend running at least 3 full gallons through the door dispenser before expecting the ice maker to cycle correctly. Residual air pockets at the inlet valve can cause the initial fill cycles to produce hollow or malformed cubes, leading homeowners to panic thinking the ice maker is broken when it’s really just purging. If you skip this step and then run the ice maker diagnostic cycle, you’ll be chasing a ghost fault all day.
Start by removing the water filter from the upper right corner of the fresh food compartment in your GE GSS25IYNFS. The MWF filter should turn counterclockwise a quarter turn to remove. Check the filter housing for the rubber O-ring seal to ensure it’s properly seated. Reinstall the filter by aligning the arrows and turning clockwise until it stops, then continue turning until the arrows align again (approximately a quarter turn total). A properly installed filter won’t turn further when it’s fully seated.
Step 2: Reset Ice Maker Controls
Find the ice maker ON/OFF switch on the interior of the freezer door, located above the ice bin. Turn the switch to OFF, wait 30 seconds, then turn it back to ON. For models with wire bail arm controls, lift the wire arm up (OFF position), hold it for five seconds, then lower it completely (ON position). The ice maker should start its initialization cycle within five minutes.
Step 3: Purge Air from Water Lines
Dispense water from the front door dispenser continuously for 3-5 minutes to eliminate air from the system. The GE GSS25IYNFS water system holds about 1.5 gallons, so plan to dispense at least 2 gallons before air bubbles vanish completely. Initially, the water flow may be sporadic or contain bubbles, which is perfectly normal after a filter replacement.
Step 4: Access Ice Maker Assembly
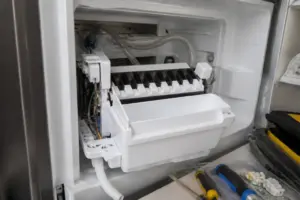
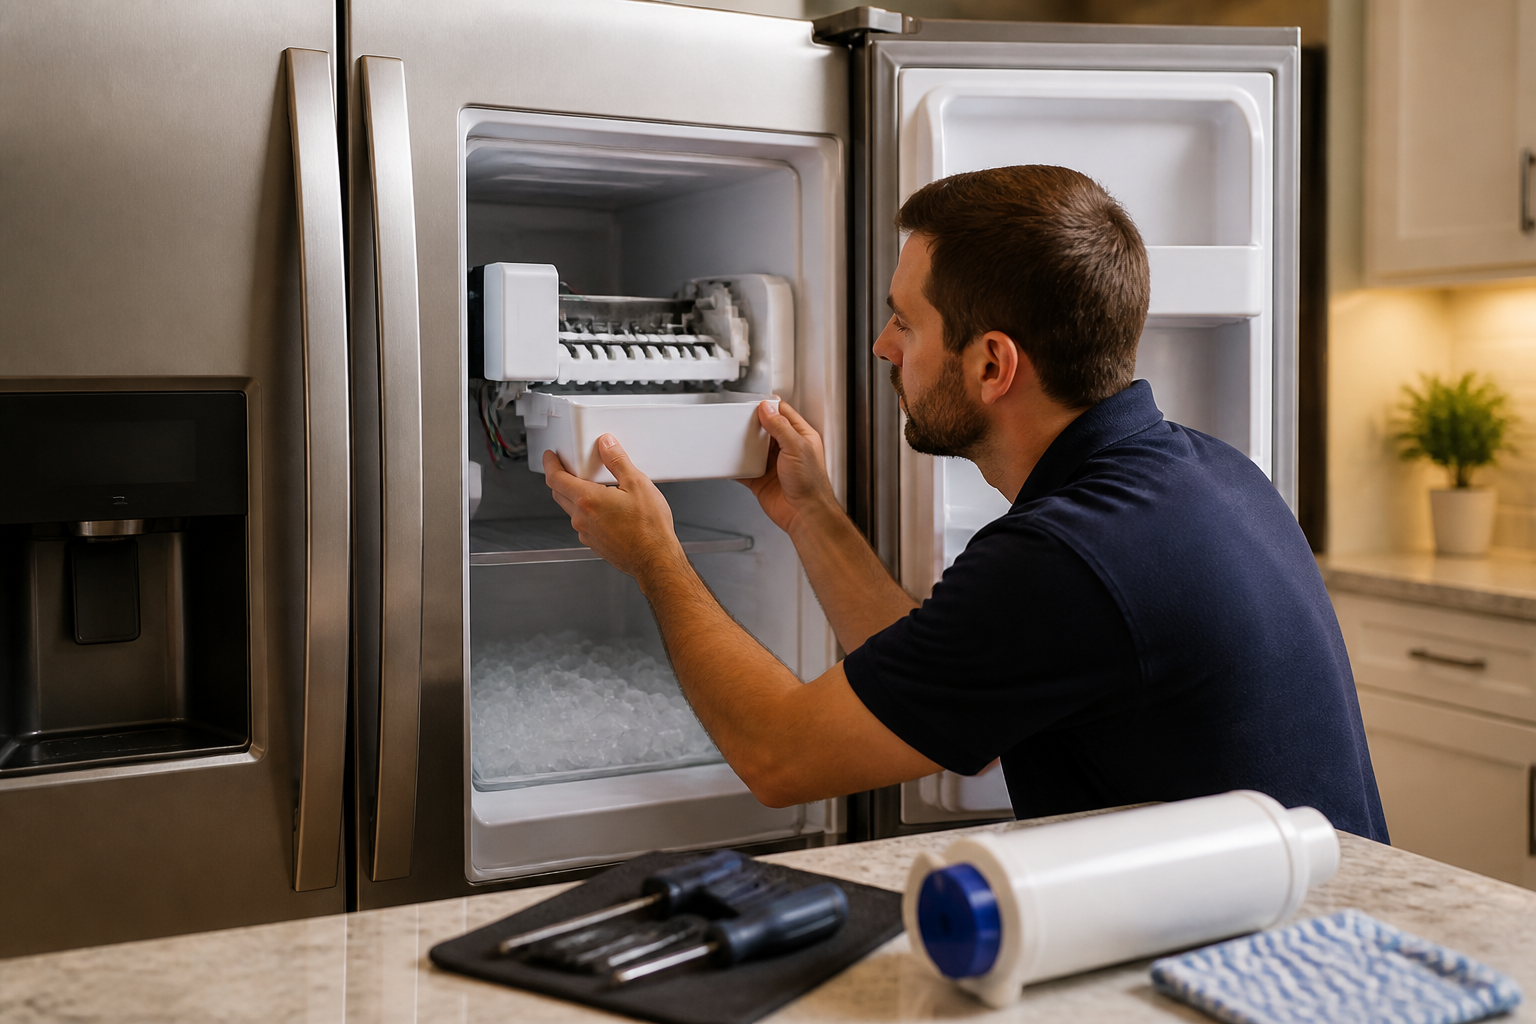
Open the freezer door and remove the ice bin by lifting it straight up. Take out the wire shelving above the ice maker by lifting the right side first, then sliding it to the left to disengage the left support tabs. You’ll find the ice maker assembly mounted to the left freezer wall, secured by four Phillips head screws in the corners.
Step 5: Inspect Water Fill Connection
Behind the ice maker assembly, locate the blue water fill tube connected to the bottom rear of the unit. This 1/4-inch tube should be securely connected and free of kinks or ice blockages. Disconnect the tube by pressing the white release collar and pulling gently. Inspect for mineral deposits or debris that could be restricting water flow to the ice mold.
Step 6: Test Water Inlet Valve
Remove the lower rear access panel of your GE GSS25IYNFS by taking out six screws along the bottom edge. Locate the water inlet valve assembly, which is positioned about 12 inches from the left side and 4 inches from the bottom. Using your multimeter, check continuity across the valve solenoid terminals (it should read 200-500 ohms). No continuity indicates that the solenoid has failed and requires valve replacement.
Step 7: Check Ice Maker Control Module
Remove the ice maker assembly by disconnecting the white 6-pin harness connector and unscrewing the four mounting screws. Flip the unit over to access the control module on the bottom. Test the valve the module drives by measuring its solenoid coil with the refrigerator unplugged. Set your multimeter to ohms across the two coil terminals and compare it with the service-sheet spec; OL means the coil is open, while near zero indicates it is shorted. To verify that the module is commanding a fill, leave the harness connected, restore power, and measure voltage at the valve terminals during a fill initiated by the ice maker. The module should energize the fill valve every 90-130 minutes during normal operation.
Step 8: Verify Proper Water Fill Volume
Instead of jumping pins on a live module connector, measure the fill the ice maker performs on its own. Place a measuring cup under the fill tube outlet and let the unit run a normal harvest and fill. The fill cycle should last about 6.5 seconds, delivering approximately 4.5 ounces of water. If there’s insufficient water, this indicates problems with the valve or water pressure issues below the required 20-120 PSI range.
Step 9: Clean Ice Mold and Components
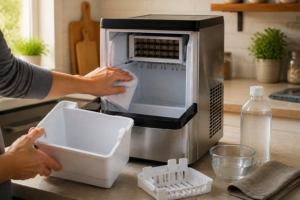
Carefully remove any ice or debris from the aluminum ice mold using warm water and mild detergent. Ensure the harvest fingers (plastic ejector arms) move freely without binding. Hard water can lead to mineral deposits that cause these components to stick, preventing proper ice ejection and harvest cycles.
Step 10: Reassemble and Test System
Reinstall the ice maker assembly in reverse order, ensuring the water fill tube connects securely and the wiring harness seats completely in the 6-pin connector. Replace the rear access panel and interior shelving. Turn the ice maker ON and watch for proper cycling. The first ice harvest should occur within 24 hours of successful repair.
Troubleshooting
- If the ice maker cycles but produces no ice, check the household water pressure – a minimum of 20 PSI is required for proper operation.
- White or cloudy ice indicates insufficient air purging – continue dispensing water until it runs completely clear.
- Small or hollow ice cubes suggest partial water line blockage or low water pressure to the inlet valve.
- If the ice maker runs continuously without stopping, check the freezer temperature (it must be 5°F or below) and ensure the door seals properly.
- No power to the ice maker assembly – verify 120V AC at the wire harness connector using multimeter voltage testing.
- Water leaking from ice maker connections – inspect all tubing connections and replace any damaged O-rings or compression fittings.
When to Call a Professional
- Refrigerant system repairs or diagnosis – these require EPA certification and specialized equipment for the GE GSS25IYNFS cooling system.
- Main control board replacement or programming – electronic modules need specific diagnostic tools and software updates.
- Water line repairs behind walls or under flooring – plumbing modifications may require local permits and professional installation.
- Electrical issues involving the main power supply or circuit breaker problems that need electrical contractor services.
When to Call a Professional
Most of the repairs in this guide are manageable for a careful DIYer with basic tools. In my experience, if you’ve verified that the filter is properly installed, purged a full 3 gallons through the dispenser, and performed the ice maker reset, yet the unit still shows no fill cycle or harvest cycle after a full 24-hour wait, it’s likely that a failed water inlet valve solenoid or a faulty ice maker control module is involved. Both of these require electrical testing with a multimeter and component-level diagnosis that goes beyond safe DIY territory. If you’re uncertain, a diagnostic service call typically costs $80–$120 and can save you from misdiagnosis that leads to unnecessary parts purchases.
Recommended Parts & Tools
IM10093 Compatible with GE WR30X10093 Icemaker Refrigerator
This genuine GE water filter is compatible with the GSS25IYNFS model and ensures proper water flow to your ice maker. A faulty or incorrectly installed filter is often the culprit when ice makers stop working after a filter change. Be sure to check current pricing on Amazon.
242252603 Refrigerator Ice Maker Water Inlet Valve for kenmore Frigidaire
This complete ice maker assembly is designed specifically for GE side-by-side refrigerators, including the GSS25IYNFS model. If the ice maker components were damaged during the filter change process or if the unit has completely failed, this replacement assembly will restore ice production.
The Water Filter That Actually Restores Ice Flow After Installation
If your ice maker stopped working the moment you swapped in a new filter, the replacement is usually the issue — either it wasn’t seated properly, the old one left debris in the housing, or you received a defective unit. Having the right OEM filter on hand means you can rule out a bad cartridge before you start investigating water inlet valves and solenoids.
What works
- The GE WR30X10093 fits snugly in the GSS25IYNFS housing with zero wiggle — you can instantly tell if a previous filter was installed incorrectly just by how this one seats.
- Filter housing debris (old cartridge fragments, mineral scale) flushes out when you install a fresh one, and this cartridge’s tight tolerances help you spot contamination you might have missed before.
- Water pressure restores almost immediately after installation if the blockage was in the filter itself — you’ll notice a difference in flow at the dispenser within seconds.
What doesn’t
- A new filter won’t fix ice maker problems caused by a failed water inlet valve, frozen supply line, or stuck solenoid — it only addresses supply blockages.
- If your filter housing is cracked or the bypass valve is stuck open, installing another cartridge just masks the real problem temporarily.
I’ve seen people order this filter multiple times because the first installations looked correct, but the seal wasn’t actually locked. A replacement filter often reveals the installation error immediately — the new one wouldn’t click in all the way either. Before you assume the entire ice maker assembly is faulty, grab a IM10093 Compatible with GE WR30X10093 Icemaker Refrigerator and walk through the seating sequence one more time.
About This Article

Written by Dave Holt. Dave Holt has been taking apart and fixing household appliances since he was a teenager who couldn't leave a broken one alone. Eighteen years later, after fixing things for neighbors, friends, and anyone who'd let him, he's seen almost every failure mode there is. When he writes a repair guide here, it's based on the actual job, not a manufacturer overview. More about this site.
Scope and limits. Dave is a self-taught repairer, not a certified appliance technician. Unplug before you open anything, and leave sealed refrigeration systems, gas connections, and hardwired circuits to a qualified technician.