Ice Maker Making Noise – Frigidaire FFHB2750TS French Door Refrigerator
As an appliance repair professional, I’ve seen the Frigidaire FFHB2750TS French Door Refrigerator’s integrated ice maker develop various noise issues over time. Common causes include worn gears in the ice maker motor assembly, damaged ejector arms, loose mounting brackets, ice buildup in the mechanism, or a failing harvest motor. These noises often present as grinding, clicking, knocking, or continuous humming sounds during ice production cycles. I classify this repair as MODERATE difficulty, requiring basic electrical knowledge and the ability to work in confined spaces within the freezer compartment. Typically, this repair takes 2-3 hours and involves accessing internal components of the ice maker assembly.
Symptoms
- Loud grinding or scraping noise during ice harvest cycle, typically every 2-3 hours
- Repetitive clicking or knocking sounds when ice maker attempts to cycle but fails to complete
- Continuous humming or buzzing noise from the ice maker even when not actively producing ice
- Squealing or high-pitched whining during the ice ejection process
- Intermittent banging or clunking sounds when ice cubes drop into the storage bin
- Unusual rattling noise from the ice maker assembly when the refrigerator door is opened or closed
⚠️ Safety Warning
Before diving into any repair work on your Frigidaire FFHB2750TS, it’s crucial to disconnect power at the electrical panel or unplug the unit from the wall outlet. Never work on electrical components while the refrigerator is energized. Don’t forget to turn off the water supply to the ice maker at the shut-off valve, usually found behind or beneath the refrigerator. Remember that the ice maker assembly contains both 115V electrical connections and pressurized water lines. Use proper lifting techniques when removing the ice maker assembly, as it weighs around 8-12 pounds. Adequate ventilation is essential while working inside the freezer compartment for extended periods, and keep the freezer door open minimally to avoid temperature rises and potential food spoilage.
Parts Needed
- Ice Maker Motor Module – Part #5304458371 (if motor assembly is damaged)
- Ice Maker Ejector Arm Assembly – Part #297147700 (for worn or broken ejector arms)
- Ice Maker Mounting Bracket Kit – Part #5304505463 (if brackets are loose or damaged)
- Ice Maker Wire Harness – Part #5304505524 (if electrical connections are corroded)
- Ice Maker Gearbox Assembly – Part #5304458590 (for internal gear wear)
- Food-grade silicone lubricant for mechanical components
- Electrical contact cleaner for connection maintenance
Tools Required
- Digital multimeter with AC/DC voltage capability
- 1/4-inch and 5/16-inch nut drivers
- Phillips head screwdriver (size #1 and #2)
- Needle-nose pliers with insulated handles
- Flashlight or headlamp for freezer compartment visibility
- Hair dryer or heat gun for ice removal
- Clean towels for water cleanup
Step-by-Step Instructions
Step 1: Power Down and Access Ice Maker
🔨 Pro Tip from Dave
For the FFHB2750TS specifically, don’t jump to conclusions about the harvest motor being bad just because of a grinding noise. Check if the small plastic cam gear on the motor output shaft has cracked at the hub — it’s a $6 part that mimics the same symptom as a $45 motor failure. I’ve seen people replace the entire motor assembly unnecessarily more times than I can count. The crack is hairline and can be easily missed, so use a flashlight and flex the gear slightly with your thumb to reveal it.
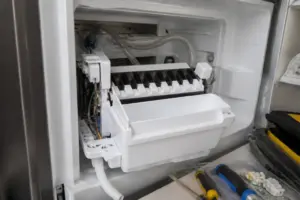
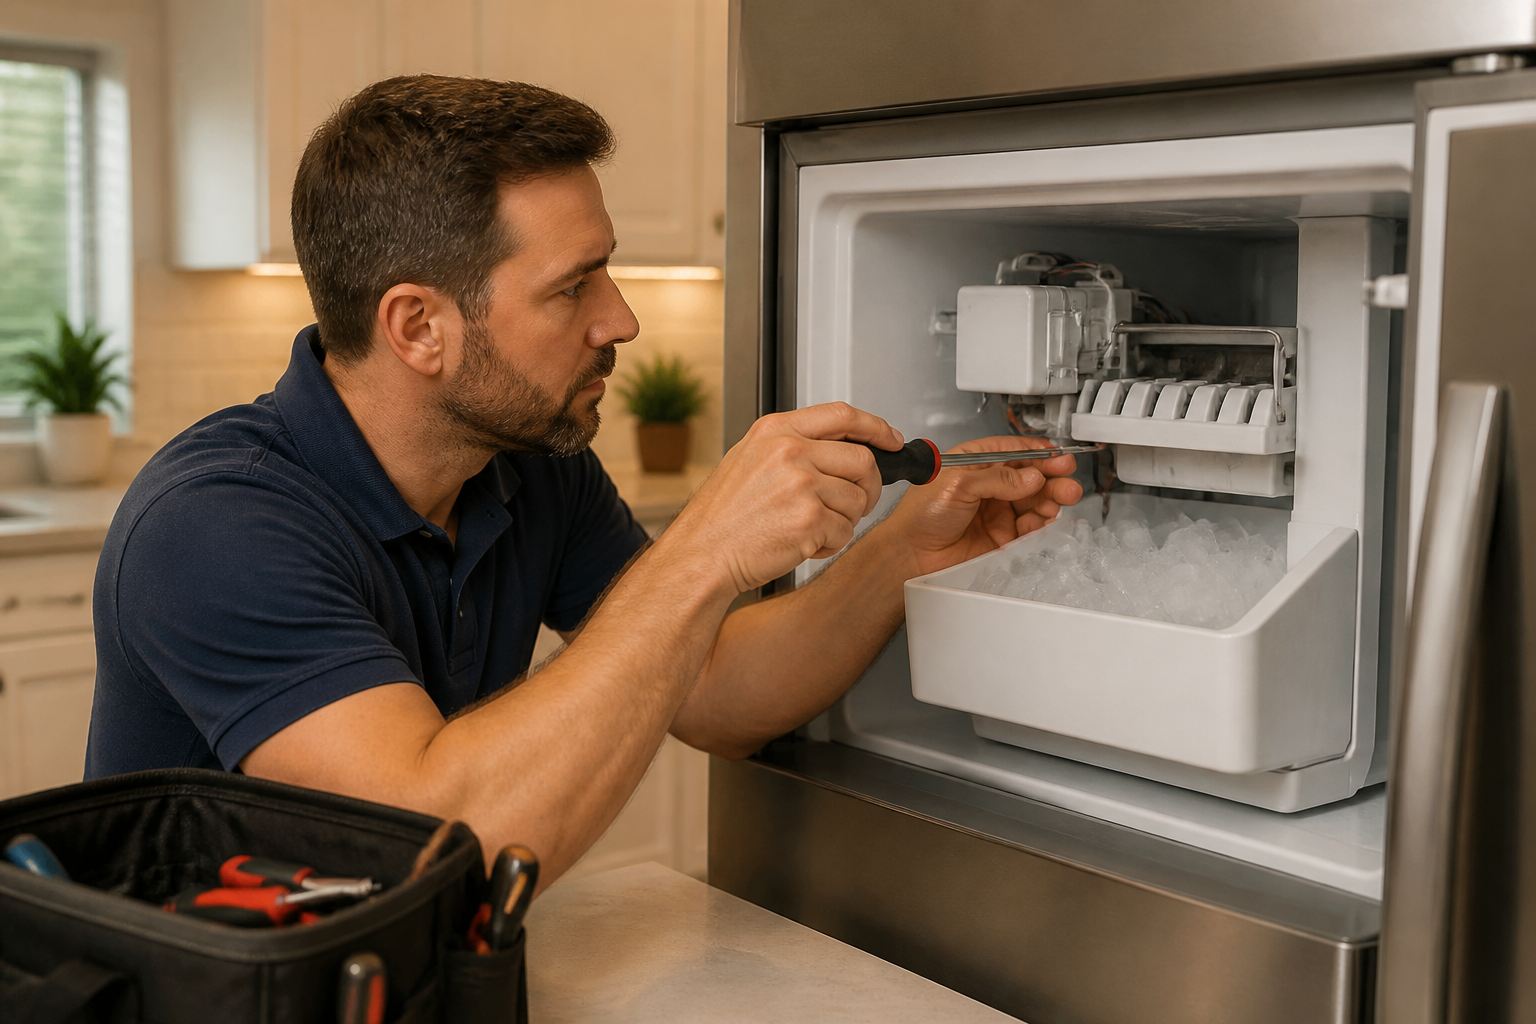
First, disconnect power to the Frigidaire FFHB2750TS and turn off the water supply. Remove all ice from the storage bin and any food items from the upper freezer shelf. Locate the ice maker assembly mounted on the left side wall of the freezer compartment, about 8 inches from the top. Remove the wire storage basket by lifting it straight up to provide clear access to the ice maker mounting area.
Step 2: Remove Ice Maker Cover and Test Components
Next, remove the clear plastic ice maker cover by pressing the two release tabs located at the front corners and lifting upward. This exposes the internal mechanism, including the ejector arm assembly and motor housing. Use your multimeter to test the voltage at the ice maker connector — it should read 0V with power disconnected. Examine the ejector arm for visible damage, loose connections, or ice buildup that could cause binding.
Step 3: Disconnect Electrical Connections
Locate the main electrical harness connector on the rear right side of the ice maker assembly, typically a white 6-pin connector. Carefully disconnect this harness by squeezing the locking tabs and pulling straight back. Also disconnect the smaller 2-pin connector for the fill sensor, located adjacent to the main harness. Taking a photo of the wire routing before disconnection is a good idea to ensure proper reassembly.
Step 4: Remove Water Line Connection
Now, locate the water supply line connection at the rear of the ice maker, usually a 1/4-inch compression fitting. Place towels beneath the work area to catch any residual water. Using needle-nose pliers, carefully disconnect the water line by loosening the compression nut counterclockwise. Some water spillage is normal, so ensure that the water supply valve is fully closed to minimize flow.
Step 5: Remove Ice Maker Mounting Screws
Identify the three mounting screws securing the ice maker assembly to the freezer wall bracket. These are typically 1/4-inch hex head screws located at the top-left, top-right, and bottom-center positions. Using your 1/4-inch nut driver, remove all three mounting screws while supporting the weight of the ice maker with your free hand to prevent it from falling.
Step 6: Extract and Inspect Ice Maker Assembly
Carefully lift the ice maker assembly straight out from the freezer compartment, supporting both the motor end and the ejector arm end. Place the assembly on a clean work surface with the motor housing facing up. Inspect the motor mounting area for loose screws — there should be four Phillips head screws securing the motor to the main housing. Look for obvious signs of wear, damage, or foreign objects in the mechanism.
Step 7: Test Motor and Electrical Components
Reconnect power temporarily to test the ice maker motor outside the freezer. Connect your multimeter probes to pins 1 and 3 of the main connector (typically marked) — you should read 115V AC during harvest cycle initiation. Test motor resistance between the motor terminals — a normal reading is 8-12 ohms. If readings fall outside this range or if you observe sparking, it’s time to replace the motor module assembly.
Step 8: Inspect and Service Ejector Mechanism
Manually rotate the ejector arm assembly clockwise to check for binding or resistance. The arm should move smoothly through its full range of motion with only slight resistance from the gears. If you hear grinding or feel excessive resistance, remove the ejector arm by taking off the center retaining screw and inspect the plastic gears for wear. Apply a small amount of food-grade silicone lubricant to the gear teeth if they seem dry but undamaged.
Step 9: Check and Tighten All Mounting Points
Inspect all internal mounting screws within the ice maker assembly. The motor should be secured with four screws torqued to finger-tight plus an additional 1/4 turn. Ensure that the ejector arm pivot point is properly seated and that the retaining screw is snug. Look over the main housing for cracks or damage that could cause vibration noises during operation.
Step 10: Clean and Prepare for Reinstallation
Clean all ice residue and debris from the ice maker assembly using warm water and a soft brush. Make sure all water is completely drained before reinstalling. Clean the mounting area in the freezer compartment, inspecting the wall bracket for any damage or loose mounting points. Apply a thin coat of food-grade lubricant to moving parts as needed.
Step 11: Reinstall Ice Maker Assembly
Position the ice maker assembly back into the freezer compartment, aligning the mounting holes with the wall bracket. Install the three mounting screws hand-tight first, then snug them down with your nut driver. Reconnect the water line by threading the compression fitting clockwise until hand-tight, then add an additional 1/4 turn with pliers. Reconnect both electrical harnesses, ensuring proper seating and locking tab engagement.
Step 12: Test Operation and Final Adjustments
Restore power and the water supply to the Frigidaire FFHB2750TS. Initiate a test cycle by moving the wire arm to the down position or pressing the test button if equipped. Listen closely during the harvest cycle for any remaining unusual noises. The complete cycle should take 6-10 minutes and should operate smoothly without grinding, clicking, or excessive vibration. Once proper operation is confirmed, replace the ice maker cover and freezer basket.
Troubleshooting
- If noise persists after motor replacement, check for proper alignment of the ejector arm assembly and verify all mounting screws are properly torqued.
- Continued clicking noises may indicate a faulty fill sensor or water supply issue — verify water pressure is between 20-125 PSI at the connection.
- If the ice maker runs continuously, test the thermostat sensor with your multimeter — it should show continuity when cold and open circuit when warm.
- Grinding noises during operation often indicate gear wear in the ejector mechanism — inspect plastic gears for stripped teeth or damage.
- If electrical connections repeatedly fail, inspect the main wiring harness for damage and consider replacing the entire harness assembly.
- Rattling noises may be caused by loose mounting of the entire ice maker assembly — recheck all mounting hardware and brackets.
When to Call a Professional
- If multiple electrical components test faulty simultaneously, indicating a potential control board or power supply issue.
- When water line connections show signs of leakage behind the refrigerator wall requiring access to internal plumbing.
- If the freezer compartment requires removal for ice maker access due to unusual mounting configuration.
- When specialized tools or refrigeration system knowledge is needed to diagnose compressor-related noise issues affecting the ice maker.
When Ice Bridging Doesn’t Clear: The Full Ice Maker Assembly Replacement for the FFHB2750TS
If you’ve cleared the ice bridge, run manual harvest cycles, and the ejector arm still won’t move smoothly or the grinding noise persists, the ice maker assembly itself has likely developed internal wear or a cracked component that manual clearing won’t fix. This is the part to go to when the symptom has moved beyond a one-time jam to a recurring or mechanical failure.
What works
- Direct fit for the FFHB2750TS—no adapter needed, and the connector clips align exactly as they should on this model’s mounting bracket.
- Includes the ejector arm, auger, and motor assembly as a single unit, so you’re not guessing which internal part failed or chasing multiple small replacements.
- Installation takes about 20–30 minutes once you pull the ice bucket; the old assembly lifts straight out and the new one locks in without any custom drilling or repositioning.
What doesn’t
- This is a complete assembly replacement, not a repair—if the real problem is a frozen water line or inlet valve malfunction upstream, swapping the ice maker won’t solve it and you’ll still have no ice production.
- You’ll need to drain the refrigerator’s water line and disconnect the fill tube; if you haven’t done that before, the water that comes out can surprise you and soak the floor if you’re not prepared with a towel or pan.
I’ve had homeowners order this part thinking noise equals a bad motor, only to find out later the real culprit was ice blocking the fill tube—so before you commit to this replacement, confirm the water inlet valve is actually delivering water to the ice maker during the harvest cycle. Once you’re confident the mechanical assembly itself is worn, Frigidaire Ice Maker Assembly Replacement for French Door Refrigerators will end the noise and restore normal ice production.
About This Article

Written by Dave Holt. Dave Holt has been taking apart and fixing household appliances since he was a teenager who couldn't leave a broken one alone. Eighteen years later, after fixing things for neighbors, friends, and anyone who'd let him, he's seen almost every failure mode there is. When he writes a repair guide here, it's based on the actual job, not a manufacturer overview. More about this site.
Scope and limits. Dave is a self-taught repairer, not a certified appliance technician. Unplug before you open anything, and leave sealed refrigeration systems, gas connections, and hardwired circuits to a qualified technician.