
Interior fan vibration
This step-by-step repair guide walks you through fixing interior fan vibration on your Whirlpool WRX735SDHZ (French Door). With the right tools and parts, most homeowners can complete this repair in 1–2 hours and avoid a costly service call.
🔨 Pro Tip from Dave
On the WRX735SDHZ, the evaporator fan motor (part number W10825708) sits behind the rear panel in the freezer compartment, and a common mistake I see is techs forgetting to check the fan blade grommet — that small rubber isolator deteriorates and causes vibration even when the motor itself tests fine. Also watch for frost buildup around the fan shroud; this model is prone to minor defrost drain issues that let ice accumulate and contact the blade directly.
Part of our Top 20 Refrigerator Models & Common Repair Issues Guide. Browse all refrigerator repair guides for related models and issues.
“`html
Common Symptoms & Causes
The following symptoms suggest your Whirlpool WRX735SDHZ is experiencing an interior fan vibration issue that needs attention.
- A loud rattling or buzzing noise coming from inside the refrigerator compartment
- Vibration felt on the refrigerator walls or shelves when the unit is running
- The noise intensifies when the compressor cycles on or the fan speed increases
- Ice buildup visible around the evaporator fan housing near the rear interior panel
These issues are most commonly caused by a worn evaporator fan motor, a warped or cracked fan blade, or ice accumulation forcing the blade to contact surrounding components over time.
“`
Safety First
- Unplug the refrigerator from the power outlet before starting any repair — never work on a live appliance.
- Shut off the water supply valve before disconnecting any water lines or hoses.
- Wear work gloves when handling metal brackets, sheet metal edges, or sharp components.
- Take photos with your phone before disconnecting any wiring harnesses or connectors.
- Work in a well-lit area with enough floor space to lay removed panels flat.
Tools & Parts Needed
Essential Tools
- Phillips #2 screwdriver
- ¼” nut driver
- Needle-nose pliers
- Multimeter
- Flashlight or work light
Replacement Parts
Step-by-Step Repair Instructions
Step 1
Unplug the refrigerator before doing anything else to eliminate shock risk, then remove the freezer back panel by extracting the 5 Phillips #2 screws — this panel is the only barrier between you and the evaporator fan assembly, so it must come off to inspect or replace any fan components. Set the screws aside in a cup so none roll into the drain trough below.
Step 2
Spin the fan blade by hand to feel for wobble or grinding resistance, both of which indicate a worn bearing that will worsen over time and eventually seize. While you have the blade stopped, look closely for ice buildup on the blades — even a small chunk frozen to one blade shifts the rotational balance and is often the sole cause of the vibration, so clear any ice with a hair dryer on low heat before assuming the motor is bad.
Step 3
Locate the 4 rubber grommets where the motor bolts to the mounting frame and squeeze each one firmly between your fingers — a healthy grommet feels pliable and absorbs movement, while a rock-hard or cracked grommet transmits every motor vibration directly into the metal cabinet, amplifying the noise you hear in the kitchen. If any grommet has hardened, replace all 4 as a set since the others are the same age and will fail soon.
Step 4
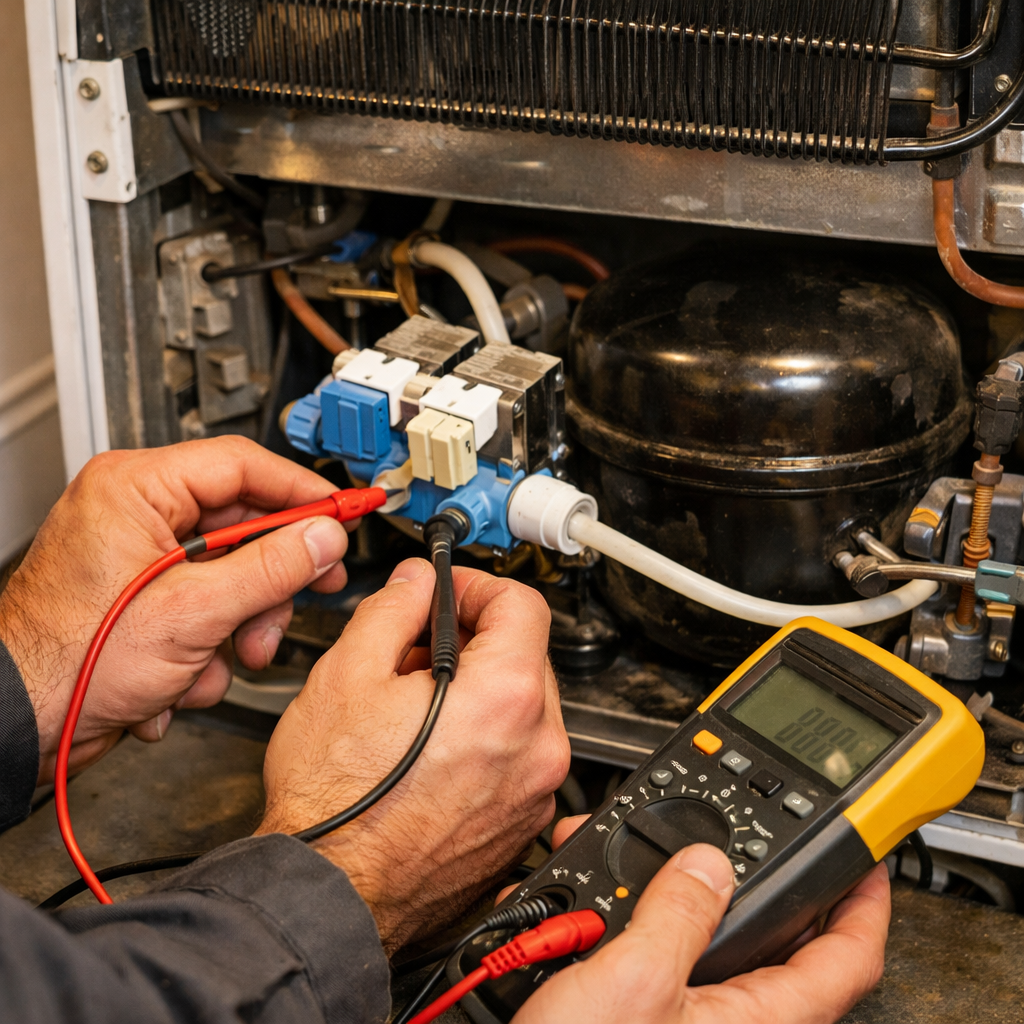
Set your multimeter to the Rx1 ohms scale and probe the motor winding terminals to check for continuity — an open reading means the winding has failed internally and the motor cannot be repaired. A motor that passes the continuity test but still vibrates excessively almost certainly has a bad bearing confirmed in Step 2, so either finding justifies full motor replacement.
Step 5
Mount the new motor using all fresh grommets — never reuse old ones with a new motor, as hardened grommets will recreate the vibration immediately. Before fastening the final screws, spin the blade through a full rotation by hand and verify it clears the shroud at every position, because even slight blade contact produces a rattling noise that is easily mistaken for a bearing problem.
Step 6
Reinstall the freezer back panel, tighten all 5 screws snugly but not so tight that you crack the plastic panel, then plug the unit back in and listen for the result. A successful repair produces only a steady, low airflow hum — any remaining rattling points to a loose panel screw or a grommet that was not fully seated, so recheck those two items before calling the job complete.
Where to Buy Replacement Parts
Find genuine OEM and aftermarket replacement parts for your Whirlpool WRX735SDHZ (French Door) on Amazon:
- Whirlpool WRX735SDHZ evaporator fan motor WPW10189703
- Whirlpool refrigerator fan mounting grommet W10435302
- Whirlpool refrigerator evaporator fan blade W10140575
When to Call a Professional
If the issue persists after completing all steps above, the problem may involve the sealed refrigerant system, a failed main control board, or wiring that requires specialized diagnostic equipment. Contact a licensed appliance technician — attempting sealed-system repairs without EPA 608 certification is illegal and unsafe.
“`html
How Much Does This Repair Cost?
DIY replacement parts for interior fan vibration on the Whirlpool WRX735SDHZ typically cost between $15–$75, depending on whether you need a new fan blade, mounting grommet, or evaporator fan motor. A professional service call for the same repair usually runs $150–$300 once labor is included. Tackling this repair yourself can save you $100 or more.
“`
Frequently Asked Questions
Why is the interior fan on my Whirlpool WRX735SDHZ vibrating loudly?
Fan vibration is most often caused by ice buildup around the fan blades or a worn fan motor mount. Defrosting the freezer compartment and inspecting the mounting hardware usually resolves the issue.
Can I fix the fan vibration myself, or do I need a technician?
Many homeowners can handle this repair with basic tools and the refrigerator unplugged. However, if the fan motor itself is damaged, replacing it requires ordering the correct part for the WRX735SDHZ model.
How long does this repair typically take?
Most interior fan repairs on this French door model take between one and two hours. Allow additional time if you need to fully defrost the compartment before accessing the fan assembly.
Recommended Products
These are the parts and tools we recommend for this repair, based on compatibility and customer reviews:
- Whirlpool WP2176759 Genuine OEM Refrigerator Mounting Grommet Replacement Part – Replaces 2176759
- W10156818 Refrigerator Condenser Motor Fan Blade for Whirlpool Kenmore Sears Jenn-Air Amana Replace AP4323896 1454592 61006191 EA1964356-1 Year Warranty
As an Amazon Associate, I earn from qualifying purchases.


