
Evaporator fan noise
This step-by-step repair guide walks you through fixing evaporator fan noise on your GE GTS22KSNRSS (Top Freezer). With the right tools and parts, most homeowners can complete this repair in 1–2 hours and avoid a costly service call.
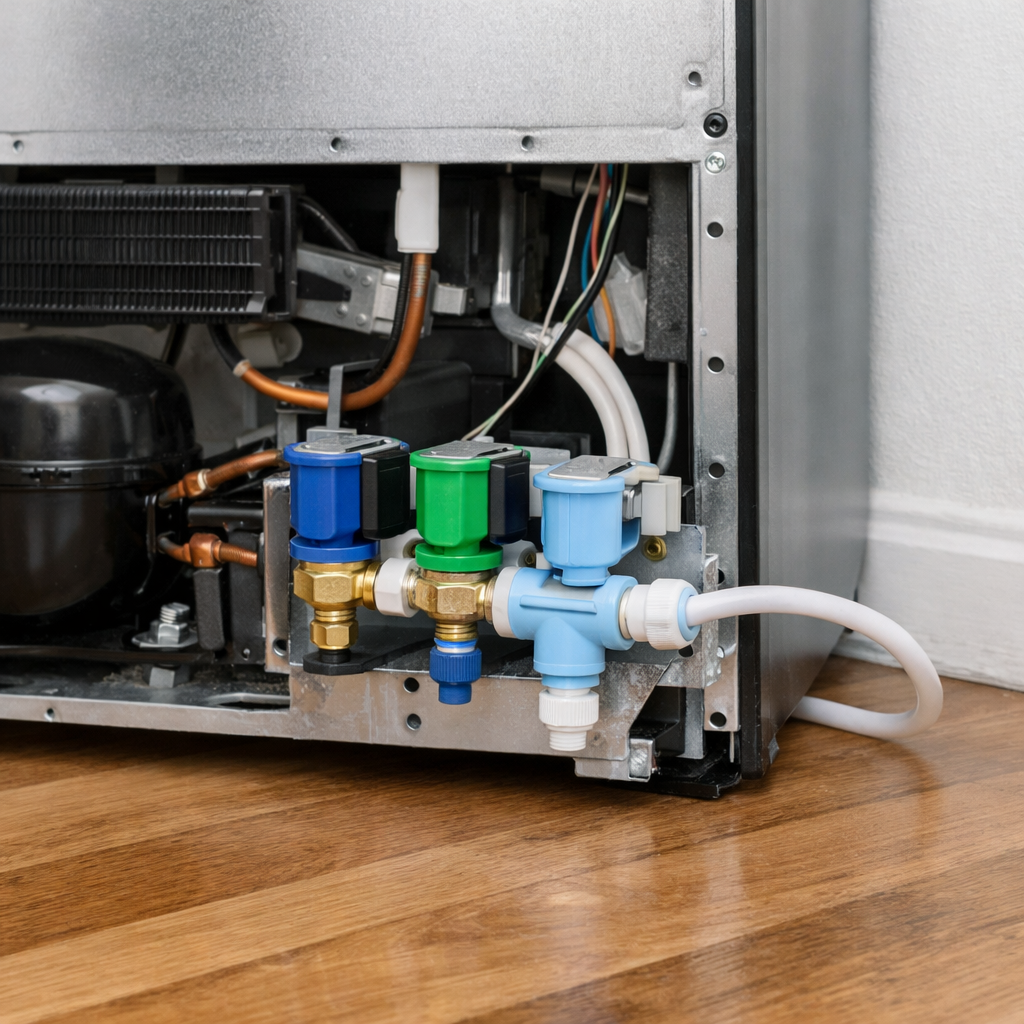
🔨 Pro Tip from Dave
On the GE GTS22KSNRSS, the evaporator fan motor you want is part number WR60X10220 — don’t grab the cheaper generic version, as the shaft diameter can differ slightly and cause blade wobble. A common mistake I see is techs skipping the defrost cycle check before replacing the motor; if ice buildup caused the original noise, you’ll burn out the new motor fast without addressing the root defrost issue first.
Part of our Top 20 Refrigerator Models & Common Repair Issues Guide. Browse all refrigerator repair guides for related models and issues.
“`html
Common Symptoms & Causes
If your GE GTS22KSNRSS is acting up, these specific symptoms point to a failing evaporator fan motor.
- A loud grinding or squealing noise coming from inside the freezer compartment
- The noise gets louder when you open the freezer door and stops when it closes
- Food in both the freezer and fresh food sections is not staying cold enough
- The freezer feels warmer than usual despite the unit running continuously
These issues are most commonly caused by worn evaporator fan motor bearings, ice buildup around the fan blade, or a faulty motor winding — all of which worsen over time with normal use.
“`
Safety First
- Unplug the refrigerator from the power outlet before starting any repair — never work on a live appliance.
- Shut off the water supply valve before disconnecting any water lines or hoses.
- Wear work gloves when handling metal brackets, sheet metal edges, or sharp components.
- Take photos with your phone before disconnecting any wiring harnesses or connectors.
- Work in a well-lit area with enough floor space to lay removed panels flat.
Tools & Parts Needed
Essential Tools
- Phillips #2 screwdriver
- ¼” nut driver
- Needle-nose pliers
- Multimeter
- Flashlight or work light
Replacement Parts
Step-by-Step Repair Instructions
Step 1
Unplug the refrigerator before doing anything else to eliminate shock risk, then remove all freezer contents and unscrew the four Phillips #2 screws holding the back panel in place — this panel is what separates you from the evaporator fan assembly, which is almost always the source of noise in a top-freezer unit. Set the panel aside carefully; the wiring harness for the fan is just behind it and can be damaged if yanked. Pro tip: take a phone photo of the wiring layout before disconnecting anything.
Step 2
Spin the fan blade by hand to diagnose the specific failure mode before buying any parts — scraping resistance that follows the blade’s rotation points to ice buildup on the blade rather than a mechanical fault, while a wobble or grinding feel indicates a worn motor bearing. These two problems have different fixes, so getting this diagnosis right saves you time and money. If the blade turns freely and quietly by hand but is still noisy during operation, the rubber mounting grommets are the likely culprit.
Step 3
If you felt or heard scraping consistent with ice, you need to clear that ice before doing anything else — advance the defrost timer clockwise with a flat-head screwdriver until you hear a click, which manually triggers the defrost heater. Allow at least 30 minutes for the ice to fully melt; reassembling while ice remains will just recreate the noise within hours. This step also tells you whether the automatic defrost system is failing and needs separate attention.
Step 4
Unplug the fan motor harness and test the motor with a multimeter set to Rx1 — an open reading (no continuity) confirms the motor is burned out and must be replaced rather than cleaned or adjusted. While the motor is accessible, squeeze and flex each rubber grommet at the motor mounting points; hardened, cracked, or missing grommets allow motor vibration to transfer directly into the cabinet walls, which is what creates that rattling or buzzing sound even when the motor itself is fine.
Step 5
Remove the motor by backing out the two or three Phillips screws that hold it to the bracket, noting the orientation of the fan blade before pulling it off — the arrow molded into the blade indicates airflow direction, and reinstalling it backwards will reduce cooling and can cause noise. Seat the replacement motor with all four fresh grommets in place even if only one or two looked bad, because grommets age together and replacing only the obvious ones often means a return visit within months.
Step 6
Reinstall the back panel and finger-tighten the screws in a cross pattern to seat the panel evenly before final torquing, then plug the refrigerator back in and listen for the fan to spin up within a minute or two. A healthy evaporator fan produces a low, steady hum with no scraping, rattling, or vibration you can feel on the cabinet exterior — any of those symptoms still present means a grommet is not seated properly or the blade is contacting ice or the shroud.
Where to Buy Replacement Parts
Find genuine OEM and aftermarket replacement parts for your GE GTS22KSNRSS (Top Freezer) on Amazon:
- GE GTS22KSNRSS evaporator fan motor WR60X10141
- GE refrigerator evaporator fan blade WR60X10208
- GE refrigerator fan motor mounting grommet WR02X11349
When to Call a Professional
If the issue persists after completing all steps above, the problem may involve the sealed refrigerant system, a failed main control board, or wiring that requires specialized diagnostic equipment. Contact a licensed appliance technician — attempting sealed-system repairs without EPA 608 certification is illegal and unsafe.
“`html
How Much Does This Repair Cost?
Replacing the evaporator fan motor on a GE GTS22KSNRSS typically costs $20–$60 in parts when done yourself. A professional repair, including the service call and labor, usually runs $150–$300. By tackling this repair DIY, you can save over $100 while restoring your freezer to quiet, efficient operation.
“`
## Frequently Asked Questions
Is evaporator fan noise on my GE GTS22KSNRSS a sign that the fan motor needs replacing?
Not always — the noise is often caused by ice buildup pressing against the fan blades rather than a faulty motor. Try manually defrosting the freezer first before purchasing a replacement part.
Do I need to empty my freezer before accessing the evaporator fan?
Yes, you should remove all food and shelving to safely reach the rear freezer panel. This also gives you a clear workspace when disconnecting the fan assembly.
How long does this repair typically take on the GE GTS22KSNRSS?
Most homeowners complete this repair in one to two hours, depending on ice buildup and their comfort with basic tools. Having a putty knife and screwdriver ready speeds up the process considerably.
Recommended Products
These are the parts and tools we recommend for this repair, based on compatibility and customer reviews:
- Supplying Demand WR60X10204 WR60X10047 Refrigerator Evaporator Fan Blade Replacement
- GE Appliances WR60X10207 Genuine OEM Condenser Fan Blade for Refrigerators
As an Amazon Associate, I earn from qualifying purchases.


