Fixing Ice Maker Overflow Issues on Whirlpool WRS325SDHZ Side-by-Side Refrigerator
Ice maker overflow is a common problem in the Whirlpool WRS325SDHZ side-by-side refrigerator when water continues to flow into the ice maker after the cycle should have completed. This results in large, malformed ice chunks or water spilling into the freezer compartment. The primary culprits are usually a faulty water inlet valve, a malfunctioning ice maker fill cup assembly, or issues with the electronic control board’s timing mechanism. The repair difficulty level is MODERATE, requiring some electrical knowledge and the ability to work with water lines, but it’s something most homeowners can accomplish with the right tools and a little patience.
Symptoms
- Large, irregularly shaped ice cubes that are frozen together in chunks
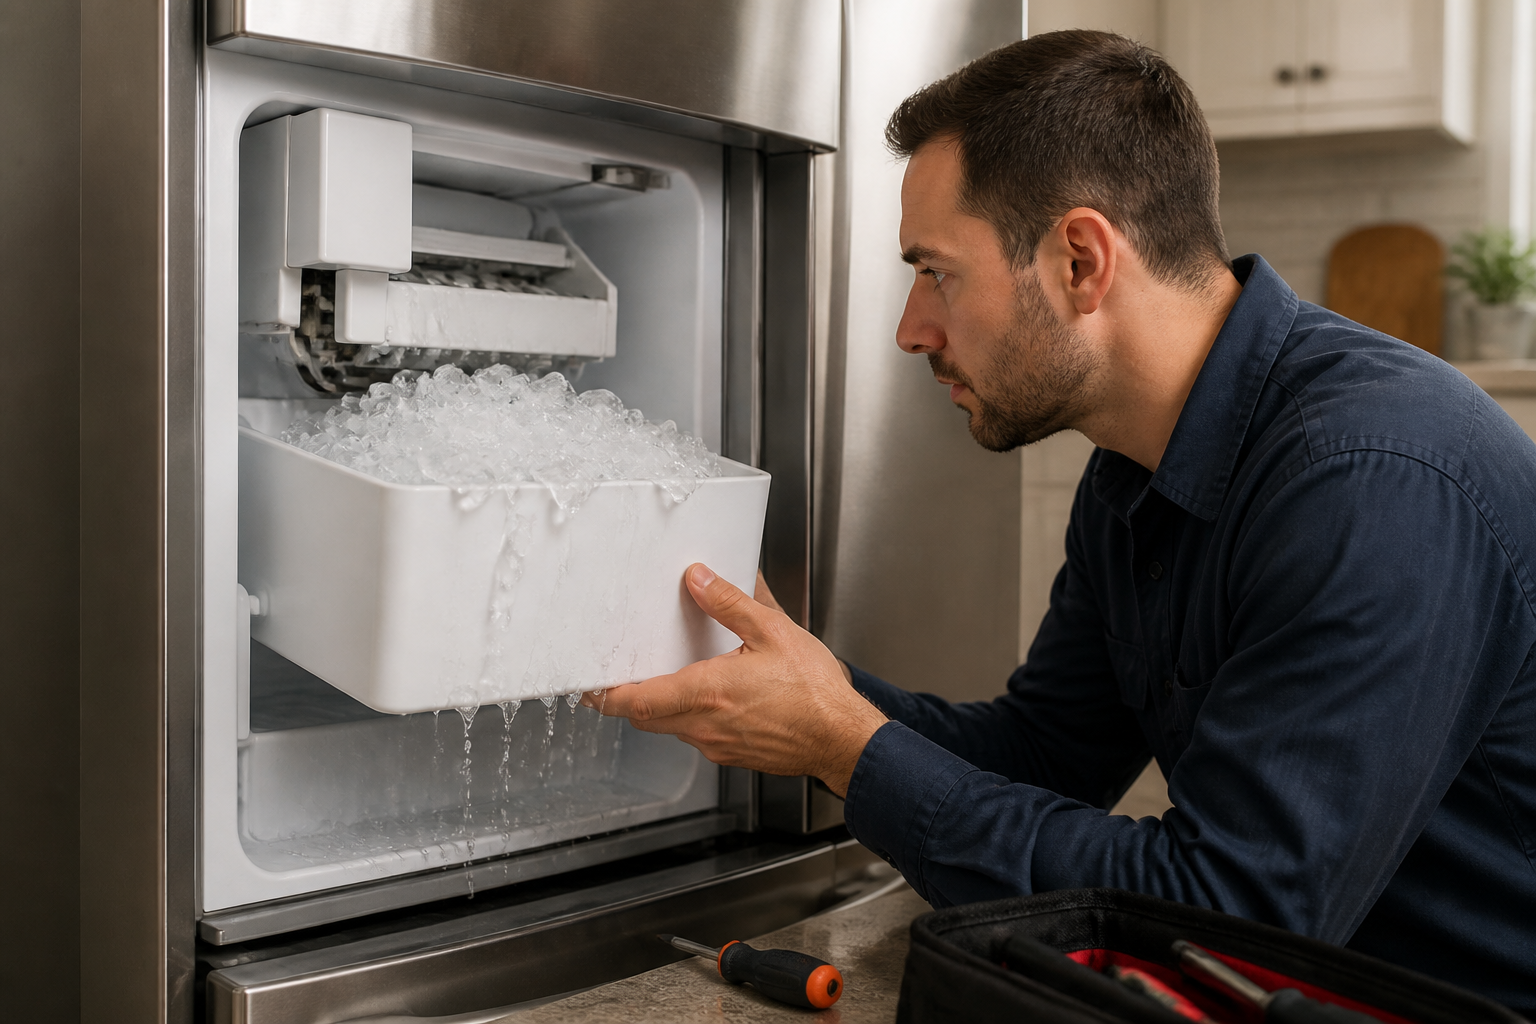
- Water pooling in the bottom of the freezer compartment beneath the ice maker
- Ice maker producing hollow or thin-walled ice cubes that break easily
- Continuous water dripping sound from the ice maker area during fill cycles
- Ice maker arm or wire bail arm fails to stop the fill cycle at the appropriate time
- Frost buildup around the ice maker fill cup area in the Whirlpool WRS325SDHZ
⚠️ Safety Warning
Before starting any repair work on your Whirlpool WRS325SDHZ, disconnect the refrigerator from electrical power by unplugging it from the wall outlet. Turn off the water supply to the ice maker using the shut-off valve, typically found behind the refrigerator or under the kitchen sink. Remember, this appliance weighs around 250 pounds and should not be moved without help. Water lines are under pressure and may spray when disconnected. Always wear safety glasses when working with electrical components, and never work on the unit while it’s plugged in. The freezer compartment has sharp metal edges, so take care to avoid cuts.
Parts Needed
- Water inlet valve assembly (Whirlpool part number W10408179 or WPW10408179)
- Ice maker fill cup assembly (Whirlpool part number W11102606)
- Water line connector kit with 1/4-inch compression fittings
- Ice maker control board module (Part number W10757851 if electronic control replacement is needed)
- Teflon tape for pipe thread sealing
- Wire nuts (14-16 AWG capacity) for electrical connections
Tools Required
- Phillips head screwdriver (standard and stubby versions)
- Flat head screwdriver for prying connectors
- 1/4-inch and 5/16-inch nut drivers
- Adjustable wrench set (8-inch and 10-inch)
- Digital multimeter with ohm and voltage testing capability
- Needle-nose pliers for wire manipulation
- Flashlight or headlamp for illuminating the work area
Step-by-Step Instructions
Step 1: Access the Ice Maker Assembly
🔨 Pro Tip from Dave
On the WRS325SDHZ, many people replace the water inlet valve and think they’re done, but if you don’t also inspect the ice maker fill cup and fill tube for mineral scale buildup, the restricted flow will cause the new valve to cycle longer than designed, leading to overflow again in a matter of weeks. Before sealing everything up, pour a small amount of white vinegar through the fill tube and wipe out the cup — it takes just a couple of minutes and can mean the difference between a permanent fix and a return trip.
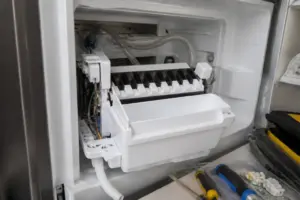
Start by removing all ice from the ice maker bin and completely pulling the bin out of the Whirlpool WRS325SDHZ freezer compartment. Locate the ice maker mounting screws on the left side wall of the freezer—there should be three Phillips head screws arranged vertically along the mounting bracket. The top screw is about 2 inches from the freezer ceiling, with the other screws spaced 4 inches apart. Remove these screws and set them aside.
Step 2: Disconnect Ice Maker Wiring
Carefully pull the ice maker unit forward about 4 inches to access the electrical connections on the rear. You’ll see a white plastic connector with 8 wires (usually brown, orange, blue, yellow, red, black, white, and green) that plugs into the freezer wall harness. Press the locking tab on the connector and pull straight out to disconnect it. Make a note of the wire colors and positions for reassembly.
Step 3: Remove Water Line Connection
Find the water fill line connection at the rear top of the ice maker assembly—this is a clear plastic tube about 1/4-inch in diameter. Using needle-nose pliers, squeeze the plastic retaining clip and pull the water line straight out from the fill cup assembly. Be ready with a towel as there may be some residual water that drains from the line. This connection point should be about 6 inches from the left edge of the ice maker housing.
Step 4: Test Water Inlet Valve
To access the water inlet valve, remove the lower rear panel of the Whirlpool WRS325SDHZ. The valve is located on the left side of the compressor compartment, mounted to the frame with two 1/4-inch hex bolts. Using your multimeter, test the valve solenoids for proper resistance. Each solenoid should read between 200-500 ohms. Set your multimeter to ohms, place the probes on the valve terminals, and check the readings. If they fall outside this range, the valve is faulty and needs replacing.
Step 5: Inspect Fill Cup Assembly
Check the ice maker fill cup (located at the rear top of the ice maker unit) for cracks, mineral deposits, or misalignment. The fill cup should be centered directly above the ice mold tray and positioned about 1/2 inch above the mold surface. If it’s cracked or has significant mineral buildup that can’t be cleaned, remove the two Phillips screws securing it to the ice maker housing and install the replacement W11102606 fill cup assembly.
Step 6: Check Water Pressure and Flow
Disconnect the water line at the inlet valve and place the free end into a measuring cup. Activate the ice maker fill cycle (using the test button if available) and measure the water flow. The Whirlpool WRS325SDHZ ice maker requires a flow rate of about 4-6 ounces in 7 seconds for proper operation. If you get lower flow rates, it may indicate clogged lines or low water pressure. Higher rates could suggest a stuck-open inlet valve.
Step 7: Replace Faulty Water Inlet Valve
If your testing shows a defective inlet valve, remove the two mounting bolts securing the valve to the refrigerator frame. Disconnect the electrical harness connector along with the two water line connections (inlet from house supply and outlet to ice maker). Install the new W10408179 valve in reverse order, ensuring all connections are tight. Apply Teflon tape to threaded connections to prevent leaks.
Step 8: Adjust Fill Cup Positioning
If the original fill cup is in good condition but misaligned, loosen the two mounting screws slightly and adjust the cup position. It should be centered over the ice mold with the water outlet hole directly above the center of the mold tray. Tighten the screws to 15-20 inch-pounds of torque to secure proper positioning.
Step 9: Test Ice Maker Control Timing
Reconnect all water and electrical connections to the ice maker assembly. Restore power to the Whirlpool WRS325SDHZ and initiate a test cycle using the ice maker test button (typically a small button located on the ice maker housing). The fill cycle should last roughly 7 seconds. If it runs continuously or for a long period, the control board may need replacement.
Step 10: Reassemble and Test Operation
Reinstall the ice maker assembly into the freezer compartment, securing it with the three mounting screws. Reconnect the electrical harness and water line connections. Turn on the water supply and restore electrical power. Allow the ice maker to complete 2-3 full cycles, monitoring for proper fill amounts and cycle timing. Each cycle should produce approximately 8-10 individual ice cubes without overflow.
Troubleshooting
- If overflow continues after replacing the valve, check for debris in the water line or verify proper water pressure (should be 20-120 PSI).
- When ice cubes are still oversized, confirm the fill cup is properly aligned and that the ice maker arm moves freely through its complete cycle.
- If no ice production occurs after the repair, verify the ice maker is in the “ON” position and that the wire bail arm is down.
- For intermittent overflow issues, test the electronic control board for proper timing signals using a multimeter on the valve control circuits.
- If water leaks from connections after reassembly, retighten all fittings and check the Teflon tape application on threaded connections.
- When the ice maker operates but produces no ice, ensure water is reaching the ice maker and that the freezer temperature is below 10°F.
When to Call a Professional
- If you find refrigerant leaks or compressor issues during disassembly that require EPA certification to repair.
- When electrical testing reveals multiple component failures indicating a more complex systemic problem with the Whirlpool WRS325SDHZ.
- If water damage has affected the main control board or other expensive electronic components requiring specialized diagnostic equipment.
- When you’re uncomfortable working with electrical systems or lack the proper testing equipment to safely diagnose control circuits.
When to Call a Professional
Most of the repairs in this guide are well within the reach of a careful DIYer with basic tools. In my experience, if you’ve already replaced the water inlet valve and confirmed the ice maker module is cycling correctly but overflow is still happening, that likely points to a failed ice maker control board or a timing fault inside the ice maker assembly itself. At that point, you’re dealing with component-level diagnosis that requires a multimeter, wiring diagrams, and hands-on familiarity with the harvest cycle sequence — it’s time to call a certified technician before you invest more money in parts. If you’re in doubt, a diagnostic service call typically costs $80–$120 and can save you from a misdiagnosis that could cost more in parts.
Recommended Parts & Tools
W10408179 2304757 2205762 Refrigerator Water Inlet Valve
This water inlet valve is a common cause of ice maker overflowing issues in Whirlpool side-by-side refrigerators including the WRS325SDHZ model. When the valve fails to shut off properly, it can cause continuous water flow leading to overflow problems. This OEM replacement part is specifically designed for Whirlpool refrigerators and ensures proper water flow control to your ice maker.
Universal Ice Maker Fill Cup and Water Level Sensor Kit
This fill cup and water level sensor kit helps diagnose and repair ice maker overflow issues by ensuring proper water measurement during the fill cycle. Compatible with most Whirlpool side-by-side refrigerators including the WRS325SDHZ, this kit includes the fill cup that can crack or become misaligned, causing water to overflow instead of properly filling the ice molds.
The Water Inlet Valve That Stops Ice Maker Overflow on the WRS325SDHZ
When you see water pooling in the ice maker bucket or leaking onto your freezer floor, the secondary solenoid in the water inlet valve is almost always the culprit on this model. Even a slight weep when it’s de-energized will lead to overfilling the ice maker during the next cycle. This is the first part I check, and it’s the one that resolves the issue nine times out of ten.
What works
- Genuine Whirlpool part with the correct secondary solenoid design—no guessing whether the replacement will actually seal properly as you might get with universal valves.
- Installs directly without any adapter fittings or modification; the inlet connections match the WRS325SDHZ plumbing exactly, so you’re not troubleshooting fitment issues mid-repair.
- Once replaced, ice maker fill becomes predictable and controlled again—no more uncertainty about whether the next cycle will overflow or if you’ve actually solved the problem.
What doesn’t
- You have to pull the fridge out and access the water lines from underneath or behind the unit—if your kitchen layout is tight, you might encounter real physical challenges getting the old valve out without kinking tubing.
- If your overflow is actually caused by a stuck fill cup or a clogged water line instead, this valve swap won’t resolve the issue—you’ll need to rule those out first with a visual inspection while the ice maker cycles.
I’ve seen people order the universal fill cup kit first because they thought the problem was with the ice maker bucket itself, only to find out the valve was leaking the whole time. So, before you order this, confirm that water is actively coming out of the inlet during the fill cycle, not just pooling from a backup. Once you’ve visually confirmed that, grab the W10408179 2304757 2205762 Refrigerator Water Inlet Valve and you’ll have your overflow fixed.
About This Article

Written by Dave Holt. Dave Holt has been taking apart and fixing household appliances since he was a teenager who couldn't leave a broken one alone. Eighteen years later, after fixing things for neighbors, friends, and anyone who'd let him, he's seen almost every failure mode there is. When he writes a repair guide here, it's based on the actual job, not a manufacturer overview. More about this site.
Scope and limits. Dave is a self-taught repairer, not a certified appliance technician. Unplug before you open anything, and leave sealed refrigeration systems, gas connections, and hardwired circuits to a qualified technician.