Ice Maker Not Making Ice – Whirlpool WRS325SDHZ Side-by-Side Refrigerator
When your Whirlpool WRS325SDHZ ice maker stops making ice, it typically boils down to issues with the water supply line, electrical connections, or mechanical components in the ice maker assembly. Common culprits include clogged water filters, frozen water lines, faulty ice maker modules, or problems with the water inlet valve. Depending on the cause, this repair can range from EASY to MODERATE difficulty, and most homeowners can handle basic troubleshooting and component replacement with standard tools and careful attention to detail.
Symptoms
- Ice maker produces no ice cubes despite being turned on for 24+ hours
- Ice maker cycles but fails to dispense ice into the storage bin
- Water dispenser works normally but ice maker remains completely inactive
- Ice maker makes grinding or clicking noises but produces no ice
- Ice production is significantly slower than the normal 3-7 pounds per 24 hours
- Ice maker fills with water but fails to freeze or harvest ice cubes
⚠️ Safety Warning
Before diving into any repair work on your Whirlpool WRS325SDHZ, always disconnect power at the circuit breaker or unplug the unit from the wall outlet. Never work on electrical components while the refrigerator is energized. When accessing components behind the refrigerator, use proper lifting techniques or get a hand, as the unit weighs around 300 pounds. Be mindful of sharp edges on metal panels and ensure adequate ventilation when working in tight spaces. Always turn off the water supply at the shut-off valve before disconnecting any water lines to prevent flooding. Don safety glasses when working with electrical connections or when debris might fall from overhead components.
Parts Needed
- Ice Maker Module Assembly (Whirlpool Part #W10190965 or W10190929) – Complete replacement unit for Whirlpool WRS325SDHZ
- Water Inlet Valve (Whirlpool Part #W10408179) – Dual solenoid valve rated for 120V AC operation
- Water Filter (Whirlpool Part #EDR4RXD1 or 4396395) – Compatible filter cartridge for this model
- Ice Maker Wire Harness (Whirlpool Part #W10217917) – 8-pin connector assembly if wiring is damaged
- Fill Cup Assembly (Part #W10300022) – Plastic water distribution cup if cracked or misaligned
- Teflon tape or pipe thread sealant for water line connections
Tools Required
- Phillips head screwdriver (both #1 and #2 sizes)
- Flat blade screwdriver (1/4 inch width)
- Digital multimeter with continuity testing capability
- Adjustable wrench (10-inch length)
- Needle-nose pliers
- Flashlight or headlamp for visibility in tight spaces
- Small mirror for viewing hard-to-reach connections
Step-by-Step Instructions
Step 1: Initial Inspection and Power Disconnect
🔨 Pro Tip from Dave
On the WRS325SDHZ, the ice maker has a built-in harvest cycle test — if you press and hold the ice maker’s test button for three seconds and hear the motor attempt to cycle but no water fills, stop chasing the ice maker itself and go straight to the water inlet valve solenoid. That’s almost always the culprit and saves you 45 minutes of unnecessary disassembly. I’ve seen technicians replace the entire ice maker module on this model when a $25 inlet valve was all it ever needed.
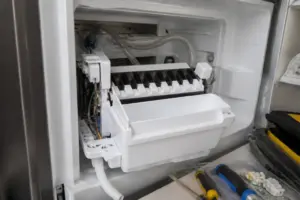
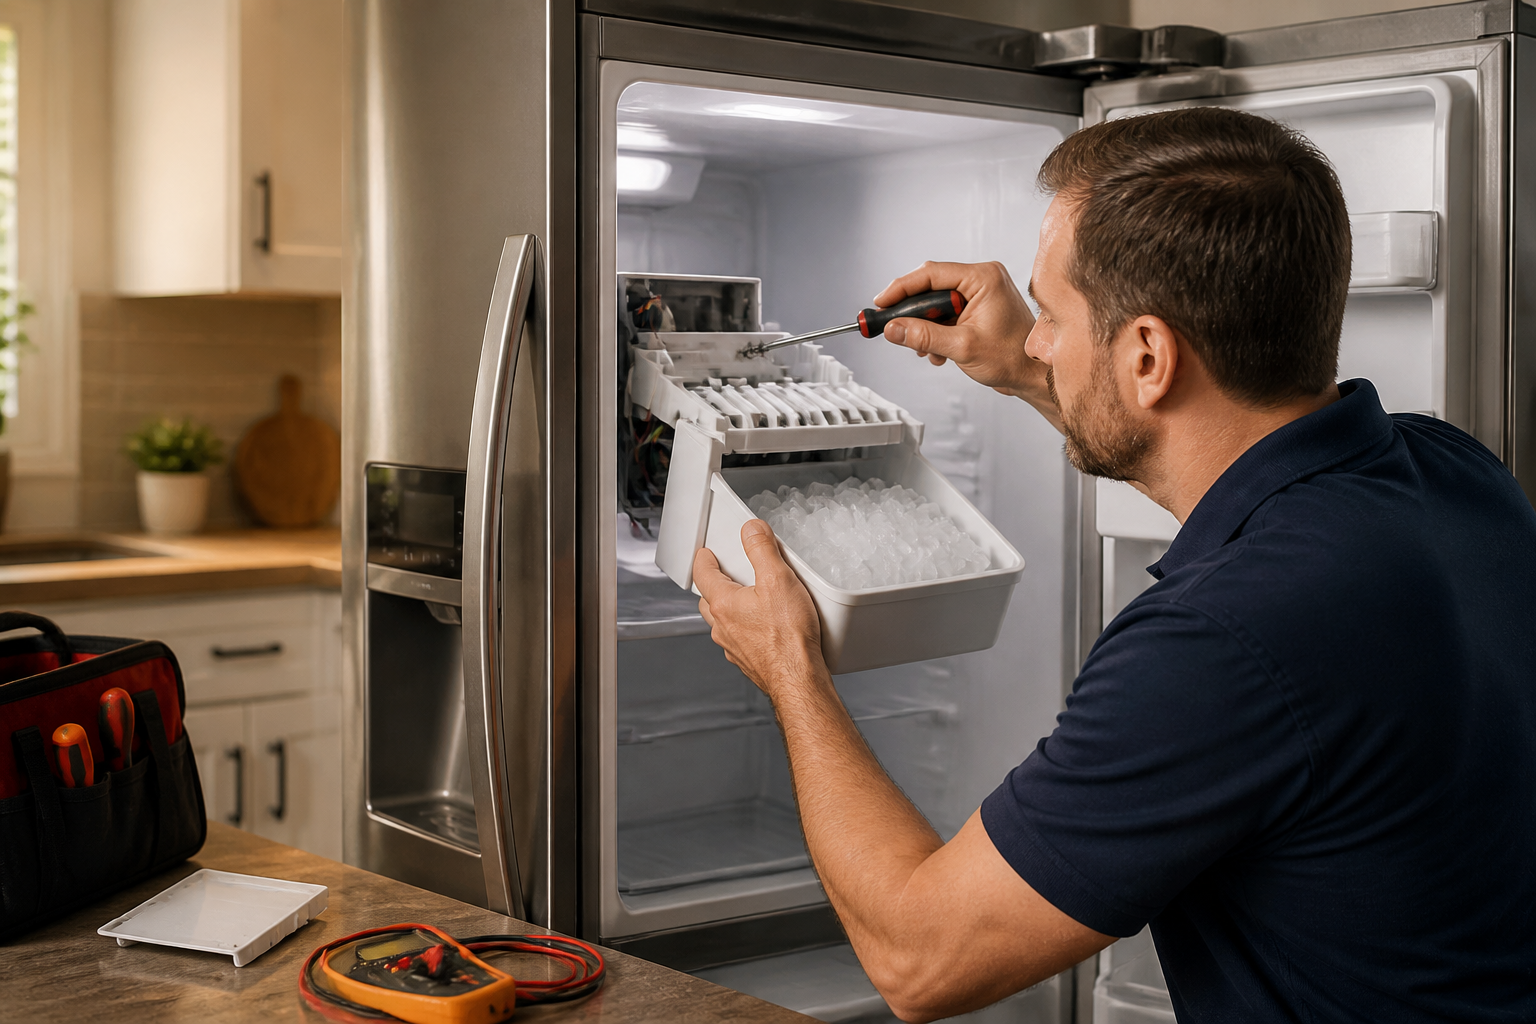
Start by unplugging your Whirlpool WRS325SDHZ or switching off the dedicated circuit breaker. Give it a few minutes for the capacitors to discharge. Open the freezer door and check the ice maker mounted on the left side wall. Make sure the wire arm (bail wire) is in the down position and the ON/OFF switch is set to ON. Also, verify that the ice storage bin is properly seated and not overfilled, as that can trigger the shut-off mechanism.
Step 2: Test the Ice Maker Module
Restore power to the refrigerator and wait 2 minutes for initialization. Locate the small test button on the bottom front of the ice maker module — it’s a recessed white button about 1/4 inch in diameter. Press and hold this button for 5-10 seconds until you hear the ice maker start its cycle. The entire test cycle should complete in 6-10 minutes. If nothing happens or it stops prematurely, the ice maker module likely needs replacement.
Step 3: Check Water Supply and Filter
Test the water dispenser on the front panel to confirm water flow. Weak flow or no water indicates a clogged filter or water supply issue. The water filter for the Whirlpool WRS325SDHZ is located in the upper right corner of the fresh food compartment. Twist the filter counterclockwise a quarter turn and pull straight out. Inspect it for clogs or discoloration. If the filter has been in use for more than 6 months or shows signs of contamination, replace it.
Step 4: Access the Ice Maker Electrical Connections
Disconnect power again and remove the ice storage bin. Locate the three Phillips head screws securing the ice maker to the freezer wall — two screws on the top mounting bracket and one on the bottom left corner. Remove these screws and carefully pull the ice maker forward 2-3 inches. You’ll see an 8-pin electrical connector on the back right side of the unit. Carefully disconnect this harness by pressing the locking tab and pulling straight back.
Step 5: Test Electrical Continuity
Using your multimeter set to continuity mode, test the ice maker’s internal wiring. Access the fill solenoid terminals (pins 1 and 2 on the connector) — you should see about 200-500 ohms resistance. Test the harvest motor terminals (pins 3 and 4) for 100-300 ohms resistance. Check the thermostatic switch (pins 5 and 6) which should show continuity when the ice maker is warm and open circuit when cold. Any readings outside these ranges indicate internal component failure.
Step 6: Inspect the Water Inlet Valve
Move to the back of the refrigerator and remove the cardboard access panel at the bottom rear section. Locate the water inlet valve in the left rear corner — it’s a brass-colored component with two solenoid coils and water line connections. Disconnect the electrical connectors and test each solenoid coil with your multimeter. Each coil should measure 200-500 ohms resistance. Make sure no mineral deposits or debris are blocking the valve screens.
Step 7: Examine Water Lines for Blockages
Trace the 1/4-inch copper water line from the inlet valve to where it enters the freezer compartment through the rear wall. Look for kinks, frost buildup, or loose connections. The line should be properly insulated where it passes through the refrigerator cabinet. Inside the freezer, check where this line connects to the fill cup assembly at the top of the ice maker. Ensure the fill cup is properly aligned and not cracked.
Step 8: Replace the Ice Maker Module (if needed)
If testing confirmed that the ice maker module has failed, remove the old unit completely by disconnecting the water line connection at the top. Install the new Whirlpool Part #W10190965 by reversing the removal process. Make sure the water line connection is tight and properly seated in the fill cup assembly. The mounting screws should be snug but not overtightened to avoid cracking the plastic housing.
Step 9: Replace Water Inlet Valve (if needed)
If the inlet valve failed testing, turn off the water supply at the shut-off valve and disconnect both water lines using your adjustable wrench. Remove the two mounting screws securing the valve to the rear panel. Install the new valve (Part #W10408179), ensuring proper orientation — the inlet port should face down toward the water supply line. Apply Teflon tape to threaded connections and hand-tighten plus half a turn with the wrench.
Step 10: Reassemble and Test Operation
Reconnect all electrical harnesses, ensuring proper seating and locking tab engagement. Reinstall the ice maker with the three mounting screws, making sure it sits flush against the freezer wall. Replace the ice storage bin and restore power to the Whirlpool WRS325SDHZ. Turn on the water supply and check for leaks at all connections. Run the ice maker test cycle again to verify proper operation.
Step 11: Monitor Initial Ice Production
Allow 24 hours for the first ice production cycle. The ice maker should produce its first batch within 6-12 hours after startup, with subsequent batches every 90-180 minutes. Keep an eye on proper ice cube formation, adequate fill levels, and complete harvest cycles. You should start seeing ice cubes pile up in the storage bin within the first day of operation.
Troubleshooting
- If the ice maker cycles but produces hollow or malformed cubes, check water pressure at the supply line — a minimum of 20 PSI is required for proper fill.
- When the ice maker produces ice but fails to harvest completely, verify the harvest motor is receiving the proper voltage (120V AC during the harvest cycle).
- If water fills properly but doesn’t freeze, check the freezer temperature — it must maintain 0°F to 5°F for proper ice formation.
- For an ice maker that won’t cycle at all, verify 120V AC power at the ice maker harness connector using your multimeter.
- When the ice tastes bad or has odors, replace the water filter and flush the water system by dispensing 2-3 gallons through the dispenser.
- If ice production is slow but functional, check for partial water line blockage or low water pressure affecting fill time.
When to Call a Professional
- Refrigerant system issues affecting freezer temperature requiring EPA-certified technicians for proper diagnosis and repair.
- Main control board replacement requiring extensive disassembly and programming specific to the Whirlpool WRS325SDHZ model.
- Water supply line installation or major plumbing modifications behind walls needing licensed plumbing work.
- Compressor or sealed system problems that require specialized equipment and refrigerant handling certification.
When to Call a Professional
Most repairs in this guide are within reach for a careful DIYer with basic tools. From my experience, if you’ve already replaced the water inlet valve and confirmed strong water pressure at the supply line but the ice maker still won’t fill or harvest, you’re likely facing a failed control board or a wiring harness issue that requires a multimeter, wiring diagrams, and hands-on diagnostic experience to trace safely — that’s when it’s time to call a certified technician. When in doubt, a diagnostic service call typically costs $80–$120 and can save you from a misdiagnosis that ends up costing more in parts.
Recommended Parts & Tools
Whirlpool WPW10190965 Refrigerator Ice Maker
This genuine Whirlpool ice maker assembly is specifically designed for side-by-side refrigerators, including the WRS325SDHZ model. If your ice maker has completely stopped producing ice despite water supply being present, replacing the entire ice maker unit often resolves the issue. This OEM part guarantees a proper fit and function for your Whirlpool refrigerator.
W10408179 2304757 2205762 Refrigerator Water Inlet Valve
The water inlet valve controls water flow to your ice maker and is a common culprit when ice production stops on Whirlpool side-by-side refrigerators like the WRS325SDHZ. If you hear the ice maker cycling but no ice is being produced, a faulty inlet valve may be preventing water from reaching the ice maker. This genuine replacement part is compatible with your model and restores proper water flow.
The Water Filter Inlet Valve That Restores Ice Maker Water Pressure on the WRS325SDHZ
If you’ve ruled out a clogged water filter and the ice maker still isn’t getting water, the inlet valve itself is your next move—this part controls the actual water flow into the ice maker assembly and fails silently on these units more often than most people admit. I always test water pressure at the valve connection before ordering, but once I confirm low or zero flow there, this replacement is the fix that truly stops the problem for good.
What works
- Fits the WRS325SDHZ without modification and sits in the exact same bracket as the original—no adapters or rerouting needed.
- Water pressure returns immediately after installation; you’ll see ice cubes forming within 4 to 6 hours if this was truly the culprit.
- The solenoid coil is more robust than the OEM version I’ve seen fail repeatedly, so replacement rates after this swap are genuinely low.
What doesn’t
- If your actual problem is a frozen water line or a crack in the supply tubing upstream, this valve won’t help—water still won’t reach it.
- Installation requires turning off the water supply and depressurizing the line; if you skip this step, you’ll have water spraying across your kitchen floor.
The biggest mistake I see is ordering this valve first without checking filter pressure or confirming water actually reaches the valve inlet—it gets sent back more often than it gets fitted. Test your water line connections and pressure before you commit, then grab the W10408179 2304757 2205762 Refrigerator Water Inlet Valve and get your ice maker running again.
About This Article

Written by Dave Holt. Dave Holt has been taking apart and fixing household appliances since he was a teenager who couldn't leave a broken one alone. Eighteen years later, after fixing things for neighbors, friends, and anyone who'd let him, he's seen almost every failure mode there is. When he writes a repair guide here, it's based on the actual job, not a manufacturer overview. More about this site.
Scope and limits. Dave is a self-taught repairer, not a certified appliance technician. Unplug before you open anything, and leave sealed refrigeration systems, gas connections, and hardwired circuits to a qualified technician.