LG LRFXS2503S Ice Maker Not Dispensing Repair Guide
As I mentioned earlier, the ice maker dispenser on the LG LRFXS2503S French door refrigerator is a complex system. It includes mechanical augers, motors, sensors, and control boards. When the ice fails to dispense despite normal ice production, the culprit is often a jammed auger motor, a faulty dispenser motor, broken micro switches, or ice blockages in the chute assembly. Depending on the issue, this repair can range from EASY to MODERATE difficulty. Most homeowners with basic mechanical skills can complete this repair in 1-3 hours.
Symptoms
- Ice maker produces ice but nothing comes out when dispenser paddle is pressed
- Dispenser motor runs but no ice is dispensed from the chute
- Grinding or clicking noises when attempting to dispense ice
- Ice dispenses intermittently or in small amounts only
- Dispenser paddle feels loose or unresponsive
- LED dispenser light activates but no mechanical sounds occur when paddle is pressed
⚠️ Safety Warning
Before diving into any repair work, safety is paramount. Always disconnect power to the LG LRFXS2503S by unplugging the unit or turning off the circuit breaker. This refrigerator weighs around 300 pounds—never attempt to move it alone, and ensure there’s proper ventilation clearance when pulling it away from the wall. Be mindful of sharp metal edges inside the dispenser housing and freezer compartment. I also recommend wearing safety glasses when working with electrical components or cleaning ice blockages. Allow any removed components to reach room temperature before handling to prevent condensation damage to electrical parts.
Parts Needed
- LG Dispenser Motor Assembly – Part Number AEA73693403 (if motor replacement needed)
- Ice Chute Door Assembly – Part Number AEC73317301 (if chute door is damaged)
- Dispenser Micro Switch Set – Part Number 6600JB3006A (for paddle mechanism)
- Auger Motor Assembly – Part Number AEA73693404 (if auger motor fails)
- Ice Chute Funnel – Part Number AEC73317302 (if cracked or broken)
- Dispenser Control Board – Part Number EBR79405604 (for electrical failures)
- Food-grade silicone lubricant for mechanical components
Tools Required
- Phillips head screwdriver set (#1 and #2)
- Flathead screwdriver (1/4 inch)
- Digital multimeter with probe leads
- Flashlight or headlamp for interior illumination
- Needle-nose pliers
- Hair dryer (for melting ice blockages)
- Clean towels and small container for water collection
Step-by-Step Instructions
Step 1: Power Down and Access the Dispenser
🔨 Pro Tip from Dave
On the LRFXS2503S specifically, the dispenser micro switches are notorious for failing intermittently. The paddle may feel like it’s pressing fine, but the switch contact inside might be worn just enough to miss the signal. Always test the micro switches with a multimeter in continuity mode while manually actuating them several times, not just once. A worn switch may pass on the first press and fail on subsequent ones.
First, unplug the LG LRFXS2503S from power and find the dispenser assembly on the left door. Remove the drip tray by lifting it straight up. Open the left freezer door and locate the ice chute opening, which is about 18 inches from the top of the door interior. Carefully remove any visible ice buildup using a plastic utensil, being cautious not to damage the chute components.
Step 2: Remove the Dispenser Cover Panel
Next, find the four Phillips head screws securing the outer cover panel on the exterior dispenser housing—two at the top corners and two at the bottom. Using a #2 Phillips screwdriver, remove these screws and gently pull the cover panel forward to expose the dispenser paddle mechanism and internal wiring.
Step 3: Test the Dispenser Paddle Switches
With the cover off, locate the two micro switches behind the dispenser paddle assembly. The upper switch (with a white connector) controls ice dispensing, while the lower switch (blue connector) activates the auger motor. Use your multimeter set to continuity mode to test each switch by pressing the paddle and checking for continuity across the switch terminals. Each switch should show 0 ohms when activated and infinite resistance when not pressed.
Step 4: Inspect the Ice Chute Assembly
Remove the ice chute door by finding the two plastic clips on either side of the chute opening inside the freezer door. Gently squeeze these clips while pulling the chute door assembly downward. Check the chute for ice blockages, cracks, or foreign objects. The chute door should move freely on its hinges, and the spring mechanism should provide proper tension for opening and closing.
Step 5: Access the Dispenser Motor
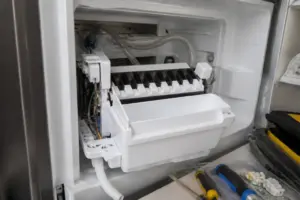
Inside the left freezer door, take off the ice maker cover panel by unscrewing the three Phillips head screws located along the bottom edge. The dispenser motor assembly is mounted vertically on the right side of the ice maker housing; you can identify it by its black plastic housing and gear assembly. Ensure the motor shaft rotates freely by hand when power is disconnected.
Step 6: Test Dispenser Motor Operation
Reconnect power to the LG LRFXS2503S temporarily and use your multimeter to measure voltage at the dispenser motor connector. When the dispenser paddle is activated, you should read around 120V AC across the motor terminals (red and black wires). If voltage is present but the motor doesn’t run, it’s time for a motor replacement. If no voltage is detected, the problem may lie with the control board or wiring.
Step 7: Check the Auger Motor Assembly
Located directly below the ice maker bin, the auger motor drives the spiral mechanism that moves ice toward the dispenser chute. Completely remove the ice bin and locate the auger motor mounting bracket secured by two 1/4-inch hex bolts. With power disconnected, manually rotate the auger shaft—it should turn smoothly without any binding. Also, check the motor wiring harness connection for corrosion or loose contacts.
Step 8: Clear Ice Blockages
If you find ice jammed in the dispenser mechanism, use a hair dryer on a low heat setting to gradually melt the blockage. Work from the exterior dispenser opening toward the ice maker bin, letting melted ice drain into towels placed below. Avoid using sharp objects or excessive force, as this could damage the plastic chute components specific to the LG LRFXS2503S model.
Step 9: Lubricate Moving Components
Apply a small amount of food-grade silicone lubricant to the auger motor shaft where it enters the gear housing, and to the pivot points of the ice chute door mechanism. Be careful not to over-lubricate, as this can attract ice buildup. Operate the mechanisms by hand several times to distribute the lubricant evenly.
Step 10: Replace Faulty Components
If your testing revealed a faulty dispenser motor, disconnect the wiring harness and remove the two mounting screws securing the motor to its bracket. Install the new motor in the reverse order, making sure the drive gear aligns properly with the auger mechanism. For micro switch replacement, note the wire colors and positions before disconnecting, as improper connections will prevent the dispenser from working.
Step 11: Reassemble and Test
Reinstall all components in reverse order, ensuring all wiring connections are secure and routed correctly. Replace the ice bin and let the LG LRFXS2503S run for 30 minutes before testing the ice dispensing. Check that the dispenser paddle returns to its neutral position and that both ice and water dispensing functions work correctly.
Step 12: Final Calibration
Press and hold the ice dispenser paddle for 10 seconds to allow the auger motor to complete a full cycle and clear any remaining loose ice from the mechanism. Test dispensing several times to ensure consistent operation. Watch for any unusual noises or irregular ice flow that might indicate an incomplete repair or component misalignment.
Troubleshooting
- If ice still won’t dispense after repairs, check the main control board for fault codes by pressing the refrigerator’s diagnostic button sequence specific to the LG LRFXS2503S.
- Intermittent dispensing may indicate a loose wiring connection—recheck all electrical connections and ensure proper wire routing.
- Grinding noises after component replacement suggest misalignment between the dispenser motor gear and auger mechanism.
- If the dispenser works but produces crushed ice when cubed ice is selected, the crusher blade assembly may require adjustment or replacement.
- No response to paddle activation could indicate a failed door switch that detects when the freezer door is properly closed.
- Ice dispensing slowly or in small amounts may indicate low ice production rather than a dispenser problem—check ice maker operation separately.
When to Call a Professional
- When the main control board requires replacement, as this involves complex programming specific to the LG LRFXS2503S model.
- If refrigerant lines are accidentally damaged during repair, requiring EPA-certified technician intervention.
- When multiple electrical components fail simultaneously, indicating potential power supply issues.
- If the ice maker assembly requires removal from the freezer compartment, which involves specialized brackets and potential warranty concerns.
When to Call a Professional
Most of the repairs in this guide are achievable for a careful DIYer with basic tools. From my experience, once you’ve ruled out ice jams and confirmed the micro switches are functioning correctly but the dispenser still won’t cycle, you’re likely looking at a failed dispenser control board or a wiring harness fault. At that point, it’s best to call a certified technician. When in doubt, a diagnostic service call typically costs $80–$120 and can save you from a misdiagnosis that costs more in parts.
Recommended Parts & Tools
CoreCentric Remanufactured Refrigerator Ice Maker Assembly
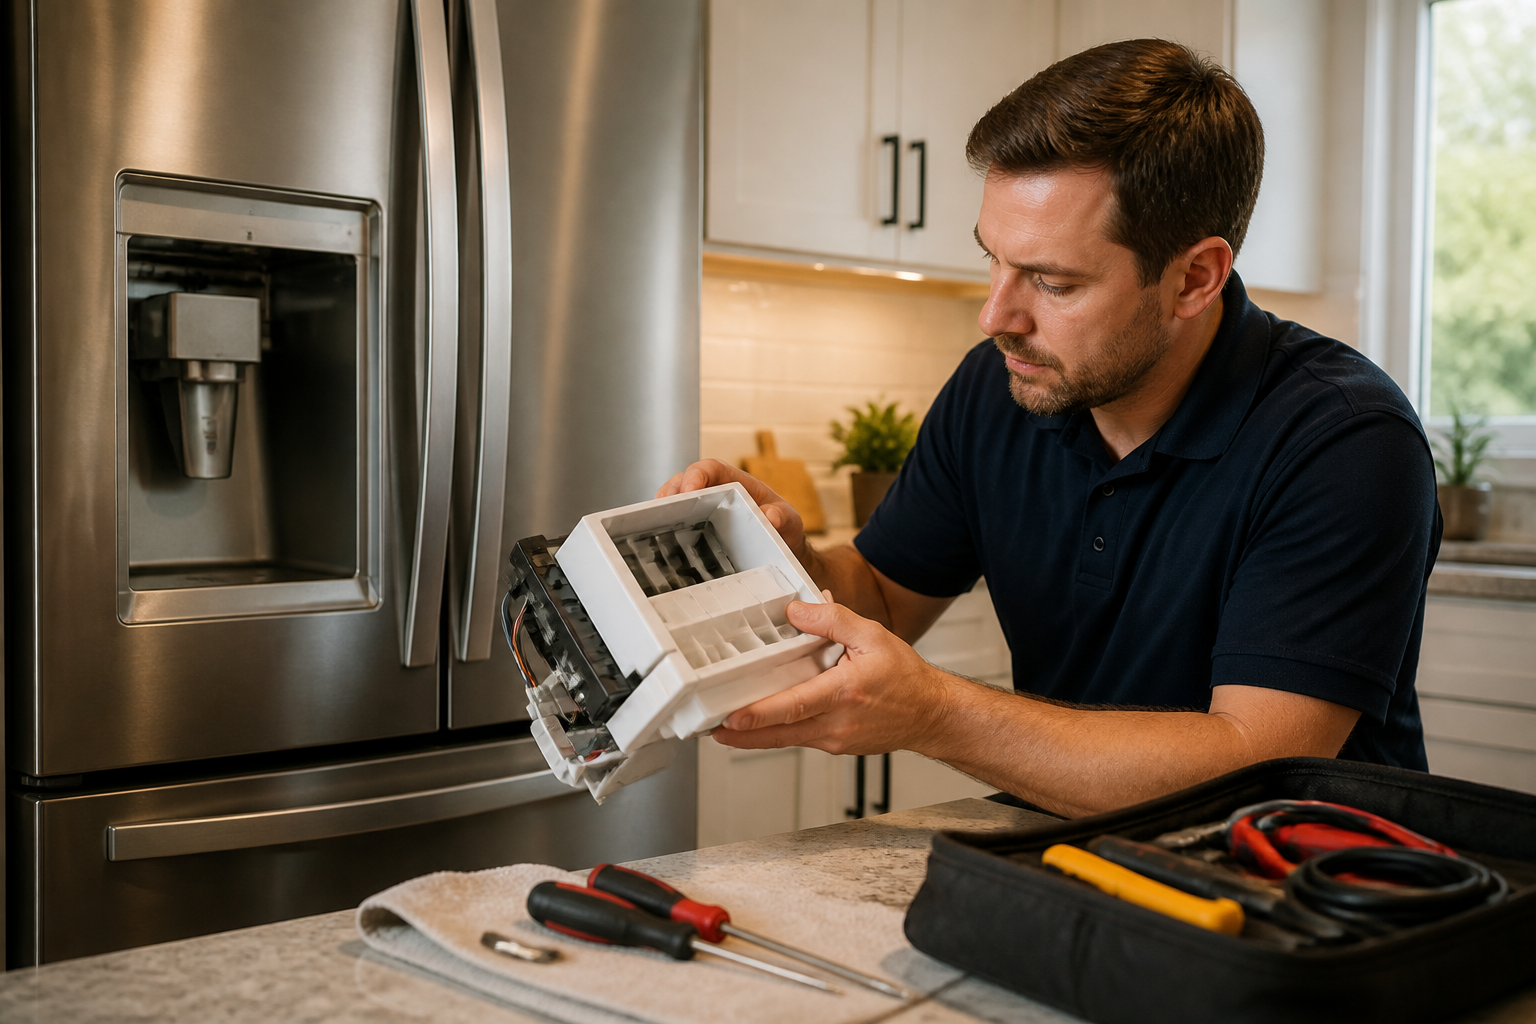
This genuine LG ice maker assembly is designed specifically for LG French door refrigerators, including the LRFXS2503S model. If your ice maker isn’t dispensing due to internal mechanical failure or damaged components, replacing the entire ice maker unit often resolves the dispensing issues permanently.
5989JA1005G Refrigerator Ice Maker Assembly
The ice chute door motor controls the dispensing mechanism that releases ice when you press the dispenser paddle on your LG LRFXS2503S. When this motor fails, ice may not dispense even though the ice maker is producing ice normally. This OEM replacement part is compatible with multiple LG French door models and can restore proper ice dispensing function.
The Ice Maker Assembly That Actually Fixes the No-Dispense Problem on Your LG French Door
If you’ve confirmed the auger motor is spinning and the dispenser motor is running but nothing comes out, the ice maker assembly itself is usually the culprit. This is the part to order first when diagnosing a dead dispenser on the LRFXS2503S, because nine times out of ten, it’s either a cracked chute inside the assembly or failed internal auger bearings causing the jam.
What works
- The assembly is a complete swap—you’re not hunting down individual internal components, avoiding the diagnostic rabbit hole of whether it’s the auger itself or the bearing that failed.
- OEM-matched fit means the auger alignment with the dispenser chute is exact; I’ve seen aftermarket ice maker assemblies cause grinding sounds because the auger was slightly off-spec.
- The assembly includes the ice storage bin housing, so if you’re also dealing with a cracked bin (common on these units after years of thermal cycling), you get that fixed in one part order.
What doesn’t
- You have to pull the entire freezer drawer and disconnect water lines—this isn’t a 20-minute job like replacing a micro switch, so factor in 45 minutes to an hour of work.
- If the problem is actually a failed dispenser motor or a faulty auger motor, you’ve replaced a $200+ assembly when you only needed a $50 motor, so always test the motors first with a multimeter before ordering this.
I once replaced the dispenser motor on an LRFXS2503S thinking that was the fix, only to have the ice jam right back up inside the assembly itself. It turned out the internal auger bearing had already failed, and I should have swapped the whole assembly on the first call. Order the CoreCentric Remanufactured Refrigerator Ice Maker Assembly once you’ve ruled out motor failure.
About This Article

Written by Dave Holt. Dave Holt has been taking apart and fixing household appliances since he was a teenager who couldn't leave a broken one alone. Eighteen years later, after fixing things for neighbors, friends, and anyone who'd let him, he's seen almost every failure mode there is. When he writes a repair guide here, it's based on the actual job, not a manufacturer overview. More about this site.
Scope and limits. Dave is a self-taught repairer, not a certified appliance technician. Unplug before you open anything, and leave sealed refrigeration systems, gas connections, and hardwired circuits to a qualified technician.