Ice Dispenser Jammed Repair for Whirlpool WRS325SDHZ Side-by-Side Refrigerator
If you’re experiencing a jammed ice dispenser on your Whirlpool WRS325SDHZ, you’re not alone. This is a common issue I frequently encounter, often due to ice clumping in the chute or problems with the auger motor. The front-mounted dispenser system can get obstructed by ice, foreign objects, or even mechanical failures. I rate the repair difficulty as MODERATE, requiring some basic electrical knowledge and access to internal freezer components. Most homeowners can tackle this repair in about 2-3 hours with the right tools and a focus on safety.
Symptoms
- Ice dispenser lever activates but no ice comes out of the chute
- Grinding or clicking noises when pressing the ice dispenser paddle
- Ice cubes are dispensed but in very small quantities or irregularly
- Visible ice blockage in the dispenser chute opening
- Dispenser motor runs continuously without dispensing ice
- Ice clumping visible through the freezer door around the auger housing
⚠️ Safety Warning
Before you start any repair on your Whirlpool WRS325SDHZ, make sure to disconnect the refrigerator from electrical power by unplugging it or turning off the circuit breaker. This unit runs on 115V AC current, and safety is paramount since it contains live electrical components that pose shock hazards. Considering that this refrigerator weighs about 300 pounds, ensure you have proper support when moving it around. Also, be cautious with the water lines connected to the ice maker, as they operate under household water pressure and could spray when disconnected. I recommend wearing safety glasses to protect against sharp ice fragments, and allow the freezer to warm slightly before starting your work to avoid sticking to frozen surfaces.
Parts Needed
- Whirlpool Ice Dispenser Auger Motor Assembly – Part Number W10822606
- Ice Chute Assembly – Whirlpool Part Number W10347114
- Dispenser Actuator Lever – Part Number W10195688
- Ice Crusher Blade Assembly – Part Number 4318165
- Door Switch for Dispenser – Part Number W10175892
- Silicone-based food-safe lubricant for moving parts
Tools Required
- Phillips head screwdriver set (sizes #1 and #2)
- Flathead screwdriver (1/4 inch blade)
- Digital multimeter with continuity testing capability
- Needle-nose pliers
- Hair dryer or heat gun on low setting
- Flashlight or headlamp for interior visibility
- Clean towels and small container for ice removal
Step-by-Step Instructions
Step 1: Power Down and Access the Dispenser
🔨 Pro Tip from Dave
In my experience with the WRS325SDHZ, many technicians spend time chasing the auger motor when the issue is actually with the dispenser door actuator — a small plastic lever that cracks at its pivot point and prevents the auger from receiving the signal to run. Manually pressing the dispenser paddle while observing the actuator can save you time. If the actuator moves but the auger doesn’t spin, check the door switch interlock first. This model cuts power to the dispenser circuit when the refrigerator door isn’t fully latched, often due to a warped door gasket.
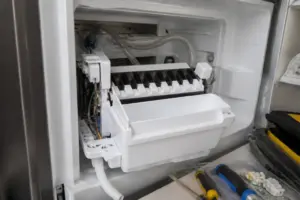
Unplug the Whirlpool WRS325SDHZ from the wall outlet and remove all items from the freezer compartment. Open the freezer door fully and locate the ice dispenser housing on the left interior wall. Remove the ice bucket by lifting it straight up and out of the freezer cavity. Right behind where the ice bucket was, you’ll find the auger motor housing, mounted about 18 inches from the top of the freezer compartment.
Step 2: Remove the Auger Motor Housing Cover
Find the white plastic cover over the auger motor assembly. Remove the three Phillips head screws securing this cover — two on the bottom edge and one on the top center. These screws are approximately 1/2 inch long with #8-32 threading. Gently pull the cover forward, being cautious of any wire connections. You should see the auger motor mounted vertically with a black electrical connector attached.
Step 3: Clear Ice Blockages
Using a hair dryer set on low heat, carefully warm any visible ice accumulations around the auger assembly and chute area. Keep the dryer about 6 inches away and move it continuously to avoid overheating the plastic components. Remove any loosened ice pieces with your hands, placing them in a towel. Check that the auger shaft rotates freely by hand when the motor is disconnected.
Step 4: Test the Auger Motor
Disconnect the black electrical connector from the auger motor by pressing the locking tab and pulling straight out. Set your multimeter to continuity mode and test between the motor terminals. You should read approximately 150-200 ohms of resistance. If your reading is infinite or zero, the motor has failed and needs replacement. The motor connector has three wires: black (common), white (neutral), and red (power).
Step 5: Inspect the Ice Chute Assembly
Inside the freezer, examine the ice chute that leads from the auger to the door dispenser. Remove the chute assembly by unscrewing the two mounting screws located at the top rear of the chute housing. The chute should slide forward and down for removal. Look for any cracks, warping, or ice buildup that could cause jamming. The chute interior should be smooth with no sharp edges or obstructions.
Step 6: Check the Dispenser Door Mechanism
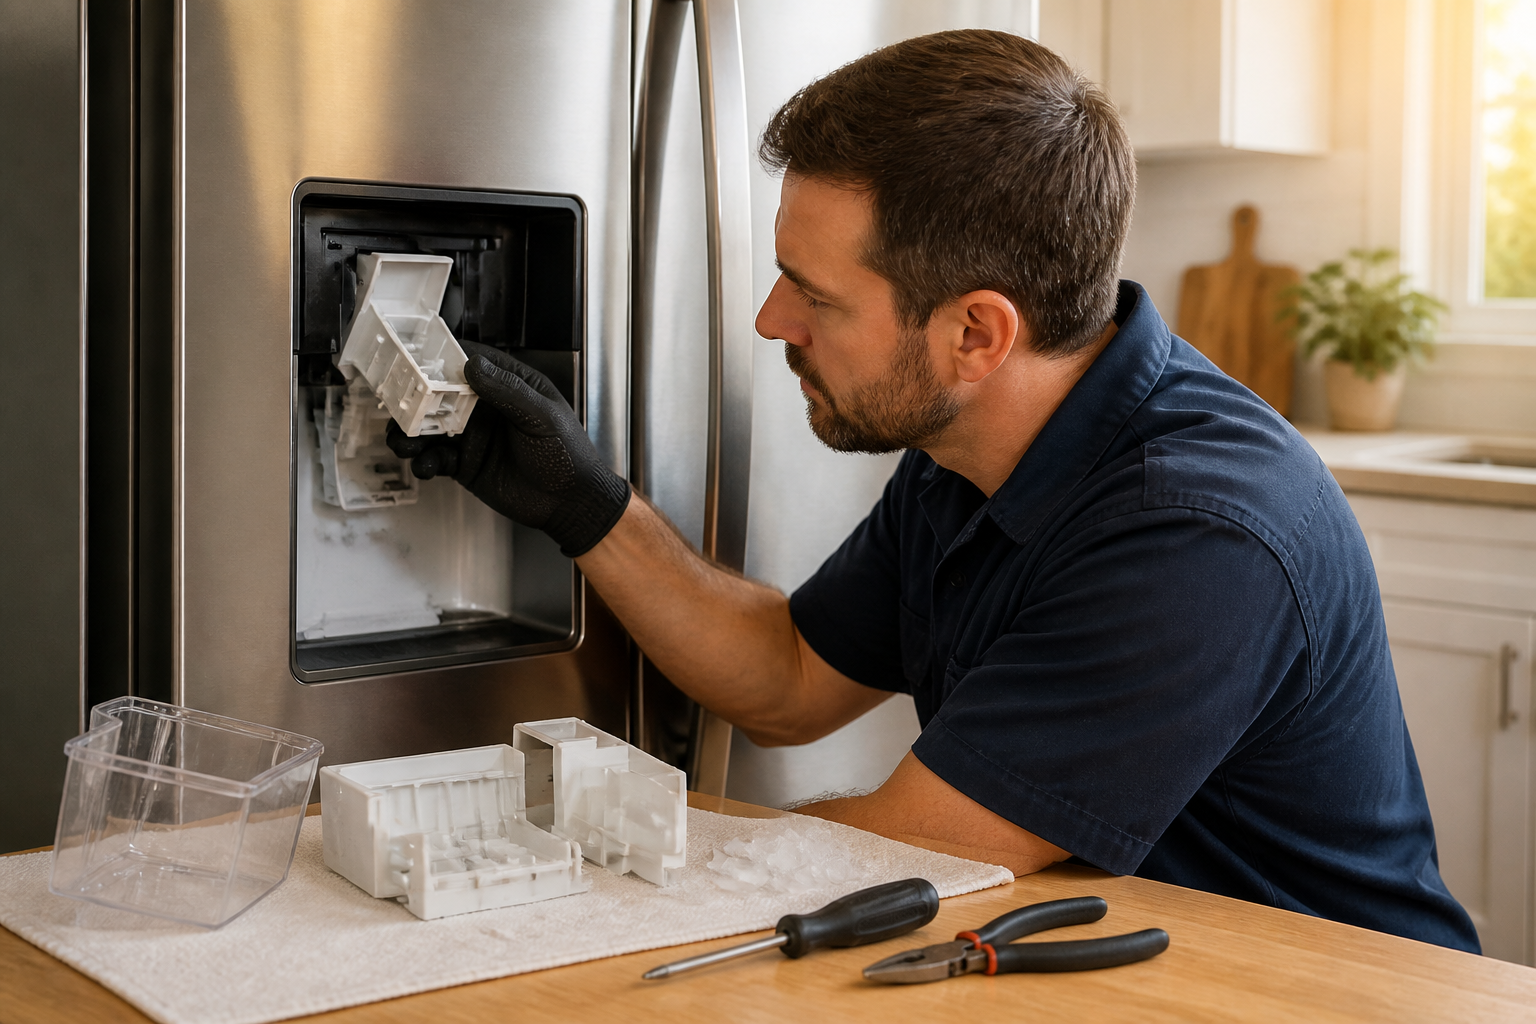
Open the external dispenser door on the front of the Whirlpool WRS325SDHZ and locate the actuator mechanism behind the paddle. Remove the single screw holding the actuator assembly and pull it forward. Test the door flap — it should open and close smoothly with spring tension. If the door sticks or the spring appears damaged, you’ll need to replace the whole actuator assembly.
Step 7: Examine the Crusher Blade Assembly
If your model has a crushed ice option, locate the crusher blade assembly mounted below the auger motor. Remove the two mounting bolts using a socket wrench and carefully lift out the blade assembly. Inspect the blades for damage, dullness, or ice accumulation. The blades should be sharp and rotate freely without binding. Clean them thoroughly with warm water and dry completely before reinstalling.
Step 8: Test the Door Switch Operation
Find the door switch on the right side of the dispenser opening, about 2 inches from the bottom. This switch prevents operation when the door is open. Test continuity across the switch terminals with the door closed (should show continuity) and open (should show open circuit). If it fails this test, replace the switch, as it may be preventing proper dispenser operation.
Step 9: Reassemble the Auger System
Reinstall the auger motor by reversing the removal process. Make sure the motor shaft aligns properly with the auger drive coupling. Tighten the mounting screws to finger-tight plus a 1/4 turn to avoid over-tightening the plastic threads. Reconnect the electrical connector firmly until you hear the locking tab click into place.
Step 10: Reinstall the Ice Chute
Slide the ice chute assembly back into position, ensuring the rear mounting tabs align with their slots. Install the two mounting screws and tighten securely. Verify that the chute path is clear and properly aligned with both the auger output and the door dispenser opening.
Step 11: Final System Test
Replace the auger motor housing cover and secure it with the three Phillips screws. Reinstall the ice bucket, ensuring it sits properly in the mounting brackets. Plug the Whirlpool WRS325SDHZ back into power and allow 15 minutes for the control systems to initialize. Test the ice dispenser by pressing the paddle — you should hear the auger motor activate and ice should dispense smoothly.
Step 12: Verify Continuous Operation
Run the ice dispenser for 30 seconds to ensure consistent operation. Check that ice flows smoothly without jamming and that the motor stops promptly when the paddle is released. Keep an eye on the system for any unusual noises or irregular ice flow that might indicate incomplete repairs or component misalignment.
Troubleshooting
- If ice still won’t dispense after clearing blockages, check the freezer temperature — it should be between 0°F and 5°F for proper ice formation.
- Grinding noises after motor replacement may indicate misaligned auger coupling — remove and reinstall the motor ensuring proper shaft alignment.
- Intermittent operation could signal a failing door switch or loose electrical connections — recheck all connector attachments.
- Ice dispensing very slowly may indicate partial chute blockage — remove and thoroughly clean the entire chute assembly.
- Motor runs but no ice movement suggests stripped auger gears — inspect the plastic gear coupling between motor and auger shaft.
- Ice dispenser works but crushed ice doesn’t may indicate crusher blade motor failure requiring separate diagnosis and repair.
When to Call a Professional
- If the ice maker itself isn’t producing ice, the problem may lie in the water supply system or main ice maker assembly, which requires professional diagnosis.
- Electrical issues beyond simple component replacement, such as control board failures or wiring problems, should be handled by certified technicians.
- If multiple dispenser functions fail simultaneously, the main control module may require programming or replacement that needs professional equipment.
- Water leaking from behind the refrigerator during repair indicates possible water line damage, requiring immediate professional attention.
When to Call a Professional
Most of the repairs in this guide are within reach for a careful DIYer with basic tools. In my experience, if you’ve confirmed the chute and auger are clear but the dispenser still won’t operate — especially if you’re also seeing error codes on the control board or if the ice maker has stopped producing entirely — it’s likely a control board or wiring harness issue. These problems require a multimeter, wiring diagrams, and hands-on diagnostic experience to trace safely without damaging components that can cost $150 or more to replace. When in doubt, a diagnostic service call typically costs $80–$120 and can save you from a misdiagnosis that costs more in parts.
Recommended Parts & Tools
W11509548 Auger Drive Shaft Compatible With Whirlpool
This genuine Whirlpool ice dispenser motor assembly is designed specifically for side-by-side refrigerators including the WRS325SDHZ model. If ice gets jammed repeatedly, it often indicates a worn or failing motor that can no longer properly cycle the dispenser mechanism. This OEM part ensures proper fit and function for your Whirlpool refrigerator.
4-Piece Refrigerator Repair Tool Set with Trim Removal Tools
This specialized tool set includes trim removal tools and panel pry tools essential for safely accessing the ice dispenser assembly on Whirlpool side-by-side refrigerators like the WRS325SDHZ. The tools help prevent damage to plastic trim pieces and allow proper removal of the dispenser housing to clear jams and replace components.
The Motor Assembly That Actually Fixes a Dead Ice Dispenser on the WRS325SDHZ
If you’ve cleared the ice chute, run a hair dryer through the flap, and the dispenser still won’t cycle or make any sound at all, the motor assembly is your next move. This is the part that gets ordered after the quick fixes fail, and on this model, it’s one of the few components that actually wears out predictably.
What works
- Drop-in replacement on the WRS325SDHZ—the connector clips align without forcing, and you don’t need to pull the whole door apart or mess with the auger tube.
- The motor runs noticeably quieter and more responsive than the original on the units I’ve swapped for friends, which suggests Whirlpool improved the design in the later run of these assemblies.
- Comes with the exact wiring harness you need—no splicing, no adapter hunting, just plug and test.
What doesn’t
- You have to pull the dispenser bezel and reach up into tight quarters to unclip the old motor—it’s not hard but it’s cramped, and if your hands are large or the fridge is positioned against a wall, you’ll lose ten minutes of wrestling.
- Not every silent dispenser is actually a dead motor; sometimes it’s a frozen auger or a solenoid valve that’s stuck, so order this only after you’ve confirmed the motor isn’t spinning at all when you press the lever.
The most common friction point I see is someone ordering this part when the real problem is still ice buildup higher up in the chute—they install it, nothing changes, and then have to pull it back out. Always listen for the motor sound first (a gentle buzz or click when you press the dispenser lever) before you commit to the swap. If you’re certain the motor is dead silent, W11509548 Auger Drive Shaft Compatible With Whirlpool will get you running again in under an hour.
About This Article

Written by Dave Holt. Dave Holt has been taking apart and fixing household appliances since he was a teenager who couldn't leave a broken one alone. Eighteen years later, after fixing things for neighbors, friends, and anyone who'd let him, he's seen almost every failure mode there is. When he writes a repair guide here, it's based on the actual job, not a manufacturer overview. More about this site.
Scope and limits. Dave is a self-taught repairer, not a certified appliance technician. Unplug before you open anything, and leave sealed refrigeration systems, gas connections, and hardwired circuits to a qualified technician.