
Charcoal Filter Replacement for Whirlpool WMH31017HZ Over-the-Range Microwave
The charcoal filter in your Whirlpool WMH31017HZ over-the-range microwave is a critical component for recirculating mode operation, removing odors and grease particles from cooking vapors before returning air to the kitchen. Over time, this filter becomes saturated with grease and odor-causing particles, reducing its effectiveness and potentially causing unpleasant smells to linger in your kitchen. Unlike some microwave repairs, charcoal filter replacement is considered an EASY maintenance task that most homeowners can complete in 15-20 minutes with basic tools. The Whirlpool WMH31017HZ uses a rear-mounted charcoal filter system that’s accessible through the unit’s bottom panel, making replacement straightforward without removing the entire microwave from its mounting position.
Symptoms
- Persistent cooking odors remain in kitchen even after ventilation fan operation
- Grease particles visible on kitchen surfaces near the microwave despite regular fan use
- Reduced airflow from the front grille vents when operating in recirculation mode
- Unusual musty or rancid smell emanating from the microwave when fan is activated
- Visible discoloration or grease saturation on the existing charcoal filter when inspected
- Kitchen smoke or steam takes significantly longer to clear during cooking activities
⚠️ Safety Warning
Before beginning any work on your Whirlpool WMH31017HZ, disconnect power at the circuit breaker for a minimum of 10 minutes to allow the high-voltage capacitor to discharge completely. Over-the-range microwaves contain capacitors that can store lethal electrical charges exceeding 2000 volts even when unplugged. Never attempt to discharge the capacitor manually or touch any internal electrical components without proper training. The magnetron and high-voltage transformer present serious electrocution risks. While charcoal filter replacement doesn’t typically require accessing high-voltage components, always verify power disconnection with a non-contact voltage tester before proceeding. Ensure your ladder or step stool is stable and rated for your weight plus 50 pounds additional load when working at height.
Parts Needed
- Whirlpool W10311524 Charcoal Filter (primary replacement filter for WMH31017HZ model)
- Alternative compatible part: W10208631A Microwave Charcoal Filter (universal fit for multiple Whirlpool over-range models including WMH31017HZ)
- Microfiber cleaning cloths for cleaning filter compartment area
- Mild degreasing cleaner suitable for appliance interiors
Tools Required
- Phillips head screwdriver with magnetic tip
- Flat-blade screwdriver (small, 1/4-inch width)
- Flashlight or headlamp for illuminating work area
- Stable step ladder rated for minimum 250 pounds
- Non-contact voltage tester for safety verification
- Digital camera or smartphone for reference photos
- Small container for storing screws during removal
Step-by-Step Instructions
Step 1: Power Disconnection and Safety Verification
🔨 Pro Tip from Dave
On the WMH31017HZ, the filter tabs can feel like they’re locked when they’re actually fully released — a lot of DIYers force it and crack the housing lip, which is an expensive mistake. Give the filter a firm but controlled quarter-turn counterclockwise and pull straight down; if it’s resisting, you’re likely still slightly off-angle on the twist, not dealing with a stuck filter.
Locate the dedicated circuit breaker for your Whirlpool WMH31017HZ and switch it to the OFF position. Wait a minimum of 10 minutes for capacitor discharge, then use your non-contact voltage tester to verify no electrical current at the unit’s power cord connection point. The WMH31017HZ typically operates on a 20-amp dedicated circuit at 120 volts. Position your stable ladder directly beneath the microwave, ensuring all four legs are firmly planted and the ladder doesn’t wobble when pressure is applied.
Step 2: Locate and Document Current Filter Position
From your ladder position, examine the bottom panel of the WMH31017HZ. The charcoal filter access panel is located on the rear portion of the bottom surface, approximately 8 inches from the back edge and centered left-to-right. Take a reference photo showing the current filter orientation before removal. The access panel is a rectangular plastic grille measuring approximately 10 inches by 6 inches with ventilation slots.
Step 3: Remove Bottom Access Panel
Using your Phillips head screwdriver, remove the two screws securing the bottom access panel. These screws are located at the front edge of the panel, spaced approximately 8 inches apart. The screws are typically 1/2-inch long Phillips head screws with a black finish. Place screws in your container immediately to prevent dropping. The access panel should slide forward approximately 1 inch, then drop down to reveal the charcoal filter compartment.
Step 4: Assess Filter Compartment Condition
Shine your flashlight into the now-exposed filter compartment. The charcoal filter in the WMH31017HZ is positioned horizontally and measures approximately 9.5 inches by 5.5 inches by 1 inch thick. Note the filter’s orientation – the airflow direction arrow should point toward the front of the microwave. Check for any debris accumulation in the compartment that may have fallen from the saturated filter.
Step 5: Remove Existing Charcoal Filter
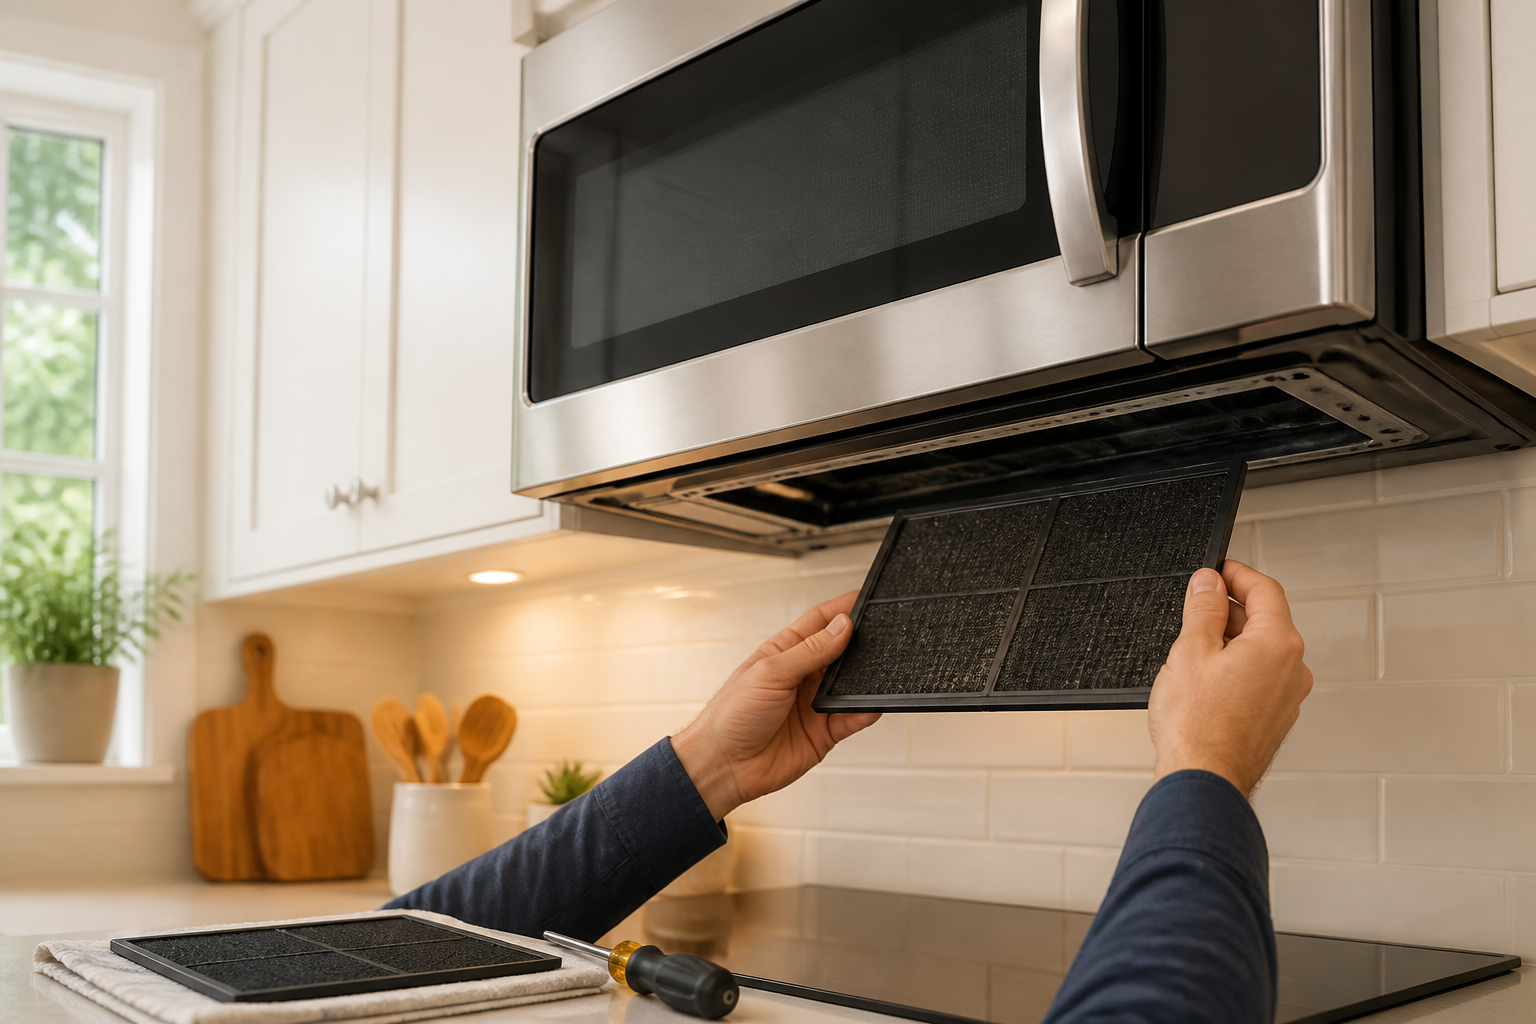
Grasp the existing filter firmly on both sides and slide it straight forward approximately 2 inches until it clears the rear mounting tabs. The filter may require slight upward pressure while sliding forward due to grease accumulation causing sticking. Tilt the front edge down slightly and continue sliding forward until the filter is completely free from the compartment. Be prepared for the filter to be heavier than expected due to grease saturation.
Step 6: Clean Filter Compartment
With the old filter removed, use your microfiber cloth and mild degreasing cleaner to thoroughly clean the filter compartment interior. Pay special attention to the rear mounting tabs and the bottom surface where grease may have accumulated. The compartment should be completely dry before installing the new filter. Check that the rear tabs are straight and undamaged – they should extend approximately 3/4 inch into the compartment space.
Step 7: Install New Charcoal Filter
Remove the new W10311524 filter from its packaging and verify it matches the dimensions of the removed filter. Position the new filter with any airflow directional arrows pointing toward the front of the microwave. Insert the rear edge of the filter first, aligning it with the rear mounting tabs. Slide the filter back approximately 2 inches until you feel it seat properly against the rear tabs, then press down gently to ensure full contact with the compartment bottom.
Step 8: Verify Proper Filter Installation
Confirm the new filter is completely seated by checking that its front edge is flush with the front of the filter compartment. The filter should not move when gently pressed from side to side. There should be no gaps visible around the filter perimeter, and the filter surface should be level with the surrounding compartment edges.
Step 9: Reinstall Access Panel
Position the access panel above the filter compartment, ensuring the rear tabs align with their corresponding slots. Slide the panel back approximately 1 inch until it sits flush against the bottom surface of the microwave. The ventilation slots should align properly with the new filter beneath. Secure the panel using the original two Phillips head screws, tightening until snug but not over-torqued.
Step 10: Restore Power and Test Operation
Return to your circuit breaker and restore power to the WMH31017HZ. Test the ventilation fan operation by pressing the fan control button and verifying airflow from the front grille vents. Run the fan on high speed for 2-3 minutes to ensure proper filter integration and check for any unusual noises that might indicate improper installation.
Troubleshooting
- If odors persist after filter replacement, check that the microwave is set to recirculation mode rather than external venting mode in the control settings
- Reduced airflow after installation may indicate the filter is installed backwards – verify directional arrows point toward the front of the unit
- Rattling noises during fan operation suggest the filter is not fully seated against the rear mounting tabs – remove and reinstall ensuring proper alignment
- If the access panel doesn’t fit flush after filter installation, confirm you’re using the correct W10311524 filter part number specific to the WMH31017HZ model
- Continued grease accumulation on kitchen surfaces may indicate additional maintenance is needed on the metal grease filters located in the bottom front vents
- Fan motor struggling or operating loudly could signal internal blockages beyond the charcoal filter requiring professional cleaning of the blower housing
When to Call a Professional
- Fan motor fails to operate after filter replacement, indicating potential electrical issues requiring diagnosis with specialized test equipment
- Visible sparking or electrical arcing observed during fan operation, which poses serious fire and electrocution hazards
- Microwave mounting brackets show signs of loosening or stress that could affect safe filter compartment access
- Internal components beyond the filter compartment require cleaning or maintenance involving high-voltage electrical systems
When to Call a Professional
Most of the repairs in this guide are within reach for a careful DIYer with basic tools. In my experience, if you’re replacing the charcoal filter and you notice the exhaust fan running louder than usual, producing a burning smell, or if the grease filters show signs of warping or discoloration from excessive heat, those are symptoms of a failing fan motor or a ventilation restriction that goes well beyond filter maintenance and needs a certified technician to properly diagnose before it becomes a fire hazard. When in doubt, a diagnostic service call typically costs $80–$120 and can save you from a misdiagnosis that costs more in parts.
Recommended Parts & Tools
Whirlpool W10208631A Charcoal Filter
This is the genuine OEM replacement charcoal filter specifically designed for the Whirlpool WMH31017HZ over-the-range microwave. This filter effectively removes odors and grease from recirculating air and is a direct fit replacement part. Check current pricing on Amazon.
CRAFTSMAN 6-in-1 Screwdriver Multi-Tool
This versatile screwdriver tool is essential for removing the microwave’s exterior panels and accessing the charcoal filter housing on your Whirlpool WMH31017HZ. The multiple bit sizes ensure you have the right tool for all screws encountered during the filter replacement process. Check current pricing on Amazon.


