Door Switch Replacement on GE JVM6175SKSS Over-the-Range Microwave
As I’ve worked on countless appliances, I can tell you that the door switch assembly on the GE JVM6175SKSS over-the-range microwave is a crucial safety feature. It prevents the magnetron from operating when the door is open. If you’re experiencing issues due to normal wear, arcing, or damage, this repair involves replacing faulty door switches. The JVM6175SKSS uses a three-switch safety interlock system, and all three switches must function properly for safe operation. This repair is considered MODERATE difficulty due to the high-voltage components involved, but with safety precautions, a careful DIY technician can handle it.
Symptoms
- Microwave runs with door open (extremely dangerous — stop use immediately)
- Display lights up but microwave won’t start when door is closed and start is pressed
- Intermittent operation where the GE JVM6175SKSS works sometimes but not others
- Door must be slammed shut or pressed firmly to get the unit to operate
- Error codes or continuous beeping when attempting to start cooking cycles
- Interior light stays on constantly or won’t turn on when door opens
⚠️ Safety Warning
CRITICAL SAFETY NOTICE: Microwaves can contain high-voltage capacitors that retain lethal electrical charges even when unplugged. The GE JVM6175SKSS operates at over 4,000 volts internally. Always discharge the high-voltage capacitor using an insulated screwdriver across its terminals before starting any repair. Unplug the unit and wait at least 60 seconds before accessing internal components. Never operate the microwave with the outer case removed or door switches bypassed. If any door switch allows the magnetron to operate with the door open, stop the repair immediately and consult a qualified technician. Wear safety glasses and work gloves throughout this repair.
Parts Needed
- Primary Door Switch (GE Part Number WB24X10029 or compatible WB24X829)
- Secondary Door Switch Assembly (GE Part Number WB24X10030 for monitor switch)
- Door Switch Mounting Bracket if damaged (GE Part Number WB02X11495)
- Wire nuts or crimp connectors if wire replacement is needed
- Electrical contact cleaner spray for connector cleaning
Tools Required
- Phillips head screwdriver (magnetic tip recommended)
- Flat blade screwdriver with insulated handle for capacitor discharge
- Digital multimeter capable of continuity testing
- Needle-nose pliers for wire handling
- Flashlight or headlamp for interior illumination
- Wire strippers if splice repair is needed
- Safety glasses and insulated work gloves
Step-by-Step Instructions
Step 1: Power Disconnection and Access Preparation
🔨 Pro Tip from Dave
On the JVM6175SKSS, remember that the secondary interlock switch and the monitor switch are identical in appearance but NOT interchangeable in function — swapping them during reassembly is a common mistake that can blow your new fuse the moment you test it. Before disconnecting anything, take a photo of the wire positions on each switch individually, as terminal labeling can often be faded on older units.
Unplug the GE JVM6175SKSS from the wall outlet or turn off the dedicated circuit breaker. Remove the three Phillips screws from the top of the unit securing it to the mounting bracket and carefully lower the microwave onto a padded work surface. Next, remove the exterior vent grille by lifting up and pulling forward. Locate and remove the eight screws securing the top cover panel — four along the rear edge and two on each side about 2 inches from the back corners.
Step 2: High Voltage Capacitor Discharge
With the top cover removed, locate the large cylindrical high-voltage capacitor near the center-rear of the chassis. Using an insulated screwdriver, carefully short the two terminals together while keeping your body clear of the capacitor. You should see a small spark — this is normal. Wait 30 seconds and repeat the discharge procedure. The GE JVM6175SKSS capacitor is rated at 2100V and must be fully discharged before you proceed.
Step 3: Door Switch Location and Inspection
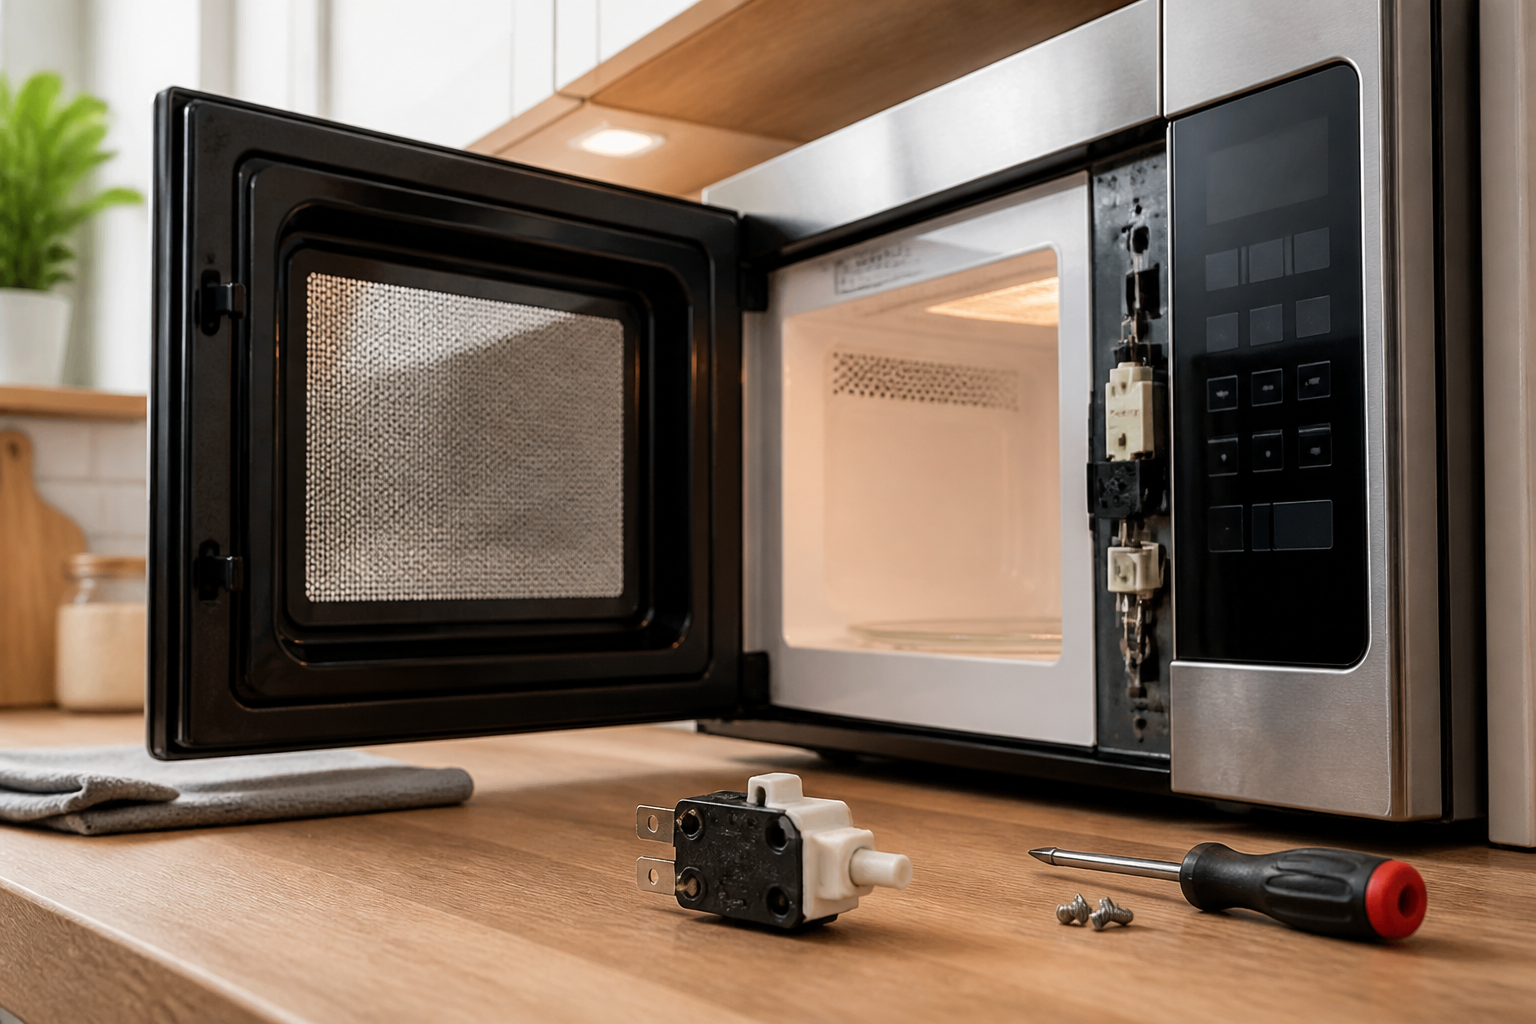
Open the microwave door and inspect the right side of the door opening where the door latches engage. The GE JVM6175SKSS has three door switches mounted vertically in a plastic housing about 1.5 inches wide by 4 inches tall. The primary interlock switch is at the top, the secondary switch in the middle, and the monitor switch at the bottom. Pay attention to the wire colors: typically white and black for the primary, blue and black for the secondary, and red and black for the monitor switches.
Step 4: Switch Assembly Removal
Disconnect the wire harness connectors from each door switch by gently pulling the plastic connector bodies straight out. Remove the two Phillips screws securing the door switch mounting bracket to the chassis frame — one screw is located an inch above the top switch, and the other is an inch below the bottom switch. Carefully slide the entire switch assembly forward and out of the door frame opening.
Step 5: Individual Switch Testing and Identification
Using your multimeter set to continuity mode, test each switch individually. With the door open (switches not pressed), the primary and secondary switches should show continuity between terminals. The monitor switch should show NO continuity when not pressed. When you manually press each switch actuator, the primary and secondary should open (no continuity) while the monitor switch should close (show continuity). Any switch failing this test needs to be replaced.
Step 6: Faulty Switch Removal
Remove the defective switch from the mounting bracket by squeezing the plastic retention tabs on the sides and pushing the switch body through the bracket opening. Make sure to note the orientation — the actuator button must face toward the door opening. The switches are held in place by spring clips and should slide out with moderate pressure once the tabs are compressed.
Step 7: New Switch Installation
Install the replacement switch by inserting it into the mounting bracket opening until the retention tabs click into place. Ensure that the switch is fully seated and that the actuator moves freely. The GE JVM6175SKSS switches must be oriented with the terminals facing inward toward the chassis and the actuator button protruding toward the door opening by about 3/8 inch.
Step 8: Switch Assembly Reinstallation
Position the door switch assembly back into the door frame opening, ensuring all three actuator buttons align with their respective door latch engagement points. Secure the assembly with the two Phillips screws you removed in Step 4, tightening them just snug — overtightening can crack the plastic mounting bracket.
Step 9: Wire Harness Reconnection
Reconnect the wire harness connectors to their respective switches, ensuring each connector clicks fully into place. Check that connections are secure by gently tugging on each wire. Double-check wire routing to ensure that no wires will be pinched when you reinstall the cover on the GE JVM6175SKSS.
Step 10: Operational Testing
Before reassembling the unit, plug in the GE JVM6175SKSS and test the door switch operation. With the door closed, the display should illuminate normally. With the door open, the interior light should turn on and the unit should not operate when the start button is pressed. Close the door and verify normal operation with a brief 10-second heating test using a microwave-safe cup of water.
Step 11: Final Reassembly
Unplug the unit and replace the top cover panel, securing it with the eight screws you removed in Step 1. Reinstall the vent grille by angling the bottom edge in first, then pressing the top until it clicks into place. Finally, remount the GE JVM6175SKSS to its over-range bracket using the three mounting screws, ensuring the unit is level and securely attached.
Troubleshooting
- If the microwave still won’t operate after switch replacement, check all wire connections for security and look for blown fuses in the control board area.
- Intermittent operation may suggest door alignment issues — confirm that the door latches are properly engaging all three switch actuators simultaneously.
- If the monitor switch repeatedly fails, inspect the door latch mechanism for excessive wear or misalignment causing over-travel.
- Continuous operation with the door open after repair indicates incorrect switch installation or wiring — stop use immediately and verify switch positions.
- No display or a completely dead unit may indicate blown line fuses located near the power cord entry point.
- Persistent error codes after switch replacement may signal control board issues that require professional diagnosis.
When to Call a Professional
- If the microwave operates with the door open at any point during testing, as this presents immediate safety hazards.
- When high voltage components beyond door switches need replacement, such as magnetron, transformer, or capacitor failure.
- If you’re uncomfortable working with high voltage electrical components or lack proper safety equipment.
- When multiple components appear to be failing simultaneously, indicating potential control board or power supply issues requiring specialized diagnostic equipment.
When to Call a Professional
Most of the repairs in this guide are within reach for a careful DIYer with basic tools. In my experience, if you discharge the capacitor and still measure any residual voltage across it, or if you find burnt, melted, or carbonized areas on the switch bracket, wiring harness, or cavity wall beyond the switches themselves, that repair has crossed into professional territory — hidden heat damage can compromise insulation in ways that create a shock or fire hazard that a simple switch swap won’t fix. When in doubt, a diagnostic service call typically costs $80–$120 and can save you from a misdiagnosis that costs more in parts.
Recommended Parts & Tools
5Pcs WB24X830 Microwave Door Switch NC 16A 250VAC
This is the exact replacement door switch designed specifically for GE over-the-range microwaves including the JVM6175SKSS model. The WB24X830 switch ensures proper door latching detection and prevents the microwave from operating when the door is open for safety.
Lenox 6-In-1 Multi-Bit Screwdriver
This versatile screwdriver tool includes both Phillips and flathead bits in multiple sizes needed to remove the microwave’s outer panel and access the door switch assembly on your GE JVM6175SKSS. The compact design makes it ideal for working in tight spaces around appliance components.
The Door Switch Assembly That Fixes the JVM6175SKSS Interlock Failure
When this model won’t start or trips the ceramic fuse repeatedly, nine times out of ten it’s one of the three switches in the interlock assembly that’s gone bad. This is the OEM-equivalent part that restores the safety circuit without rewiring or fighting incompatible aftermarket assemblies.
What works
- Exact fit — the terminals line up with the factory harness, no adapting or crimping required on this model.
- Ceramic fuse stops blowing once installed correctly, which tells you the interlock circuit is now closing properly again.
- The switch assembly includes all three safety switches in one unit, so you’re not guessing which individual switch failed — you’re replacing the whole proven failure point.
What doesn’t
- Installation requires removing the cabinet cover and disconnecting the high-voltage capacitor — this isn’t a five-minute job if you’ve never done it before.
- Generic aftermarket interlock kits sometimes show up, and they’re not the same — I’ve had callbacks where the cheaper version didn’t seat properly in the door latch mechanism.
I can’t tell you how many times I’ve had someone order a single switch first, only to realize all three need replacing because the fault was in the assembly itself — order the whole interlock from the start. 5Pcs WB24X830 Microwave Door Switch NC 16A 250VAC
About This Article

Written by Dave Holt. Dave Holt has been taking apart and fixing household appliances since he was a teenager who couldn't leave a broken one alone. Eighteen years later, after fixing things for neighbors, friends, and anyone who'd let him, he's seen almost every failure mode there is. When he writes a repair guide here, it's based on the actual job, not a manufacturer overview. More about this site.
Scope and limits. Dave is a self-taught repairer, not a certified appliance technician. Unplug before you open anything, and leave sealed refrigeration systems, gas connections, and hardwired circuits to a qualified technician.