Magnetron Not Heating Repair for Toshiba EM925A5A-SS Countertop Microwave
The magnetron is the heart of your Toshiba EM925A5A-SS microwave, responsible for generating the electromagnetic waves that heat your food. When the magnetron fails, your microwave will run normally with lights and turntable operation, but food won’t heat. This is typically caused by magnetron tube failure, high voltage transformer problems, or capacitor/diode issues in the high voltage circuit. This repair is classified as ADVANCED difficulty due to the dangerous high voltages involved and the precision required for testing components. Even when unplugged, the high voltage capacitor can retain lethal charge for extended periods.
Symptoms
- Microwave runs normally with lights on and turntable rotating, but food remains cold
- Display shows countdown timer progressing normally during cooking cycles
- Cooling fan operates but no humming sound from the magnetron tube
- Unusual arcing sounds or burning smell during operation (indicating magnetron failure)
- Microwave trips circuit breaker or blows fuses when starting a heating cycle
- Intermittent heating that becomes progressively weaker over time
⚠️ Safety Warning
DANGER: Microwaves contain high voltage components that can deliver lethal electrical shock even when unplugged. The high voltage capacitor in your Toshiba EM925A5A-SS can retain over 2000 volts for hours after disconnecting power. Before beginning any work, discharge the capacitor using an insulated screwdriver across the terminals. Never attempt this repair if you are not experienced with high voltage electrical work. Wear safety glasses and insulated gloves rated for electrical work. Ensure the microwave is unplugged for at least 30 minutes before beginning work. If you smell burning or see visible damage to internal components, do not attempt repair.
Parts Needed
- Magnetron Assembly – Toshiba part number 2M213A or compatible 2M213-09B (900W output)
- High Voltage Diode – Part number HVR-1X3 or equivalent 12,000V rectifier diode
- High Voltage Capacitor – 0.95μF 2100V AC capacitor (if testing shows failure)
- Thermal Cutoff Fuse – Toshiba part number F630L125V or 125V 15A thermal fuse
- Magnetron Thermal Protector – Part number MP-66 or equivalent 150°C cutoff
- High temperature silicone grease for magnetron antenna connection
Tools Required
- Phillips head screwdriver (magnetic tip recommended)
- Flathead screwdriver with insulated handle for capacitor discharge
- Digital multimeter capable of testing high resistance and continuity
- Insulated electrical gloves rated for high voltage work
- Needle-nose pliers for wire management
- Flashlight or work light for interior visibility
- Safety glasses for eye protection during repair
Step-by-Step Instructions
Step 1: Power Disconnection and Access Panel Removal
🔨 Pro Tip from Dave
Before you even think about condemning the magnetron on this unit, discharge the high voltage capacitor — it can hold up to 2,100 volts for hours after the microwave is unplugged and has killed people who skipped this step. Use a 10,000-ohm, 10-watt resistor across the capacitor terminals, not a screwdriver shorting it directly, because a hard short can destroy the capacitor and mask your real diagnosis.
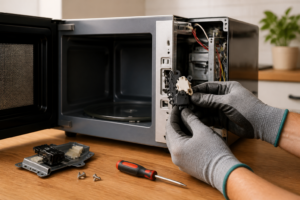
Unplug your Toshiba EM925A5A-SS from the electrical outlet and wait 30 minutes for internal components to discharge. Remove the glass turntable and plastic support ring from the cooking chamber. Locate the rear access panel secured by six Phillips screws around the perimeter. Remove all screws and carefully slide the outer case toward the back of the unit approximately 1 inch, then lift it off. The magnetron will be visible on the right side of the unit, identifiable by its rectangular shape with cooling fins and the antenna probe extending into the cooking chamber.
Step 2: Capacitor Discharge and Safety Verification
Before touching any components, discharge the high voltage capacitor located near the magnetron. Using an insulated screwdriver, carefully short the two terminals of the large cylindrical capacitor together for 5 seconds. You should see a small spark and hear a pop sound if charge was present. Repeat this process twice more to ensure complete discharge. Verify the magnetron cooling fan can move freely and check for any obvious signs of burning or physical damage to components around the magnetron assembly.
Step 3: Initial Magnetron Visual Inspection
Examine the magnetron on your Toshiba EM925A5A-SS for obvious signs of failure. Look for darkened or melted areas on the magnetron case, particularly around the antenna connection point. Check the ceramic antenna insulator for cracks or burn marks. Inspect the magnetron’s thermal protector, a small disc-shaped component mounted on the magnetron case, for any signs of activation (center button popped out) or heat damage. Document the wire connections with a photo before disconnecting anything.
Step 4: High Voltage Component Testing
Using your multimeter set to ohms, test the high voltage diode by measuring resistance across its terminals. A good diode should show continuity in one direction (typically 50-200 ohms) and infinite resistance when leads are reversed. Test the magnetron’s filament by measuring resistance between the two terminals that connect to the high voltage transformer secondary (should read 0.5-1.0 ohms). Check continuity from the magnetron case to the antenna terminal – this should read infinite resistance on a functional magnetron.
Step 5: Thermal Protection Component Inspection
Remove the thermal cutoff fuse located on the magnetron housing by gently pulling the two spade connectors. Test continuity across the fuse terminals – it should read zero ohms if functional. If the thermal protector disc on the magnetron case appears activated (center button extended), this indicates the magnetron has overheated and likely failed. The thermal protector on the Toshiba EM925A5A-SS is not replaceable separately and indicates magnetron replacement is necessary.
Step 6: Magnetron Removal Preparation
Disconnect all electrical connections to the magnetron, including the two high voltage leads and the thermal protection wires. Remove the waveguide cover (rectangular metal piece) that connects the magnetron to the cooking chamber by removing four screws around its perimeter. Carefully pull the waveguide assembly away from the magnetron antenna, noting the position of any gaskets or sealing materials that must be transferred to the replacement unit.
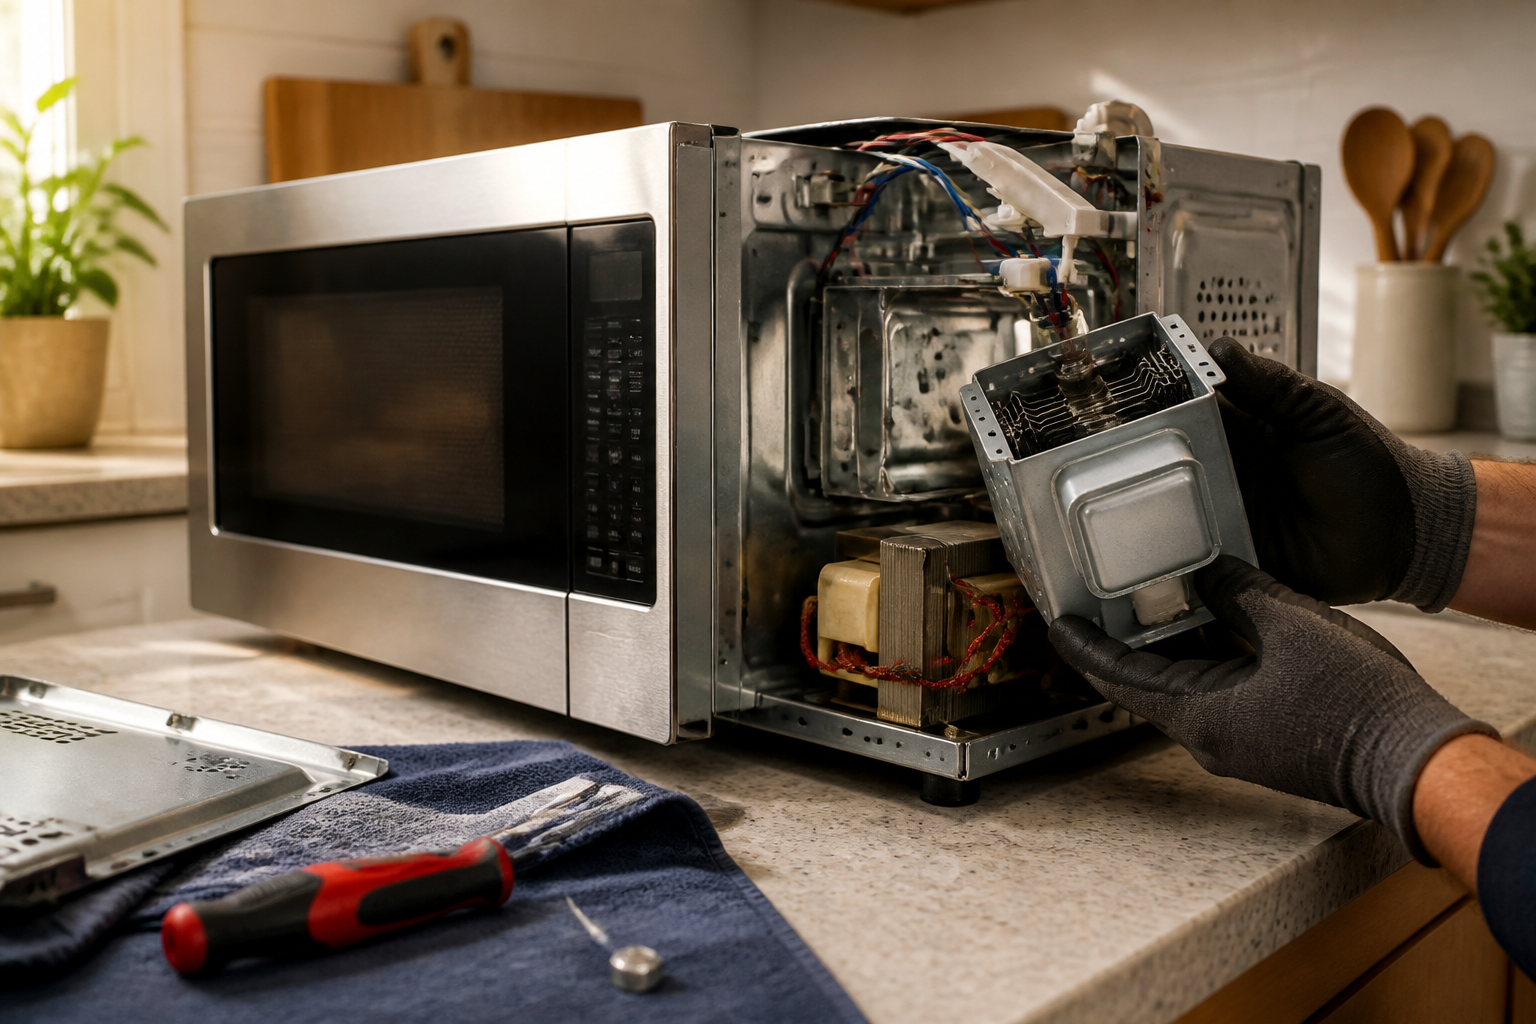
Step 7: Magnetron Assembly Removal
The magnetron on the Toshiba EM925A5A-SS is secured to the chassis with four hex bolts accessible from the exterior side panel. Support the magnetron weight while removing these bolts to prevent it from falling. The complete magnetron assembly, including cooling fins and mounting bracket, should lift out as one unit. Take note of the orientation and positioning of any grounding straps or thermal pads that interface between the magnetron and chassis.
Step 8: New Magnetron Installation
Position the replacement magnetron in the exact orientation as the original unit. Apply a thin layer of high-temperature silicone grease to the antenna connection point before installing. Secure the magnetron with the four mounting bolts, tightening to snug fit without over-torquing. Ensure the antenna probe extends exactly 0.75 inches into the waveguide opening – this measurement is critical for proper microwave generation in the Toshiba EM925A5A-SS.
Step 9: Waveguide and Electrical Reconnection
Reinstall the waveguide cover, ensuring proper alignment with the magnetron antenna. Transfer any gaskets or sealing materials from the old assembly to maintain proper electromagnetic containment. Reconnect all electrical connections according to your reference photo, ensuring high voltage leads are firmly seated. Install the new thermal cutoff fuse and verify all connections are secure and properly insulated.
Step 10: Final Testing and Reassembly
Before closing the case, perform a preliminary test by plugging in the Toshiba EM925A5A-SS and running a 30-second cycle with a cup of water. Listen for the characteristic magnetron humming sound and verify the water temperature increases. If successful, unplug the unit and reinstall the outer case, ensuring all internal wires are properly routed and not pinched. Replace all six rear panel screws and reinstall the turntable components.
Troubleshooting
- If the replacement magnetron doesn’t heat, verify proper antenna insertion depth and check high voltage transformer output voltage (should read 2000-2500V AC under load)
- Arcing sounds after magnetron replacement typically indicate improper waveguide alignment or contamination in the cooking chamber
- Weak heating performance may indicate incorrect magnetron part number – verify 900W output rating matches original specifications
- Continued fuse blowing suggests high voltage capacitor failure or short circuit in transformer windings
- Intermittent operation after repair often indicates loose electrical connections or inadequate thermal protection contact
- No operation at all may indicate blown control board fuse or door interlock switch malfunction unrelated to magnetron failure
When to Call a Professional
- If you’re uncomfortable working with high voltage electrical components or lack proper safety equipment
- When multiple high voltage components test as failed, indicating a more complex electrical system problem
- If the high voltage transformer requires replacement, as this involves extensive disassembly and specialized knowledge
- When electromagnetic leakage testing is required after repair to ensure safe operation and regulatory compliance
When to Call a Professional
Most of the repairs in this guide are within reach for a careful DIYer with basic tools. In my experience, if you’ve already confirmed a failed magnetron through proper high voltage circuit testing and you’re not completely comfortable working around capacitors that hold lethal charge levels well after the unit is unplugged, this is the point where calling a certified technician is the right call — the labor cost is far cheaper than the risk. When in doubt, a diagnostic service call typically costs $80–$120 and can save you from a misdiagnosis that costs more in parts.
Recommended Parts & Tools
Universal Microwave Magnetron Replacement Part
This universal magnetron is compatible with many Toshiba microwave models including the EM925A5A-SS and serves as the primary heating component that generates microwaves. When your Toshiba microwave runs but doesn’t heat food, replacing the magnetron is often the solution. Check current pricing on Amazon.
Microwave High Voltage Capacitor Tester & Discharge Tool
This essential safety tool allows you to safely discharge the high voltage capacitor before working on your Toshiba EM925A5A-SS magnetron replacement. The tool also tests capacitor functionality, which is important since a faulty capacitor can cause magnetron failure. Check current pricing on Amazon.