The Samsung DVE45R6100W is a reliable electric dryer, but like all heating appliances, it relies on a thermal fuse to protect against dangerous overheating. When that fuse blows, your dryer stops heating—and that’s actually the fuse doing its job. I’ve replaced dozens of them, and I can tell you this is one of the most straightforward repairs you can tackle yourself.
Why Your Thermal Fuse Failed
Before you replace it, understand why it blew. The thermal fuse is a one-time-use safety device that melts if the dryer’s internal temperature exceeds about 350°F. This happens for a few reasons: a clogged lint filter or vent, blocked airflow around the drum, or occasionally a malfunctioning thermostat. If you don’t address the underlying cause, your new fuse will blow again within weeks.
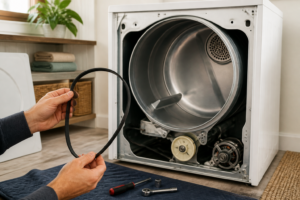
Start by cleaning your lint trap thoroughly and checking the vent hose outside your home. If it’s crushed, kinked, or packed with lint, clear it now. This single step prevents most repeat failures.
What You’ll Need
- Replacement thermal fuse (part number DC96-00887A for this model)
- Flathead screwdriver
- Phillips head screwdriver
- Needle-nose pliers
- Flashlight or headlamp
- Work gloves (optional, but recommended)
Buy the exact part number—don’t substitute. Generic fuses may fit physically but won’t provide the same safety rating your dryer needs.
Safety First
Unplug the dryer from the wall outlet completely. Don’t just turn it off—physically disconnect it. Electric dryers store residual charge in capacitors, so this step isn’t optional. Wait at least 5 minutes before touching internal components. If you’re uncomfortable working inside appliances, call a professional. This isn’t a judgment; it’s safety.
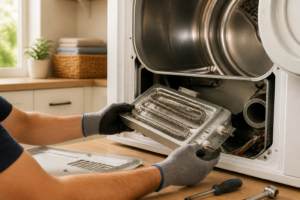
Accessing the Thermal Fuse
On the DVE45R6100W, the thermal fuse sits in the blower housing on the back of the dryer. You’ll need to remove the rear panel to reach it.
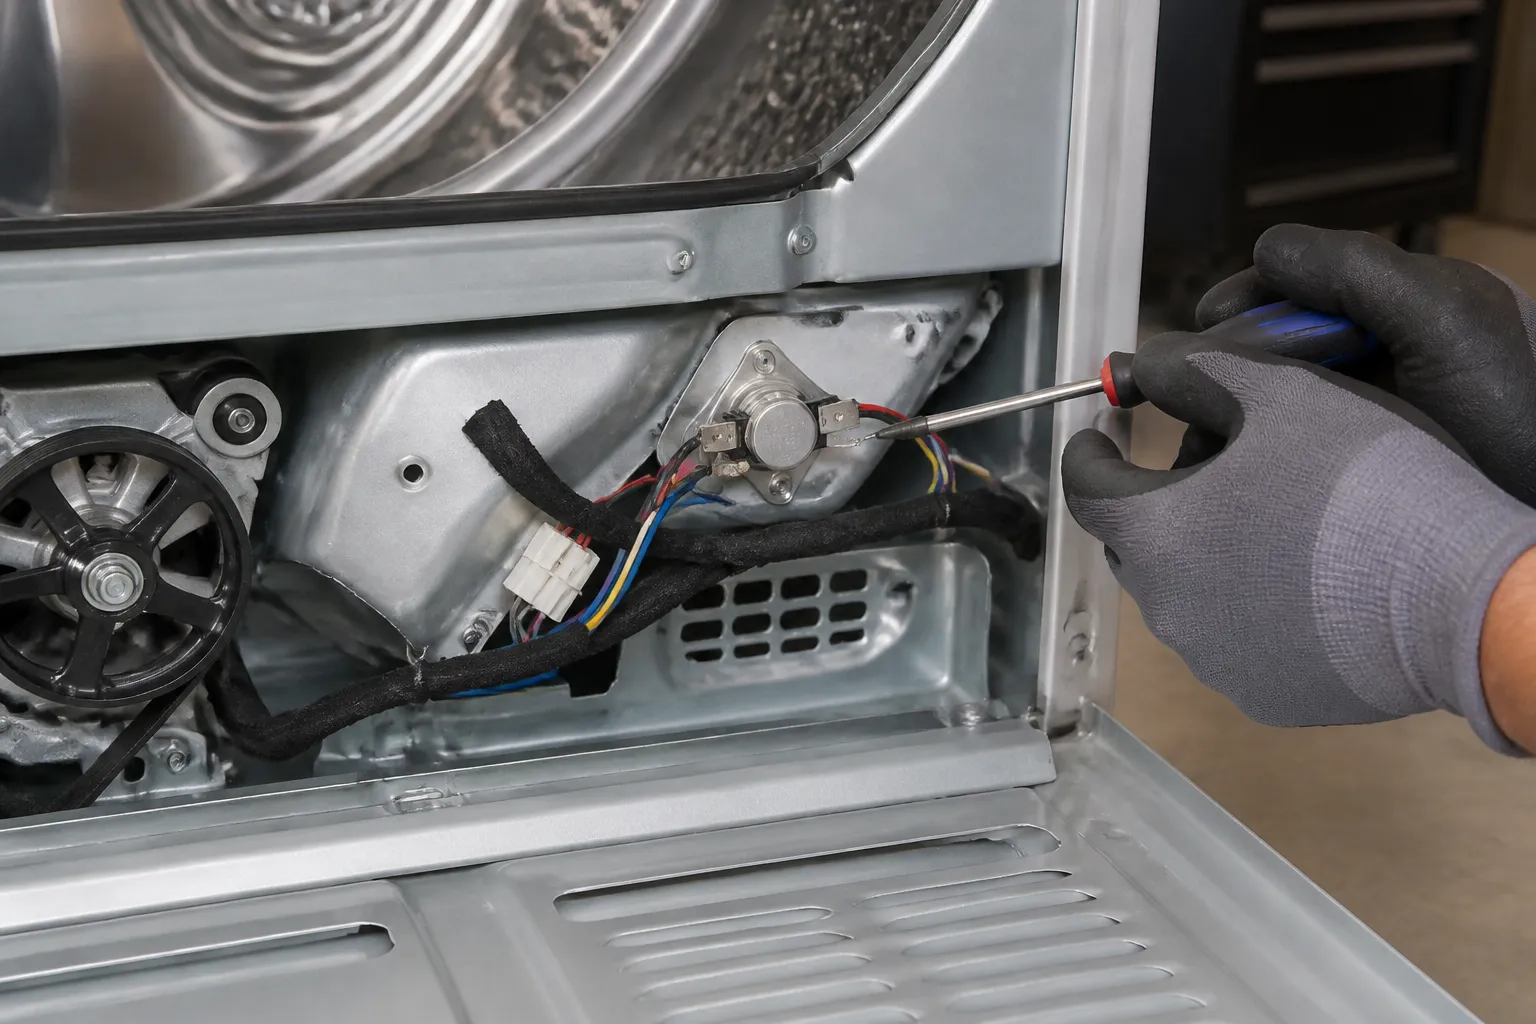
Lay the dryer on its back—get help with this, as it’s heavy. Remove the four Phillips head screws holding the rear panel in place. Lift the panel carefully; you may see a small wire connector attached to a thermal switch. Don’t yank it; gently disconnect it by pinching the connector clip and sliding it off.
Look inside the blower housing. You’ll see a cylindrical component about 2 inches long with two metal terminals sticking out. That’s your thermal fuse. It may be held in place by a clip or simply seated in a slot. Note its orientation—terminals pointing left or right—so you install the replacement correctly.
Removing the Old Fuse
Using needle-nose pliers, gently pull the fuse straight out. Don’t rock it side to side; straight pulls work best. If it’s stubborn, wiggle it very slightly while pulling. You shouldn’t need force. Once removed, inspect it. A blown fuse will look discolored or have a visible crack inside the glass casing.
This is your confirmation that you’ve diagnosed the problem correctly. A fuse that looks pristine suggests something else is wrong—possibly the high-limit thermostat or a wiring issue.
Installing the Replacement
Slide the new fuse into the same slot, matching the orientation of the old one. Push it in until you hear or feel a small click if there’s a retention clip. Don’t force it; the fuse should seat with gentle, steady pressure. If you meet resistance, remove it and check the orientation again.
Reconnect any wire connectors you disconnected earlier. Make sure the connection clicks into place.
Reassembly
Carefully flip the dryer back upright. I usually have a second person help with this to avoid dropping it or straining my back. Align the rear panel and insert the four Phillips screws. Tighten them snugly, but not so hard that you strip the plastic holes.
Plug the dryer back in and test it on an air-dry cycle first—no heat. Listen for normal blower operation. Then run a heating cycle with a test load of clean rags or towels for 10–15 minutes. The drum should turn, and you should feel warm air coming out the vent.
What to Expect Next
Your repair is complete. Most dryers work perfectly after a thermal fuse replacement. If the dryer still won’t heat, the thermostat may be the culprit, and you’ll need additional diagnostics.
Keep the lint trap and vent clear going forward. Check the filter after every load and clean the vent hose annually. This simple maintenance prevents future fuse failures and keeps your dryer running efficiently for years.
This repair should take you 20–30 minutes if you’re methodical. Take your time, follow the steps, and you’ll save yourself a service call fee while learning how your appliance works.