Complete Guide to Panasonic NN-SN975S Door Removal and NN-SN966S Front Panel Removal
The Panasonic NN-SN975S and NN-SN966S countertop microwaves are durable appliances, but like all appliances, they occasionally need repair. The most common service task homeowners face is removing the microwave door to replace the handle, repair the door latch mechanism, replace the door glass, or access the door switch assembly. This comprehensive guide walks you through the exact process for safely removing and reinstalling the door on your NN-SN975S, and includes specific instructions for removing the front panel on the NN-SN966S model.
⚠️ Critical Safety Warning
UNPLUG YOUR MICROWAVE BEFORE BEGINNING ANY REPAIR WORK. Even though you are only removing the door, the NN-SN975S and NN-SN966S contain high-voltage capacitors that store electrical charge even when the unit is switched off and unplugged. Do not touch any internal components beyond what this guide instructs. If you need to access internal parts like the door switch or magnetron area, discharge the high-voltage capacitor using an insulated screwdriver before proceeding. Never attempt to replace internal components without proper training. When in doubt, contact a licensed technician.
Why Remove the Panasonic NN-SN975S Door?
There are several legitimate reasons to remove the door from your NN-SN975S:
- Broken Door Handle: The handle bracket or handle grip itself cracks or breaks, making the door difficult or impossible to open.
- Door Latch/Switch Failure: The door safety switch prevents the microwave from operating when the door is open. A faulty switch requires door removal to access.
- Cracked or Broken Door Glass: The inner or outer glass panel develops cracks or shatters and needs replacement.
- Door Seal Degradation: The rubber gasket around the door frame deteriorates, allowing microwave radiation leakage or moisture buildup.
- Hinge Pin Replacement: The plastic hinge clips wear out or the hinge pins become bent or corroded.
Understanding the NN-SN975S Hinge System
The Panasonic NN-SN975S uses a two-point hinge system with plastic hinge clips located at the top and bottom of the door frame. Unlike some microwaves that use screw-mounted hinges, the NN-SN975S employs push-pin style hinges where the hinge post on the door simply slides into a plastic clip housing mounted on the main cabinet. This design allows for tool-free door removal once you understand the proper technique.
The bottom hinge is the load-bearing point—it supports the weight of the door. The top hinge serves as a guide and positioning point. Both hinges must be properly seated during reassembly, or the door will not close evenly, and the latch will not engage correctly.
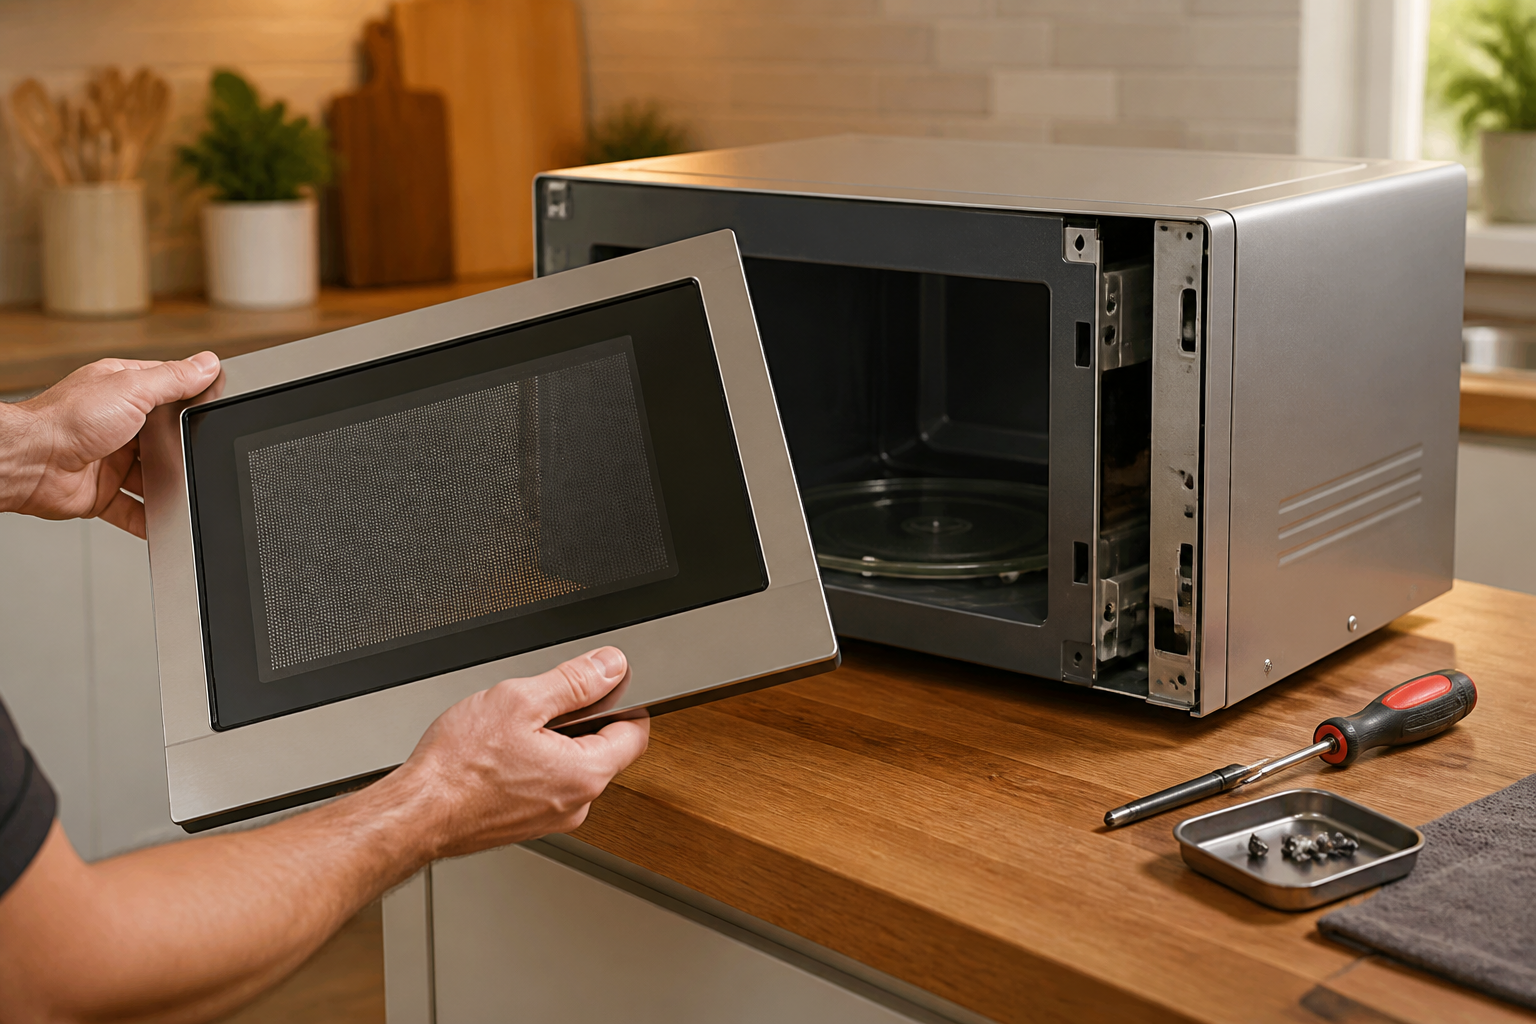
Step-by-Step Door Removal for the NN-SN975S
Step 1: Unplug the Unit and Open the Door
Locate the power cord at the rear of your NN-SN975S and unplug it from the wall outlet. Allow the unit to sit for 5 minutes. Then, fully open the door to the 90-degree position. You should hear a slight click as the door reaches its mechanical stop. Do not force the door beyond this point.
Step 2: Locate the Bottom Hinge Pin
Look at the bottom of the door frame where it connects to the main cabinet. You will see a small plastic clip housing with a vertical pin protruding upward. This is the bottom hinge point. The door is currently resting on this pin. Place your hand under the door to support its weight—do not let the door hang freely by the hinge pin, as this can damage the hinge clip.
Step 3: Slide the Door Upward Off the Bottom Hinge
While supporting the door with one hand, gently but firmly slide the door straight upward. You are lifting the door off the bottom hinge pin. The motion is vertical; do not tilt or rotate the door at this stage. You should feel mild resistance as the door lifts off the pin. This typically requires 1 to 2 inches of upward motion. Once the bottom hinge is disengaged, the door will feel noticeably lighter in your hands.
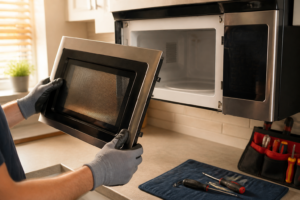
Step 4: Release the Top Hinge by Tilting the Door
With the bottom hinge now disengaged, tilt the top of the door away from the cabinet at approximately a 20- to 30-degree angle. The top hinge clip will release its grip on the hinge post as you tilt. You may hear a soft click or feel a slight give in the hinge. Continue tilting slowly until the door is completely free of the cabinet. The entire door assembly, including the handle and inner glass panel, is now in your hands.
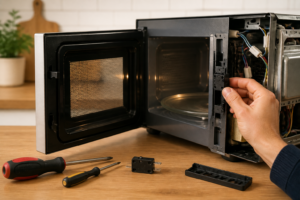
Step 5: Inspect the Door and Hinge Points
Lay the door on a clean, flat surface such as a towel on your workbench. Inspect the top and bottom hinge posts on the door itself. These are typically made of plastic and should be smooth and undamaged. Look for cracks, warping, or material degradation. Next, examine the plastic hinge clip housings on the cabinet frame. If you see cracks or if the clips appear loose or broken, they will need to be replaced before reassembly. Replacement hinge clips for the NN-SN975S can be obtained through Panasonic parts suppliers.
Inspecting the Door Assembly on the NN-SN975S
Now that the door is removed, take the opportunity to inspect and potentially repair several components:
Door Handle and Bracket Inspection
Examine the handle bracket located on the inside of the door frame. Look for cracks in the plastic bracket or bent metal components. If the handle itself is cracked or broken, you can replace it. Panasonic replacement handles are available, and installation typically involves removing two screws that secure the handle bracket to the inner door frame. The handle assembly slides out from the outside of the door.
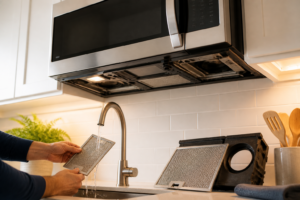
Door Glass Inspection
Inspect both the outer and inner glass panels. The outer glass is what you see when you look at the closed door. The inner glass sits behind it and also helps contain microwave radiation. If either panel is cracked, it must be replaced. Both panels are typically held in place with plastic trim strips or clips. These can be carefully pried away with a plastic spoon or trim removal tool to allow glass removal and replacement.
Door Gasket and Seal Inspection
The rubber gasket around the door perimeter should be intact, flexible, and free of cracks or tears. If the gasket is degraded, it can be replaced by carefully removing the old gasket from its groove and sliding in a new one.
Front Panel Removal for the Panasonic NN-SN966S
While the NN-SN975S uses a straightforward door hinge system, the NN-SN966S requires front panel removal for deeper repairs. The front panel removal process on the NN-SN966S is similar to the NN-SN975S but with some specific differences in clip and screw locations.
Removing the NN-SN966S Front Panel: Screw Locations
On the NN-SN966S, the front panel is secured by four to six Phillips head screws located on the left and right sides of the cabinet, behind the side trim. You may need to remove small plastic trim caps or bezels to access these screws. The screw size is typically #2 Phillips, and they are 1.25 inches in length. Remove all visible screws from the sides and top of the front panel area.
Releasing the NN-SN966S Front Panel Clips
After removing all screws, the front panel is held in place by plastic snap clips along the edges. On the NN-SN966S, these clips are located along the bottom edge of the panel. Gently pull the bottom of the front panel away from the cabinet. You will feel resistance as the clips release. Work slowly and deliberately to avoid cracking the plastic panel. Once the bottom clips are released, carefully lift the panel away from the cabinet.
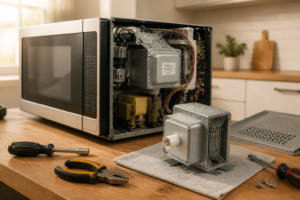
With the front panel removed from the NN-SN966S, you now have access to the interior components including the door latch mechanism, the door safety switch, the control board, and the magnetron thermal protector. Do not touch the magnetron, high-voltage transformer, or capacitor unless you are a trained technician.
Replacing the Door Handle on the NN-SN975S
A common reason to remove the NN-SN975S door is to replace a broken handle. With the door removed and placed on your work surface, follow these steps:
- Locate the handle mounting screws: Look at the inside surface of the door. You will see two Phillips head screws securing the handle bracket to the door frame, typically located near the top and bottom of the handle.
- Remove the screws: Using a #2 Phillips screwdriver, remove both screws. Keep these screws in a safe location; you will reuse them.
- Slide out the old handle: The handle assembly should now slide out from the outer edge of the door. It may take gentle wiggling to fully extract it.
- Install the new handle: Panasonic replacement handles for the NN-SN975S (part number A6223110000) align with the existing holes. Slide the new handle into position from the outside of the door.
- Secure with screws: Reinstall the two Phillips head screws through the bracket into the door frame. Tighten firmly but do not over-tighten, as this can crack the plastic bracket.
- Test the handle: Grip the handle firmly and ensure it does not move or flex excessively. The handle should feel solid and secure.
Reassembling and Reinstalling the NN-SN975S Door
Once you have completed your repairs, it is time to reinstall the door. This process must be done carefully to ensure both hinges seat properly and the door closes evenly.
Aligning the Door for Reinstallation
Hold the door in both hands and position it in front of the cabinet opening. The hinge posts on the top and bottom of the door must align with the plastic hinge clip housings on the cabinet frame. Look carefully at the top hinge position—it should sit directly above the bottom hinge position, creating a vertical line when viewed from the side.
Seating the Top Hinge First
Begin by seating the top hinge. Tilt the door so the top hinge post slides into the top clip housing. You should feel a click or see the hinge post seat fully into the clip. The top hinge is primarily a guide hinge and does not bear the door weight, so it should engage relatively easily.
Lowering the Door onto the Bottom Hinge
Once the top hinge is engaged, slowly lower the door downward while maintaining slight forward pressure on the top of the door. The bottom hinge post will slide down into the bottom clip housing. When properly seated, the door should feel stable and supported. You may hear a distinct click as the bottom hinge engages fully. The angle at which the door sits during this final lowering is critical—aim for the door to be roughly perpendicular to the cabinet face as you complete the seating.
Testing the Door Position
With the door now hanging on both hinges, gently open and close it several times. The door should open smoothly without sticking or binding. The door should close with even pressure across the top and bottom. If the door appears to sit at an angle or closes unevenly, it may not be fully seated on one or both hinges. If this occurs, open the door fully, lift it slightly off the bottom hinge, and reposition it before lowering again.
Reassembling the NN-SN966S Front Panel
If you removed the front panel on your NN-SN966S for repairs, reassembly is the reverse process. Align the top of the front panel with the cabinet first, then gently lower the panel and guide it into position. The snap clips should engage as you press the panel inward. Once all clips are engaged, reinstall all Phillips head screws from the sides and top of the panel. Ensure all screws are tight and that the panel sits flush against the cabinet with no gaps.
Final Checks Before Operating
Before plugging your NN-SN975S back in, perform these final checks:
- The door opens and closes smoothly without resistance.
- The door latch engages audibly when the door closes—you should hear a click.
- The door does not sit at an angle; it is parallel to the cabinet face when closed.
- There are no visible gaps between the door and the cabinet frame.
- The handle is secure and does not move when gripped firmly.
- All visible screws on the exterior are tight.
Once you have verified these points, you may plug the microwave back in and test its operation.
Frequently Asked Questions
Can I remove the NN-SN975S door without unplugging the microwave?
No. Always unplug the NN-SN975S before attempting any disassembly work. The microwave contains high-voltage components that can cause serious injury or death, even when the unit is powered off. Unplug the unit from the wall outlet and wait at least five minutes before beginning work.
How do I know if the door hinges on my NN-SN975S are damaged?
Examine the plastic hinge posts on the door and the plastic clip housings on the cabinet. Look for visible cracks, chips, or material degradation. If the hinge clips on the cabinet are loose or rattle when you gently shake the cabinet, they are likely damaged. Damaged hinges may cause the door to sit at an angle or not latch properly. Replacement hinge assemblies are available from Panasonic parts suppliers.
What is the proper angle to hold the door when reinstalling it on the NN-SN975S?
During the final seating of the bottom hinge, the door should be lowered while nearly perpendicular to the cabinet face. Avoid excessive tilting in any direction. Once both hinges are fully seated, the door will hang straight and close evenly with the cabinet frame.
Do I need to remove the door to replace the door latch switch on the NN-SN975S?
Yes, the door latch switch assembly is located on the frame inside the door opening. The door must be removed to access it. On some models, you may also need to remove the front panel to access the switch from the interior side. If you are unsure about switch replacement, consult a service technician.
Can I replace the glass panels in my NN-SN975S door while the door is still attached to the microwave?
Technically, it is possible with the door open at 90 degrees, but removal makes the job significantly easier and safer. Removing the door eliminates the risk of accidentally damaging the hinge clips or latch mechanism while working on the glass panels. The door removal process takes only a few minutes, so it is recommended.
What is the part number for a replacement handle on the NN-SN975S?
The standard replacement handle assembly for the Panasonic NN-SN975S is part number A6223110000. Verify this part number with your parts supplier before ordering, as some variations may exist depending on your specific serial number and manufacture date. Panasonic handles are also interchangeable with some other Panasonic microwave models with similar door designs.
How do I discharge the high-voltage capacitor on my NN-SN966S if I need to access internal components?
Do not attempt to discharge the capacitor yourself unless you are a trained technician. The process is dangerous and can result in serious electrical injury or death. If you need to access internal components beyond the door assembly on the NN-SN966S, contact a licensed appliance repair service. They have proper training and equipment to safely discharge the capacitor and access internal components.
Why does my NN-SN975S door not close evenly after reassembly?
An uneven door closure typically indicates that one of the hinges is not fully seated. The most common cause is the bottom hinge not being properly engaged. Remove the door again using the method described in this guide, and carefully reseat both hinges, paying special attention to the seating angle during the final lowering. If the problem persists, inspect the hinge clips on the cabinet for damage. Damaged clips will prevent proper seating and may need replacement.
Is the NN-SN966S front panel removal process the same as the NN-SN975S door removal?
No. The NN-SN966S front panel removal is a separate process from door removal. The front panel provides access to internal controls and components, while the door removal is a simpler process that allows access to the door assembly itself. The NN-SN966S uses snap clips and Phillips screws to secure the front panel, whereas the door is held in place by hinge clips. Both procedures are detailed in this guide.
Recommended Parts & Tools
Panasonic Microwave Door Latch Assembly
When removing the door on your NN-SN975S, you’ll likely need to replace the door latch if it’s cracked, broken, or worn out. This genuine Panasonic replacement part ensures your microwave door closes securely and operates safely after reassembly. Check current pricing on Amazon.
Magnetic Screwdriver Set for Appliance Repair
The NN-SN975S door has multiple small screws that are easy to lose during disassembly. A magnetic screwdriver set makes it simple to safely remove and reinstall these fasteners without dropping them inside the microwave cavity. Check current pricing on Amazon.
Microfiber Cleaning Cloths and Glass Cleaner
With the door removed, it’s the perfect time to clean the glass thoroughly inside and out using a streak-free glass cleaner and microfiber cloths. This will restore visibility and remove any built-up grease or food splatters from regular microwave use. Check current pricing on Amazon.
The Door Latch Assembly That Actually Holds After You’ve Removed the Door
If you’re removing the door to replace the latch mechanism or repair a door that won’t stay closed, ordering the correct OEM latch assembly beforehand saves you from reassembling everything and discovering your fix doesn’t work. This is the part that wears out and fails on the NN-SN975S, and it’s worth getting right the first time.
What works
- Genuine Panasonic part means the catch geometry and spring tension match the door frame exactly — no forcing or adjustment needed during reinstall.
- Comes with the correct mounting bracket and hardware, so you’re not hunting for the right screws or guessing at positioning.
- Door closes with the same solid click and hold as factory — you’ll immediately notice if the repair actually fixed the problem instead of wondering if you installed it wrong.
What doesn’t
- OEM parts cost more than generic aftermarket latches, but the cheap alternatives often have stiffer springs that make the door hard to close or weaker catches that fail again in six months.
- If your problem is actually a bent door frame or damage to the strike plate on the microwave body, this latch won’t fix it — you’ll need to address the structural issue first.
Most homeowners I’ve talked to grabbed a universal latch first, realized midway through the door removal that it wasn’t going to fit right, and ended up ordering the correct part anyway — which meant disassembling twice. Get the Panasonic Microwave Door Latch Assembly from the start and do it once.
This post contains affiliate links. As an Amazon Associate, I earn from qualifying purchases at no extra cost to you.