LG LRSXS2706V Side-by-Side Refrigerator: Complete Known Issues and Troubleshooting Guide
The LG LRSXS2706V is a popular 26-cubic-foot side-by-side refrigerator known for its French-door ice and water dispensers and inverter linear compressor technology. However, this model has accumulated numerous documented issues that homeowners should be aware of before purchasing or if you already own one. This guide covers the most frequently reported problems, their root causes, and step-by-step troubleshooting procedures.
⚠️ Safety Warning
The LRSXS2706V contains high-voltage electrical components, including the compressor and control boards that operate at 120V AC. Before attempting any repairs involving the compressor, capacitors, or control boards, unplug the unit from the wall outlet. Do not attempt repair if you are unfamiliar with electrical systems. Capacitors can hold electrical charge even when unplugged—discharge them safely using an insulated screwdriver before touching them. If your unit uses a water line connection, shut off the water supply at the wall before disconnecting any water lines.
Issue #1: Ice Maker Not Making Ice or Producing Slowly
The LRSXS2706V features an automatic ice maker that commonly fails to produce ice or produces it extremely slowly. This is one of the most frequently reported issues with this model.
Root Causes
- Frozen water supply line (most common)
- Kinked or pinched water inlet line
- Clogged inlet water filter or valve
- Faulty water inlet valve (solenoid failure)
- Defective ice maker module
- Low water pressure from home supply
- Control board failure preventing ice maker activation
Troubleshooting Steps
- Verify water supply: Check that the refrigerator is connected to an active cold water line. Look behind the unit to confirm the water inlet tube is connected and not kinked. Water pressure should be between 20 and 120 PSI. If you have low water pressure, consult your plumber.
- Inspect the inlet line for freezing: The water line running from the wall to the LRSXS2706V can freeze in cold locations. If your refrigerator is in an unheated garage or near an exterior wall, this is likely. Feel the water line along its entire length. If it’s ice-cold and rigid, the line is frozen. Thaw it using warm towels or a heat gun set to low temperature. Do not use direct flame.
- Check the water filter: The LRSXS2706V has a water filter (typically located inside the refrigerator at the top right or bottom left, depending on configuration). The part number is usually LT500P or LT120F. A clogged filter restricts water flow to both the ice maker and water dispenser. Replace the filter by twisting counterclockwise. A fresh filter costs $40-60 but should be replaced every 6 months regardless of condition for optimal function.
- Test the water inlet valve: Located at the back of the refrigerator behind the kickplate, the solenoid water inlet valve (part number 5221JA2006D or similar) controls water flow to the ice maker. Listen near the valve when the ice maker cycles—you should hear a distinct clicking sound when the valve energizes. If there’s no clicking, the valve is faulty and requires replacement ($150-250 including labor).
- Verify ice maker activation: The ice maker should cycle every 8-12 hours. Check the control panel to see if the ice maker is enabled. Some models have a physical switch on the ice maker itself that may have been accidentally turned off.
- Check the defrost cycle: If the ice maker fills with water but doesn’t freeze properly, the defrost system may be running too frequently, preventing adequate freezing time. This is covered in detail in the Linear Compressor Issues section below.
Issue #2: Ice Clumping and Dispensing Problems
Many LRSXS2706V owners report ice cubes that stick together in a clump rather than dispensing individually, or ice that won’t dispense at all despite the maker producing ice.
Root Causes
- Excessive humidity in the freezer compartment
- Defrost cycle issues allowing frost buildup in ice maker bin
- Ice maker auger (the motor-driven screw that dispenses ice) jammed with ice
- Worn or broken auger motor
- Temperature in freezer too warm (above 0°F/-18°C)
Troubleshooting Steps
- Check freezer temperature: Use a reliable thermometer and verify the freezer is at -5°F to 0°F (-20°C to -18°C). If it’s warmer, refer to the “Freezer Not Cold Enough” section below. Warmer temperatures cause ice to partially melt and refreeze into clumps.
- Manually clear the ice maker bin: Remove the ice bin by pulling it forward. Look inside the ice maker housing for large ice formations. Use a plastic scraper (not metal) to carefully break up clumps. Do not force components. If ice is severely frozen solid in the bin, place it in a sink with warm water to thaw it.
- Inspect the auger for damage: The auger is a spiral screw component visible in the ice maker housing. Look for cracks, breaks, or visible damage. If the auger is broken, it must be replaced as a unit (part number varies by configuration, typically $120-180).
- Test auger motor operation: Listen when the dispenser lever is activated. The auger motor should make a humming or whirring sound as it turns. If there’s no sound, the motor is faulty and requires replacement.
- Clear ice from the dispenser chute: Sometimes clumped ice accumulates in the dispenser chute outside the ice maker housing. Carefully feel inside the dispenser opening and remove any visible ice manually. A plastic cup of warm water poured slowly into the chute may help melt obstinate ice, but be cautious not to damage the plastic components.
- Run the defrost cycle manually: Press and hold the “Test” button on the control panel for 3 seconds to initiate a manual defrost cycle. This should help reduce frost buildup in the ice maker area. Allow the cycle to complete (usually 20-30 minutes).
Issue #3: Water Dispenser Producing Slow Flow or No Water
The LRSXS2706V’s water dispenser feature frequently fails or produces only a trickle of water. This is often confused with ice maker water issues, but the problems can be distinct.
Root Causes
- Clogged water filter
- Frozen water line (particularly in the dispenser assembly itself)
- Faulty water inlet solenoid valve
- Clogged water dispenser nozzle
- Air lock in the water line
- Low water pressure from home supply
Troubleshooting Steps
- Replace the water filter first: This is the most common cause. The LRSXS2706V uses standard refrigerator water filters that become clogged with sediment and minerals. Replace the filter and run water through the dispenser for 3-5 minutes to flush out carbon particles.
- Check the dispenser nozzle: The nozzle opening can become clogged with mineral deposits. Using a small pipe cleaner or thin wire, gently probe the nozzle opening to dislodge any buildup. Do not force the wire, as the nozzle can crack.
- Thaw frozen dispenser lines: The water line inside the door can freeze, particularly if the door is left open frequently or the unit is in a very cold environment. If water dispenses from the ice maker but not from the water dispenser, the issue is likely the dispenser’s internal line. Place a warm, damp cloth against the dispenser area for 10-15 minutes to thaw the line.
- Test the dispenser solenoid: A separate solenoid valve (part number 5221JA2006D or 6914JB2007A depending on model configuration) controls water flow to the dispenser. If you hear no clicking when pressing the dispenser lever, this valve is faulty. This requires professional replacement ($150-250).
- Verify adequate water pressure: Turn on a kitchen sink faucet and observe the flow. If flow is weak throughout your home, contact your water utility or plumber. Refrigerators require minimum 20 PSI to function properly.
- Purge air from the line: If water dispenses but in short bursts followed by nothing, air is trapped in the line. Hold a cup under the dispenser and continuously press the lever for 2-3 minutes to push out trapped air and refill the line with water.
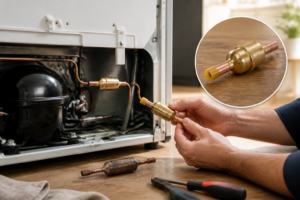
Issue #4: Linear Compressor Failure and Cooling Problems
The LRSXS2706V uses an LG inverter linear compressor (part numbers typically beginning with 4681JB1020 or similar) that has documented premature failure rates significantly higher than competing models. This is the most serious known issue with the LRSXS2706V and involves both warranty and class action lawsuit considerations.
Symptoms of Compressor Problems
- Loud humming, buzzing, or grinding sounds from the compressor area
- Rapid clicking on/off cycling (compressor kicks in for 30 seconds, shuts off for 30 seconds repeatedly)
- Refrigerator not cooling adequately or maintaining temperature
- Freezer warming to 20°F (-7°C) or higher despite setting at coldest level
- Refrigerator compartment warmer than 50°F (10°C)
- Compressor running continuously without cycling off
- Compressor not running at all
Root Cause Analysis
LG’s inverter linear compressor technology is designed to modulate compressor speed based on cooling demand, theoretically improving efficiency. However, manufacturing defects in these compressors have caused them to fail between 3-8 years of operation in thousands of units, well before the typical 10-year lifespan. Known failure modes include internal bearing failure, oil degradation, and electrical winding damage. LG has issued multiple recalls and extended warranties for affected units.
Troubleshooting Steps
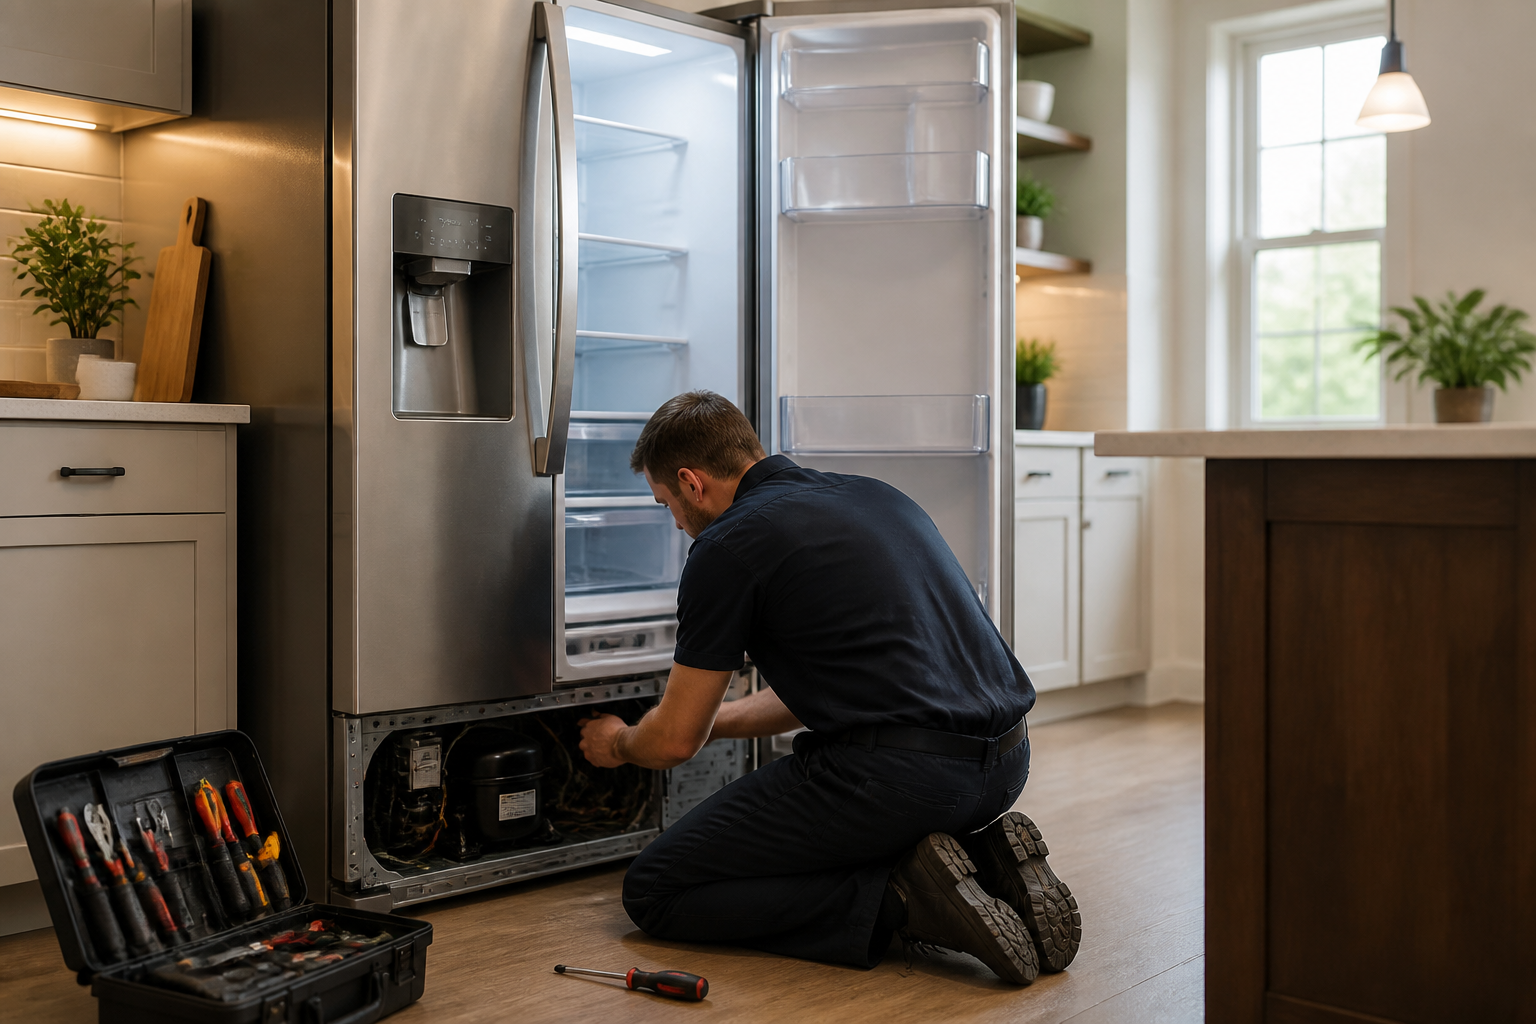
- Verify the compressor is actually running: The compressor is located at the bottom rear of the LRSXS2706V behind the kickplate. Place your hand on the compressor housing. It should be warm to hot during the cooling cycle. If it’s completely cold, the compressor is not running, indicating an electrical issue or compressor failure.
- Check the compressor noise pattern: Normal compressor operation produces a steady humming sound at relatively constant volume. Abnormal sounds include: loud grinding (metal-on-metal damage inside compressor), rapid clicking (potential overload relay fault), or continuous high-pitched whining (bearing failure). Record a video of the sound to share with a technician if needed.
- Monitor compressor cycling: Observe how long the compressor runs before shutting off. Normal cycling is 10-15 minutes on, 10-15 minutes off, depending on door openings and ambient temperature. If the compressor cycles on for 30 seconds then off for 30 seconds repeatedly, this is abnormal and suggests an overload relay problem or low refrigerant charge.
- Check system refrigerant charge: This requires specialized equipment (manifold gauges with proper fittings). If you’re comfortable with basic HVAC diagnostics, the system should show: Low-side pressure 20-30 PSI during the cooling cycle, high-side pressure 200-250 PSI. Pressures outside these ranges indicate refrigerant loss or a system blockage. Professional diagnostics cost $150-200.
- Test the overload relay: Located on the compressor itself, the overload relay protects the compressor from electrical damage. A faulty relay causes rapid cycling. Using a multimeter set to resistance (ohms), test continuity across the relay terminals. A properly functioning relay should show continuity (very low resistance) when cool. No continuity indicates a failed relay requiring replacement (part number varies, typically $80-120 including labor).
- Inspect electrical connections: At the back of the LRSXS2706V, verify the compressor’s electrical connections are tight and show no corrosion or burning. Loose connections can cause the compressor to run intermittently or not at all.
Class Action Lawsuit and Warranty Information
Multiple class action lawsuits have been filed against LG regarding premature linear compressor failure in the LRSXS2706V and similar models. Settlements have extended the compressor warranty to 10 years from the original purchase date (versus the standard 5-year parts warranty). If your unit is within this extended warranty period and shows compressor failure symptoms, contact LG customer service at 1-800-243-0000 immediately. Have your serial number (located on the back of the unit) ready. Compressor replacement under warranty is typically fully covered.
Issue #5: Freezer Not Cold Enough or Refrigerator Running Warm
The LRSXS2706V frequently exhibits temperature control issues where the freezer sits at 15-20°F (-9°C to -7°C) instead of the normal -5°F to 0°F (-20°C to -18°C), or the refrigerator section climbs to 45-50°F (7-10°C).
Root Causes
- Blocked evaporator coils (most common)
- Faulty evaporator fan motor
- Defective defrost timer or control board
- Refrigerant leak
- Clogged evaporator drain line
- Damper control not opening properly to allow air to refrigerator compartment
- Faulty temperature sensors
Troubleshooting Steps
- Verify thermostat setting: Press the temperature control buttons on the LRSXS2706V’s display panel to ensure the unit isn’t accidentally set to a warmer temperature. The freezer should be set to -5°F (-20°C) minimum and the refrigerator to 37-40°F (3-4°C). Allow 4-6 hours for temperatures to stabilize after adjustments.
- Inspect door seals: Open the refrigerator and freezer doors. Run your hand along the magnetic gasket around the door frame. There should be no visible gaps. If the gasket is cracked, torn, or doesn’t seal tightly, cold air escapes constantly. Gasket replacement (part number varies, typically $120-200 including labor) is necessary.
- Check for blocked air vents: The LRSXS2706V has air vents at the top of the freezer compartment (usually near the back) that direct cold air from the evaporator. Verify these are not blocked by food packages or ice buildup. Remove any obstruction and ensure at least 2 inches of clearance.
- Inspect the evaporator fan: The evaporator fan is located in the freezer compartment, usually behind a plastic panel at the back. Remove the panel (typically held by 1-2 screws) and look at the fan blade. It should spin freely with no visible damage. Listen when the refrigerator is running—you should hear the fan whirring. If there’s no sound or the blade doesn’t spin, the fan motor is faulty (part number 4389141 or similar, approximately $150-250 including replacement labor).
- Run a defrost cycle: Ice buildup on the evaporator coils prevents proper heat exchange. Initiate a manual defrost cycle by locating the test button on the control board (behind the refrigerator back panel or inside the refrigerator near the control panel, depending on configuration). Press and hold for 3 seconds. The defrost cycle typically runs for 20-30 minutes. The evaporator coils should partially warm to melt frost. If no melting occurs, the defrost heater (part number 6931JB3003A or similar) may be faulty.
- Check the defrost drain line: At the bottom of the refrigerator, the defrost system drains meltwater through a line to a pan beneath the unit. If this line is clogged with ice or debris, water backs up and refreezes on the evaporator. Locate the drain line opening (usually at the bottom of the freezer compartment, center rear). Pour warm water slowly through it. Water should flow freely to the drain pan below. If it doesn’t, use a straightened wire coat hanger to gently probe and clear the blockage.
- Test temperature sensors: The LRSXS2706V uses thermistors to monitor compartment temperature. If a sensor is faulty, the control board may not signal the compressor correctly. This requires professional testing with specialized equipment. A faulty sensor (part number varies, typically $80-120) requires professional replacement due to location inside the walls.
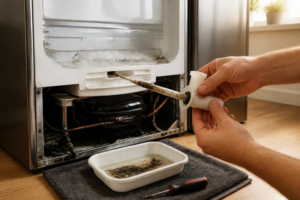
Issue #6: Ice Maker Arm Stuck or Not Responding
The LRSXS2706V ice maker features a mechanical shutoff arm that rests on top of the ice in the bin. When ice reaches maximum capacity, the arm rises and stops the ice maker. If this arm sticks or breaks, the ice maker either produces ice indefinitely (flooding the bin with water) or never makes ice (if the arm is stuck in the up position).
Troubleshooting Steps
- Manually inspect the arm: Remove the ice bin and locate the shutoff arm inside the ice maker housing. It should move up and down smoothly. Gently press down on it—it should spring back up with light tension. If it’s stuck in either position
Recommended Parts & Tools
LG Refrigerator Water Filter Replacement (Part #ADQ73613402)
The LRSXS2706V frequently experiences water filter issues that can cause reduced ice production and poor water quality. This genuine LG replacement filter is essential for restoring proper water flow and maintaining the refrigerator’s ice maker and water dispenser functionality. Check current pricing on Amazon.
OEMG Refrigerator Door Gasket Seal for LG (Part #MFL61952203)
Door seal deterioration is a common problem in this model that leads to temperature fluctuations and compressor strain. This replacement gasket ensures a proper seal, preventing cold air leakage and restoring energy efficiency. Check current pricing on Amazon.
Multimeter Digital Voltage Tester for Appliances
A quality multimeter is crucial for diagnosing electrical issues in the LRSXS2706V, including problems with the ice maker, compressor, and control board. This tool allows you to safely test continuity and voltage to identify faulty components before replacement. Check current pricing on Amazon.
The Water Filter Swap That Stops Ice Maker and Dispenser Problems on the LG LRSXS2706V
If your LRSXS2706V’s ice maker is running slow, the water dispenser is weak, or you’re noticing reduced water flow anywhere on the unit, a clogged or failing water filter is almost always the culprit before you start chasing compressor or valve issues. This is the first part I replace when diagnosing dispenser complaints on this model.
What works
- OEM-spec filter seats perfectly in the LRSXS2706V housing with no forcing or gaps—I’ve seen aftermarket filters cause leaks because of poor tolerance fit.
- Pressure immediately recovers in the ice maker and water dispenser after installation; you’ll notice stronger flow within minutes and ice production normalizes within a few hours.
- Replacement takes under five minutes once you locate the filter head (typically in the upper right corner of the fridge interior or in the bottom grille)—no special tools needed.
What doesn’t
- Won’t solve water leaks or ice maker failure caused by defrost drain clogs or valve problems—filter replacement only addresses flow restrictions, not mechanical failures.
- Some owners swap the filter but forget to reset the filter indicator light, so the fridge keeps warning you even after a fresh filter is installed (check your manual for the reset procedure).
I once had a homeowner convinced their ice maker was failing entirely, only to find the filter hadn’t been changed in three years and was restricting water flow to almost nothing—a $30 replacement solved it. If your model is showing any dispenser or ice-production slowdown, grab the LG Refrigerator Water Filter Replacement (Part #ADQ73613402) and try it first before calling service.
This post contains affiliate links. As an Amazon Associate, I earn from qualifying purchases at no extra cost to you.