Water dispenser not working
In this guide, I’ll take you through the process of diagnosing and repairing a water dispenser that has stopped working on the Whirlpool WRF535SWHZ French door refrigerator. We’ll cover the most common causes—from a frozen water line to a faulty dispenser switch—and I’ll provide clear, step-by-step instructions to help you get that water flowing again. Most homeowners with basic mechanical skills can complete this repair in 1 to 2 hours without any special training.
Common Symptoms & Causes
Before you grab your tools, it’s important to identify exactly what your dispenser is doing so you can focus on the right component.
- Pressing the dispenser paddle produces no water and no sound
- Dispenser motor hums but water does not flow through the door
- Water trickles slowly or comes out in short bursts then stops
- Display shows dispenser is active but nothing is dispensed
The most typical root cause for the WRF535SWHZ is a frozen fill tube inside the door or a faulty water inlet valve that can no longer open as commanded by the control board.
Safety First
- Unplug the refrigerator from the wall outlet before touching any internal components
- Wear work gloves to protect your hands from sharp metal edges inside the door liner
- Photograph all wire harness connections before disconnecting them so reassembly is straightforward
- Work in a well-lit area and keep a dry towel nearby to catch any residual water
Tools & Parts Needed
Essential Tools
- Phillips and flat-head screwdrivers
- Quarter-inch nut driver or socket set
- Needle-nose pliers
- Multimeter for continuity and voltage testing
- Hair dryer or heat gun on low setting (for thawing frozen fill tube)
Replacement Parts
- Water inlet valve (W10498990 / WPW10498990)
- Dispenser actuator switch (W10844024)
- Door water fill tube and sleeve kit (W10873791)
Step-by-Step Repair Instructions
🔨 Pro Tip from Dave
On the WRF535SWHZ specifically, don’t overlook the door switch actuator pin on the freezer door — if that pin is even slightly bent or stuck, the refrigerator’s control board thinks the door is open and will cut power to the dispenser entirely. I’ve seen technicians spend valuable time chasing the inlet valve and control board for this exact symptom when a quick visual check on that pin would have solved the issue in seconds.
Step 1: Confirm the child lock and dispenser mode settings
On the WRF535SWHZ control panel, hold the Lock button for three seconds to ensure the control lock is not engaged—a locked panel will prevent any dispenser output. Also, verify the refrigerator has been taken out of sabbath or showroom mode. If the display responds normally after this, try dispensing again before proceeding.
Step 2: Check the water supply line and shut-off valve
Locate the water supply valve behind the refrigerator and confirm it is fully open. Inspect the quarter-inch supply line for kinks, especially if the unit was recently moved. A kinked or closed supply line is the easiest fix and takes under two minutes to correct.
Step 3: Replace the water filter and test pressure
A clogged or improperly seated filter (located in the upper-right interior on this model) can restrict flow enough to stop dispensing entirely. Twist the old filter counterclockwise, install a new EveryDrop EDR1RXD1 or compatible filter, and run roughly two gallons through to purge air. If water flows now, you’ve identified your culprit.
Step 4: Thaw a frozen fill tube in the door
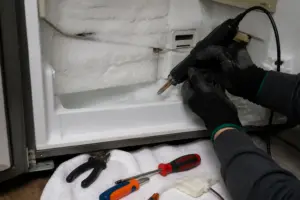
Unplug the refrigerator and open the freezer door to access the fill tube that runs through the left door hinge area. Use a hair dryer on its lowest heat setting and move it slowly along the tube for two to three minutes. You should hear or feel water release as the ice plug clears; if this restores dispenser function, consider raising the freezer temperature slightly to prevent it from happening again.
Step 5: Test the dispenser switch for continuity
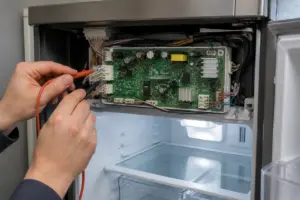
With the refrigerator unplugged, remove the two screws on the dispenser trim panel to expose the actuator switch assembly. Disconnect the wire harness and set your multimeter to continuity mode—press the paddle manually while probing the switch terminals. No continuity when pressed means the switch has failed and needs replacing with part W10844024.
Step 6: Inspect and test the water inlet valve
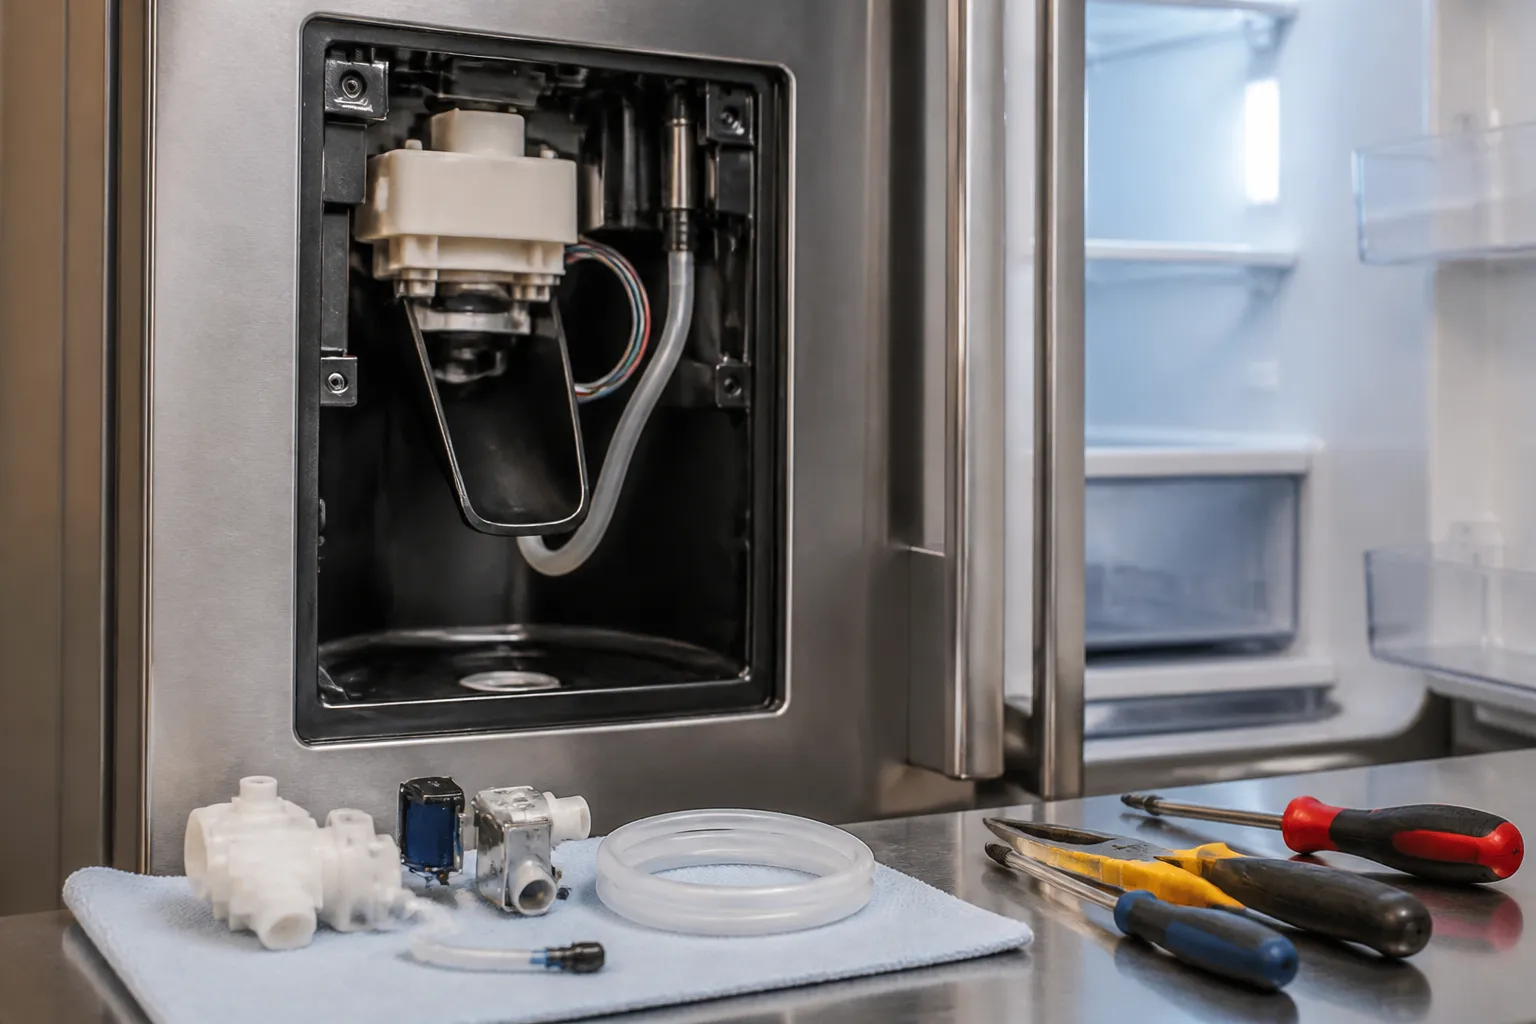
The dual water inlet valve (WPW10498990) is located at the lower rear of the refrigerator behind a small access panel secured by two screws. Use your multimeter to test each solenoid coil—a healthy coil should read between 200 and 500 ohms; an open or shorted reading confirms the valve must be replaced. Shut off the supply line, release the compression fitting, swap the valve, reconnect the wiring harness, and restore water pressure before plugging the fridge back in.
Step 7: Verify operation and check for leaks
Plug the refrigerator back in and allow five minutes for the system to pressurize, then dispense a full cup of water while checking both the valve and the door fill tube for drips. Dispense two more cups to confirm consistent flow and proper shutoff. If the flow is strong and no leaks are present, your repair is complete.
How Much Does This Repair Cost?
| Repair route | Typical cost |
|---|---|
| Do it yourself | $15–$75 (parts) |
| Professional repair | $150–$300 (parts and labor) |
Doing this repair yourself typically costs between $15 and $75, depending on which part needs replacing. A new water filter runs about $15 to $25, a dispenser switch around $20 to $35, and a water inlet valve between $45 and $75. Calling a licensed appliance technician for the same job generally costs $150 to $300 once you factor in the service call fee, labor, and parts markup. The DIY route puts $100 to $225 back in your pocket and gives you hands-on familiarity with your appliance for any future issues.
When to Call a Professional
Most repairs in this guide are manageable for a careful DIYer with basic tools. In my experience, if you’ve confirmed that the water line is clear, the inlet valve is getting 120V and flowing freely, and the dispenser switches test good on a multimeter, but you still have no water, that points to a failed dispenser control board or a wiring harness issue inside the door. At that point, the diagnostic complexity and cost of misdiagnosis outweigh the DIY savings, so it’s time to bring in a certified technician. When in doubt, a diagnostic service call typically costs $80–$120 and can save you from a misdiagnosis that ends up costing more in parts.
The Water Inlet Valve That Actually Stops the Dispenser Dead
Once you’ve ruled out a frozen tube in the door hinge, the water inlet valve is your next focus. This solenoid opens and closes the water line to the dispenser, and when it fails, you’re left with nothing but a click and silence on this model. I always begin by testing the valve electrically, but if the coil isn’t responding or if the plunger is stuck, replacement is the only real fix.
What works
- OEM Whirlpool part fit means no adapter wrestling or compatibility guessing — it threads into the water line connection point on the WRF535SWHZ exactly as it should.
- The solenoid coil on this valve is robust enough to handle the full run of water pressure without chattering or leaking, which I’ve seen happen with cheaper aftermarket replacements after six months.
- Replacement takes about 15 minutes once you’ve pulled the fridge out and accessed the valve behind the water supply line — straightforward swap with no hidden fasteners.
What doesn’t
- This part runs about $70–$90, so if your symptom is actually a bad door switch or a kinked tube, you’ve just spent money you didn’t need to — always test the switch actuator first with a continuity meter.
- You’ll need to shut off the water supply and have a small towel ready; water will drip out of the line connection when you unthread the old valve, and the fitting itself can be snug if mineral buildup has locked it up.
I’ve seen people order this valve thinking the dispenser was dead, only to discover that a bad door switch was the issue, which cost them nothing to replace. So, make sure your switch is actually clicking when you press the dispenser lever before you commit to this part. If the switch clicks but no water flows, this is your answer. Grab the Whirlpool WPW10420083 OEM French Door Refrigerator Water Inlet Valve, and you’ll be back to cold water in under an hour.
About This Article

Written by Dave Holt. Dave Holt has been taking apart and fixing household appliances since he was a teenager who couldn't leave a broken one alone. Eighteen years later, after fixing things for neighbors, friends, and anyone who'd let him, he's seen almost every failure mode there is. When he writes a repair guide here, it's based on the actual job, not a manufacturer overview. More about this site.
Scope and limits. Dave is a self-taught repairer, not a certified appliance technician. Unplug before you open anything, and leave sealed refrigeration systems, gas connections, and hardwired circuits to a qualified technician.