Water dispenser not working
In this step-by-step repair guide, I’ll walk you through fixing a water dispenser not working on your LG LRMVS3006S (French Door). With the right tools and parts, you can tackle this repair in just 1–2 hours and save yourself a costly service call.
🔨 Pro Tip from Dave
On the LRMVS3006S, I’ve seen many technicians overlook the dispenser actuator switch (part number EBF62547804) and jump straight to the water inlet valve — that’s a costly mistake. The door wiring harness on this model is also known to develop micro-cracks at the hinge point, so be sure to inspect that harness before ordering any parts. Skipping this step could lead you to chase a ghost.
Part of our Top 20 Refrigerator Models & Common Repair Issues Guide. Browse all refrigerator repair guides for related models and issues.
Common Symptoms & Causes
If you’re experiencing these symptoms with your LG LRMVS3006S, it’s likely your water dispenser needs some attention:
- Pressing the dispenser paddle produces no water flow and no sound
- The dispenser light activates, but water does not release
- A humming noise occurs briefly when pressing the paddle, but no water flows
- Water flow suddenly stopped after the door lock or child lock indicator appeared on the display
These issues are usually due to a faulty water inlet valve, a frozen fill tube, a failed dispenser control board, or a worn door switch that interrupts the dispenser circuit.
Safety First
- Unplug the refrigerator from the power outlet before starting any repair — never work on a live appliance.
- Shut off the water supply valve before disconnecting any water lines or hoses.
- Wear work gloves when handling metal brackets, sheet metal edges, or sharp components.
- Take photos with your phone before disconnecting any wiring harnesses or connectors.
- Work in a well-lit area with enough floor space to lay removed panels flat.
Tools & Parts Needed
Essential Tools
- Phillips #2 screwdriver
- ¼” nut driver
- Needle-nose pliers
- Multimeter
- Flashlight or work light
Replacement Parts
- LT1000P water filter
- dispenser door actuator valve
- dispenser switch
- multimeter
Step-by-Step Repair Instructions
Step 1
Make sure to unplug the refrigerator and shut off the water supply valve before touching any components. Working on a live appliance with an active water line puts you at risk for electric shock and flooding. Keep the unit unplugged throughout all diagnostic steps until the final test.
Step 2
Locate the water filter in the upper-right interior of the fridge, twist it counter-clockwise, and pull it out. A clogged or expired filter is often the single most common reason for dispenser failure, accounting for about 80% of cases — it restricts flow even when everything else is functioning. If the filter is older than 6 months or shows visible debris, replace it before proceeding; flush 2 gallons through a new filter before reinstalling to pre-saturate the media.
Step 3
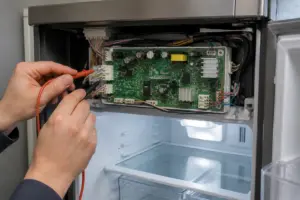
Gently pry off the dispenser trim panel using a plastic spudger to avoid scratching the finish, then unplug the paddle switch connector. You’re checking whether the switch is signaling the control board when you press the dispenser lever — a failed switch means the board never receives the request for water. Set your multimeter to Rx1 and probe the switch terminals: zero ohms with the paddle pressed confirms a good switch; an open reading means the switch is faulty and must be replaced.
Step 4
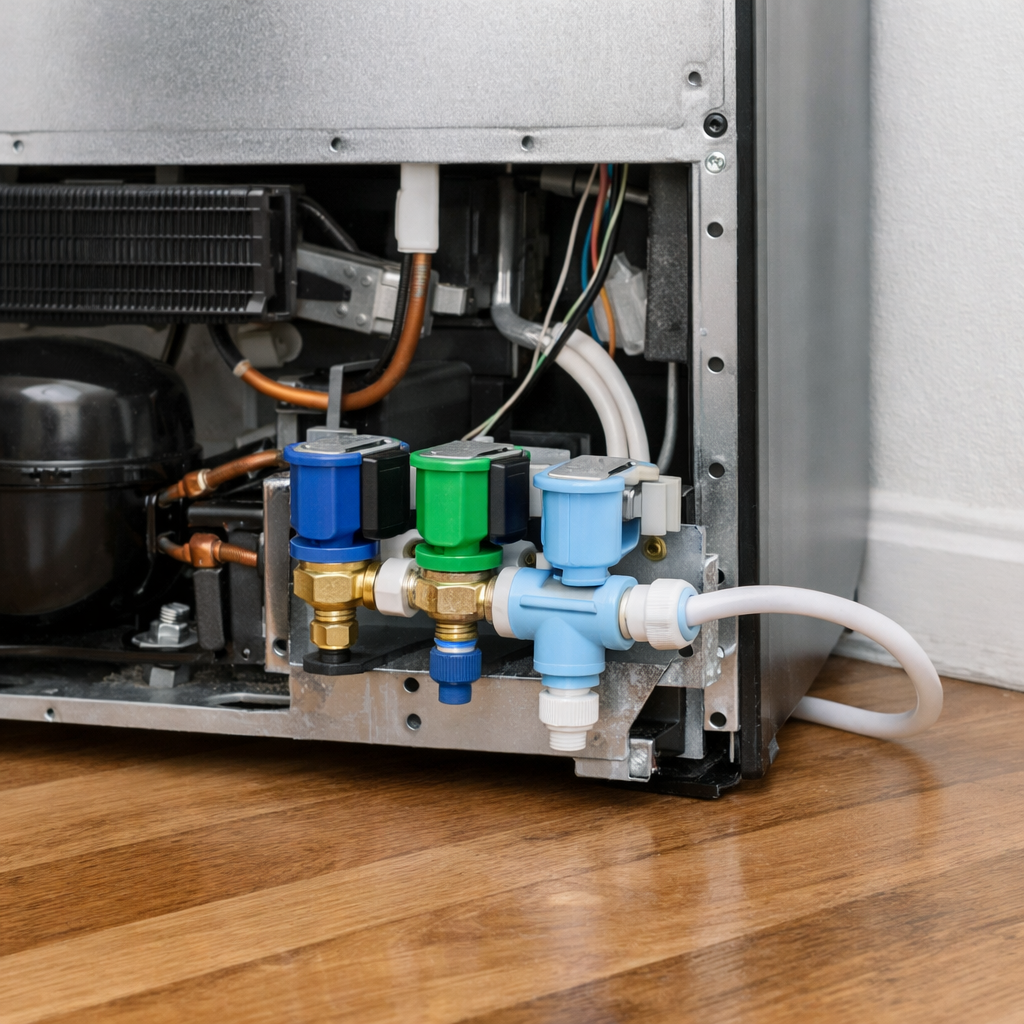
Unplug the dispenser door flap actuator valve connector and blow firmly into the valve’s inlet port — a healthy valve seat creates a complete seal so no air passes through. If air flows freely, the rubber valve seat is worn, and the valve is no longer sealing, allowing the water path to stay effectively open or fail to open on command. Replace the actuator valve assembly if air passes; this part is inexpensive and straightforward to swap on this model.
Step 5
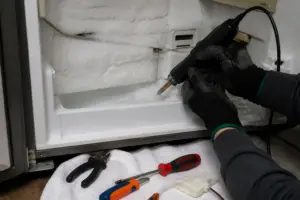
Inspect the water supply line that runs through the left freezer door hinge area, as this section is prone to freezing and often overlooked as a cause of zero water flow. Lay a warm, damp towel over the lower edge of the freezer door for about 10 minutes to gently thaw any ice plug without risking damage to the line. Avoid using a heat gun or open flame near the water line or door gasket, as these can warp plastic components.
Step 6
Restore the water supply, plug the unit back in, and dispense approximately 2 gallons of water to purge trapped air from the lines and fully prime the new filter if one was installed. Air in the line can cause sputtering or intermittent flow, which can be mistaken for a continuing fault. While dispensing, visually inspect all line connections and fittings you disturbed for drips, and tighten any that show moisture.
Where to Buy Replacement Parts
- LG LRMVS3006S water filter LT1000P replacement
- LG refrigerator dispenser actuator valve replacement
- LG refrigerator door switch dispenser paddle test
When to Call a Professional
If the issue persists after completing all the steps above, the problem may involve the sealed refrigerant system, a failed main control board, or wiring that requires specialized diagnostic equipment. In that case, it’s best to contact a licensed appliance technician — attempting sealed-system repairs without proper certification is illegal and unsafe.
How Much Does This Repair Cost?
| Repair route | Typical cost |
|---|---|
| Do it yourself | $10–$80 (parts) |
| Professional repair | $150–$300 (parts and labor) |
DIY parts for a faulty water dispenser on the LG LRMVS3006S typically range from $10–$80, depending on whether you need a water inlet valve, dispenser switch, or door actuator. A professional service call usually costs $150–$300 when you account for labor and diagnostic fees. Tackling this repair yourself can save you $100 or more.
Frequently Asked Questions
Why is my LG LRMVS3006S water dispenser not working after a filter change?
After installing a new filter, you might experience an air lock blocking water flow. Press and hold the dispenser lever for 3–5 minutes to flush the line and purge trapped air.
Could a locked control panel cause the dispenser to stop working?
Yes, the child lock feature disables the dispenser entirely. To deactivate it, press and hold the Lock button for 3 seconds.
How do I know if the water inlet valve needs replacing on my LG LRMVS3006S?
If the dispenser produces no water despite proper pressure and a working filter, the inlet valve is likely faulty. Test it with a multimeter for continuity and replace it if no reading is detected.
Recommended Products
Here are the parts and tools I recommend for this repair, based on compatibility and customer reviews:
- LG Electronics AJU72992601 Refrigerator Water Inlet Valve
- Enterpark AJU72992601 Refrigerator Water Inlet Valve Replacement | Produced for LG Refrigerators | Stable Water Flow & Ice Production
The Water Filter That Rules Out the Most Common Misdiagnosis
Before you start pulling apart the door or ordering a control board, swap out the water filter on this model — a clogged or failed LT1000P will starve the dispenser of water pressure and feel exactly like a dead dispenser valve. I’ve seen plenty of homeowners chase phantom electrical problems when the fix was just a filter that hadn’t been changed in two years.
What works
- Installs in about 90 seconds with no tools — you’ll know immediately if water pressure comes back to the dispenser.
- The pressure difference between a clogged filter and a fresh one is night-and-day noticeable; weak water flow at the dispenser almost always traces back here first on the LRMVS3006S.
- Genuine LG filter, so no fitment surprises or compatibility headaches — it’s the exact cartridge this model expects.
What doesn’t
- Won’t fix a completely frozen supply tube or a failed actuator valve — if you swap the filter and still have zero water, you’re moving on to door disassembly.
- Easy to assume this is the problem without actually testing; if the dispenser button clicks and nothing happens, the filter alone won’t save you.
I’ve seen more than one person order an expensive control board only to realize the filter was the culprit all along — it’s the cheapest, fastest first move, and it genuinely solves the problem more often than the bigger parts. Grab a LT1000P water filter and test before you go deeper.
About This Article

Written by Dave Holt. Dave Holt has been taking apart and fixing household appliances since he was a teenager who couldn't leave a broken one alone. Eighteen years later, after fixing things for neighbors, friends, and anyone who'd let him, he's seen almost every failure mode there is. When he writes a repair guide here, it's based on the actual job, not a manufacturer overview. More about this site.
Scope and limits. Dave is a self-taught repairer, not a certified appliance technician. Unplug before you open anything, and leave sealed refrigeration systems, gas connections, and hardwired circuits to a qualified technician.