
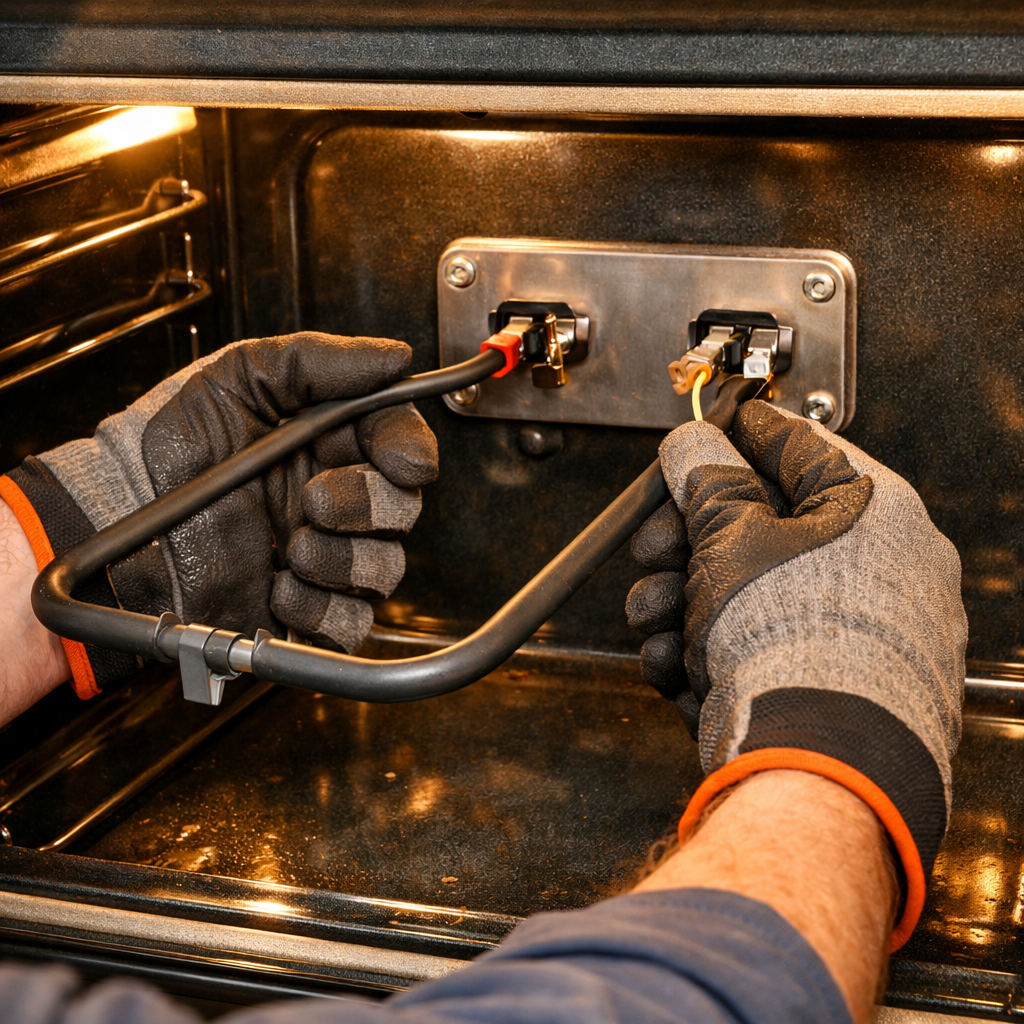
Top burner low flame
This step-by-step repair guide will help you fix the top burner low flame issue on your GE JGBS66REKSS (Gas Range). With the right tools and parts, you can tackle this repair in 1–2 hours, saving yourself the cost of a service call.
🔨 Pro Tip from Dave
On the JGBS66REKSS, the burner orifice holder (part number WB28K10667) often gets coated with grease that hardens inside the orifice opening. Many DIYers clean the burner cap and head but overlook this crucial step. Use a single strand of wire or a fine needle to clear it—never use a drill bit, as it can enlarge the orifice and permanently affect the flame size. Always double-check that the burner cap is seated perfectly flat after cleaning, as even a slight tilt can lead to a weak or uneven flame.
Part of our Top 20 Oven Models & Common Repair Issues Guide. Browse all oven repair guides for related models and issues.
Common Symptoms & Causes
If your GE JGBS66REKSS gas range exhibits these symptoms, it’s likely you have a top burner low flame issue that needs addressing.
- Burner flame burns noticeably smaller than other burners on the same range
- Flame stays low even after turning the knob to the highest heat setting
- Food takes significantly longer to boil or heat on one specific burner
- Flame appears uneven or only ignites around part of the burner cap
These issues are commonly caused by a clogged burner port, a dirty or misaligned burner cap, or a partially obstructed gas orifice due to grease buildup or general wear over time.
Safety First
- Unplug the oven from the power outlet before starting any repair — never work on a live appliance.
- Wear work gloves when handling metal brackets, sheet metal edges, or sharp components.
- Take photos with your phone before disconnecting any wiring harnesses or connectors.
- Work in a well-lit area with enough floor space to lay removed panels flat.
Tools & Parts Needed
Essential Tools
- Phillips #2 screwdriver
- ¼” nut driver
- Multimeter
- Work gloves (heat-rated)
- Flashlight
Replacement Parts
- Burner orifice set
- soft brush
- compressed air
- pipe cleaner
Step-by-Step Repair Instructions
Step 1
Start by unplugging the range. Next, remove the grates, burner caps, and burner heads to expose the orifice — that small brass fitting at the center of the burner mounting post. Shine a flashlight directly into the orifice opening and check for spider webs, grease buildup, or rust, all of which can restrict gas flow and lead to a weak or uneven flame. This is often the main cause of low flame on this model, so a thorough inspection here is crucial.
Step 2
Use a pipe cleaner to clear any debris from the orifice—never use a metal drill bit, wire, or any rigid tool. The orifice is precisely calibrated to a specific diameter, and enlarging it even slightly can disrupt the gas-to-air mixture, creating a dangerous and uncorrectable flame. A pipe cleaner is firm enough to dislodge soft blockages like webs and grease without altering the orifice bore.
Step 3
After loosening debris with the pipe cleaner, blow compressed air through the orifice to flush out any remaining particles. Hold the can or nozzle close and use short bursts for concentrated pressure. This step ensures that debris dislodged during cleaning is fully expelled rather than pushed deeper into the gas line.
Step 4
If the orifice shows significant corrosion, pitting, or damage that cleaning can’t fix, replace it using a 7mm socket to remove the old fitting. Thread the new orifice in by hand first to avoid cross-threading, then snug it with the 7mm socket—stop as soon as it seats firmly, since overtightening can crack the brass threads and require replacing the mounting post as well. Replacement orifices for this model are inexpensive and readily available at most appliance parts suppliers.
Step 5
With the burner head still off, clean the small gas ports around its ring using a stiff brush and a burst of compressed air. Spider webs are a surprisingly frequent cause of port blockages, especially in spring and summer when spiders are active. A single clogged port can cause an uneven flame, even when the orifice is clear. Work around the full circumference of the burner ring to ensure every port is open.
Step 6
Reassemble the burner head, cap, and grates, restore the gas supply, and ignite the burner to evaluate the flame. A properly functioning burner should produce a steady blue flame with only small yellow tips at the very edges, and its height should be consistent with the adjacent burners on the range. If the flame remains low, uneven, or orange after this service, the issue may lie with the gas valve or pressure regulator, which requires a qualified technician.
Where to Buy Replacement Parts
- GE JGBS66REKSS gas burner orifice replacement WB28K10002
- GE gas range burner clog cleaning spider web orifice
- GE range weak flame all burners gas pressure test
When to Call a Professional
If the issue persists after performing the steps above, you may be dealing with a failed main control board, a defective temperature sensor, or wiring that requires specialized diagnostic equipment. It’s best to contact a licensed appliance technician. On gas models, never attempt repairs on the gas valve, burner orifices, or supply line—these tasks should be handled by a licensed gas fitter in most jurisdictions.
How Much Does This Repair Cost?
| Repair route | Typical cost |
|---|---|
| Do it yourself | $10–$50 (parts) |
| Professional repair | $150–$300 (parts and labor) |
DIY parts for fixing a low burner flame on your GE JGBS66REKSS typically cost between $10–$50, depending on whether you need a new burner cap, igniter, or gas valve. A professional service call for this repair usually runs $150–$300, including labor. Taking on this repair yourself can save you $100–$250 or more.
Frequently Asked Questions
Why is only one burner producing a low flame on my GE JGBS66REKSS?
A single low-flame burner usually points to a clogged burner cap or port rather than a gas supply issue. Remove the burner cap and clean the ports with a needle or thin wire to clear any food debris.
Could a dirty igniter cause a weak flame on this GE gas range?
Yes, a dirty or worn igniter can disrupt proper gas flow and flame height. Wipe the igniter gently with a dry cloth and inspect it for cracks or buildup.
Is low gas pressure a possible cause of a weak burner flame?
Low household gas pressure can reduce flame output on all burners simultaneously. If every burner is affected, contact your gas utility provider to check the supply pressure at your home.
Recommended Products
These are the parts and tools I recommend for this repair, based on compatibility and customer reviews:
- Upgraded Extra Large Surface Burner Cap & Burner Base Set Compatible with GE and Haier Gas Range/Cooktop,Replaces WB28K10222 WB16X24722 AP5986249 PS11726674 – Reliable and Precise Replacement Parts
- AIYOYOLIFE Gas Range Burner Cap 4.4″ & Burner Base 4″ Kit Compatible with GE Gas Range Stove Cooktop Fits X-Large Surface Burner Replace#: WB16X24722 WB28K10222 WB29K10222
The Burner Cap Replacement That Fixed Low Flame on This GE Model
If cleaning the orifice and cap doesn’t restore full flame, a warped or damaged burner cap is usually the next culprit on the JGBS66REKSS — and replacement caps are cheap enough that swapping them out is often faster than troubleshooting further. This extra-large cap set fits the GE’s top burners and comes with both the cap and burner base, so you’re not guessing about compatibility.
What works
- The cap sits flush on the burner base without rocking, which is critical for even gas distribution — I’ve seen warped OEM caps that looked fine but had tiny gaps that killed flame height.
- Port alignment is precise; the flame ports line up dead-center, ensuring you get the full ring of flame instead of concentrated spots or dead zones.
- Installation is literally a lift-and-drop job — no tools, no fiddling, and you know immediately if the new cap fixes the problem.
What doesn’t
- Aftermarket caps can sometimes sit slightly proud of the cooktop surface if your range’s burner wells aren’t perfectly level — it’s cosmetic, but worth checking fit before you ditch the old cap.
- If your low-flame problem is actually an orifice clog or gas line restriction, a new cap alone won’t fix it — you still need to diagnose the root cause first.
I once had a homeowner order three different cap kits before we figured out the real issue was the orifice, not the cap — so always light the burner and watch the flame pattern before assuming the cap is bad. That said, if the flame is uneven or weak across the whole ring, grab this burner cap set and swap it in; odds are you’ve found your fix.
About This Article

Written by Dave Holt. Dave Holt has been taking apart and fixing household appliances since he was a teenager who couldn't leave a broken one alone. Eighteen years later, after fixing things for neighbors, friends, and anyone who'd let him, he's seen almost every failure mode there is. When he writes a repair guide here, it's based on the actual job, not a manufacturer overview. More about this site.
Scope and limits. Dave is a self-taught repairer, not a certified appliance technician. Unplug before you open anything, and leave sealed refrigeration systems, gas connections, and hardwired circuits to a qualified technician.



