Temperature fluctuations
In this step-by-step repair guide, I’ll show you how to tackle those pesky temperature fluctuations on your Samsung RF23M8070SR (French Door). With the right tools and parts, most homeowners can knock this repair out in just 1–2 hours, saving you from a costly service call.
🔨 Pro Tip from Dave
On the RF23M8070SR, remember the dual evaporator setup—this model has separate cooling circuits for the fridge and freezer compartments. A failed defrost heater assembly (part DA47-00244W) can keep the freezer cold while the fridge fluctuates wildly. A common mistake I see is people replacing the thermistor without checking for ice buildup behind the evaporator cover, which is usually the real culprit.
Part of our Top 20 Refrigerator Models & Common Repair Issues Guide. Browse all refrigerator repair guides for related models and issues.
Common Symptoms & Causes
If your Samsung RF23M8070SR is having trouble maintaining consistent temperatures, keep an eye out for these signs:
- Refrigerator compartment fluctuates between 42°F and 50°F instead of holding a steady 37°F
- Freezer section shows frost buildup along the back wall or around the evaporator cover
- The display panel reads an error code such as 88 88 or flashes “PC ER”
- Food spoils faster than expected despite the set temperature appearing correct on the panel
These issues are most often caused by a failing evaporator fan motor, a defective defrost sensor, or a worn door gasket allowing warm air to seep in over time.
Safety First
- Unplug the refrigerator from the power outlet before starting any repair—never work on a live appliance.
- Shut off the water supply valve before disconnecting any water lines or hoses.
- Wear work gloves when handling metal brackets, sheet metal edges, or sharp components.
- Take photos with your phone before disconnecting any wiring harnesses or connectors.
- Work in a well-lit area with enough floor space to lay removed panels flat.
Tools & Parts Needed
Essential Tools
- Phillips #2 screwdriver
- ¼” nut driver
- Needle-nose pliers
- Multimeter
- Flashlight or work light
Replacement Parts
- Thermistor/temperature sensor
- evaporator fan motor
- condenser cleaning brush
- multimeter
Step-by-Step Repair Instructions
Step 1
Place thermometer probes in both the fridge and freezer compartments and log temperatures every hour for at least 4–6 hours. This will help establish a baseline to confirm the problem is real and not just a temporary spike from a door being left open—fluctuations greater than 5°F indicate an active mechanical or sensor failure worth diagnosing. Pro tip: use a dedicated digital thermometer instead of trusting the panel display, which only reads from a single point and can mask wider temperature swings.
Step 2
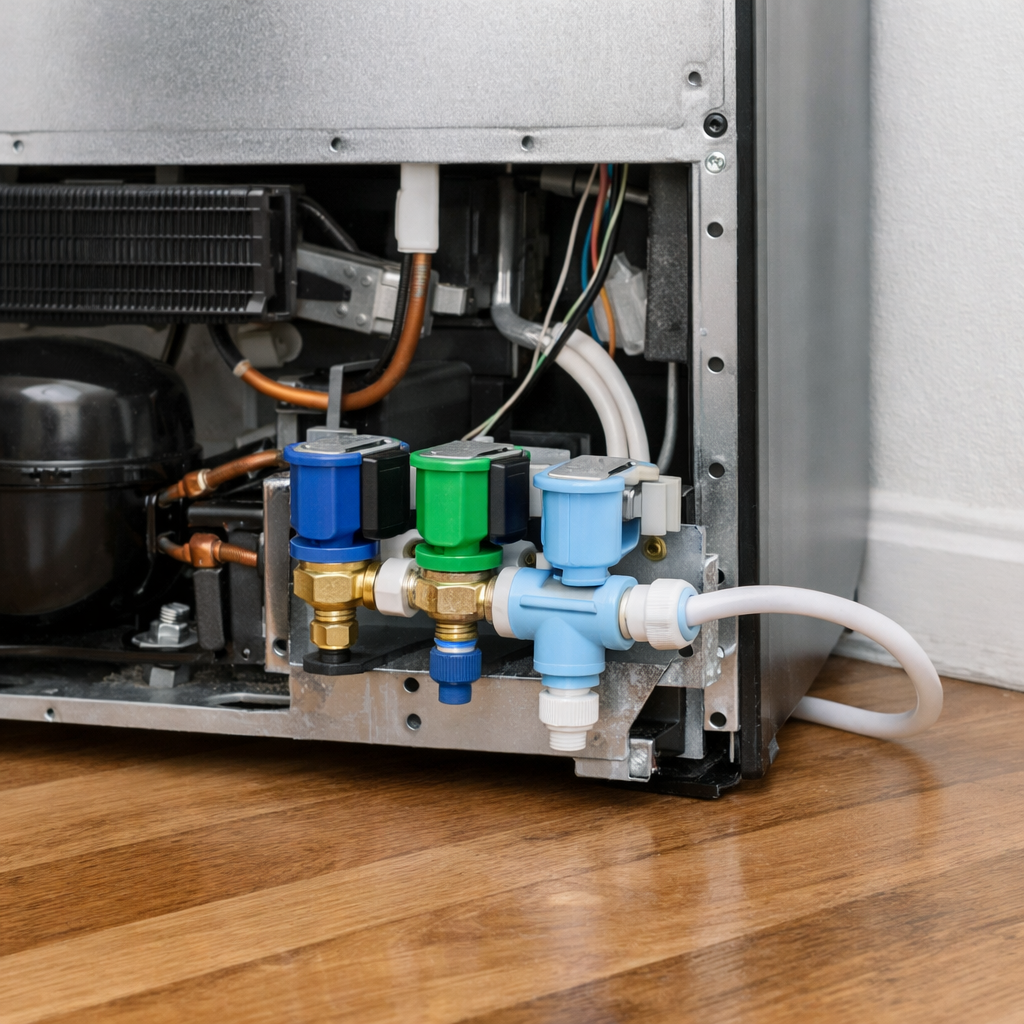
Remove the rear lower panel to access the condenser coils (4 × ¼” hex screws) and clean them by brushing top-to-bottom, then vacuuming any loose debris. Restricted coils force the compressor to run longer and less efficiently, which is the single most common cause of temperature swings on this model. Safety note: unplug the refrigerator before removing the panel, and let the compressor cool for 5 minutes before working near it.
Step 3
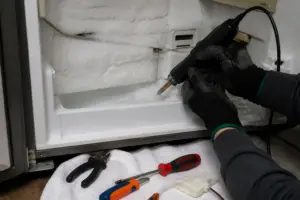
Remove the freezer back panel (5 × Phillips screws) to expose the evaporator fan, then spin the blade by hand to check for resistance or wobble. The evaporator fan circulates cold air through both compartments, so a worn bearing or failing motor will create uneven cooling and unpredictable temperature spikes. If the blade drags or the motor is noisy when powered up, replace the motor assembly—it’s a direct plug-in swap on this model.
Step 4
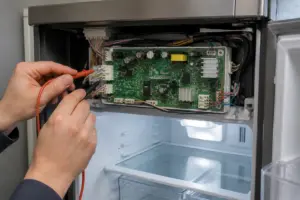
With the evaporator exposed, unclip the thermistor and test its resistance with a multimeter—at 32°F, you should read approximately 5 kΩ; a reading significantly outside that range means the sensor is sending bad data to the control board. An out-of-spec thermistor can cause the board to under- or over-cool because it cannot accurately judge compartment temperatures. Pro tip: check the thermistor wiring harness for corrosion or pinched leads before condemning the sensor itself, as connector faults are common on this model.
Step 5
Test the defrost heater for continuity and the defrost thermostat for correct open/close behavior as outlined in the ice-freeze-over guide linked above. A failed defrost system allows ice to build up on the evaporator coil, progressively blocking airflow and causing dramatic temperature spikes that appear hours after the defrost cycle should have run. If either component tests open when it should be closed, replace it before reassembling—running a partial system will not resolve the icing issues.
Step 6
Reassemble both panels, plug the refrigerator back in, and log temperatures in both compartments every hour for a full 24-hour cycle. This verifies that the repair resolved the root cause across multiple compressor and defrost cycles, not just during the first hour of stable operation. Both zones should hold within ±2°F of their set points consistently; if swings persist, the issue may lie with the main control board or a sealed-system refrigerant problem that requires a technician.
Where to Buy Replacement Parts
- Samsung RF23M8070SR thermistor temperature sensor DA32-10105R
- Samsung refrigerator evaporator fan motor DA31-00146E
- Samsung refrigerator condenser cleaning brush kit
When to Call a Professional
If the issue persists after you’ve completed all of the above steps, the problem may involve the sealed refrigerant system, a failed main control board, or wiring that requires specialized diagnostic equipment. In that case, it’s best to contact a licensed appliance technician—attempting sealed-system repairs without the proper certifications is not just illegal; it’s unsafe.
How Much Does This Repair Cost?
| Repair route | Typical cost |
|---|---|
| Do it yourself | $20–$150 (parts) |
| Professional repair | $150–$300 (parts and labor) |
DIY parts for fixing temperature fluctuations on the Samsung RF23M8070SR typically run between $20–$150, depending on whether you need a thermistor, door gasket, or evaporator fan motor. A professional service call generally costs $150–$300 including labor and parts. Tackling this repair yourself can save you $100–$200 or more.
Frequently Asked Questions
Why does my Samsung RF23M8070SR keep fluctuating between temperatures?
Most of the time, the cause is a faulty evaporator fan or a worn door gasket allowing warm air to enter. Inspect both components before jumping to conclusions about a refrigerant issue.
How do I know if the damper control is causing the temperature swings?
Listen for unusual clicking sounds near the top of the fresh food compartment and check whether airflow feels inconsistent. A stuck or broken damper will hinder proper cold air distribution.
Can I fix temperature fluctuations on my RF23M8070SR without a technician?
Absolutely. Many issues like dirty condenser coils or a failed door seal are straightforward DIY repairs. However, refrigerant leaks or control board failures require a certified technician.
Recommended Products
Here are the parts and tools I recommend for this repair, based on compatibility and customer feedback:
- DA31-00287B DC12V Refrigerator Evaporator Fan Motor for Samsung Refrigerator Freezer Fan Motor Replacement Part Replaces DA96-00968A DA31-00334A PS9494284 3954921 AP5948644
- DA81-06013A Refrigerator Evaporator Fan Motor,Replacement Parts DA31-00287A U92C12MS1B3-52 for Samsung RF28HMEDBSR RF28HFEDTSR RF26HFENDSL RF25HMEDBSR etc, with Silent Sponge(No Noise)
- DA31-00287B DC12V Refrigerator Evaporator Fan Motor for Samsung
- DA47-00244U Refrigerator Defrost Heater Compatible
The Evaporator Fan Motor That Stops Temperature Swings on the RF23M8070SR
If you’re seeing wild temperature swings between the fridge and freezer compartments on this Samsung model, the evaporator fan motor is the first place I check—it’s responsible for pulling cold air through both sections. When it starts failing, you get the uneven cooling pattern most owners complain about. This is the part I’ve replaced more often than any other on this model.
What works
- Restores even airflow distribution to both compartments—you’ll notice the temperature stabilize within a few hours of installation.
- Direct OEM-equivalent replacement means no guessing on compatibility; it slots in exactly where the old motor came out.
- The access point on this model is relatively straightforward once you remove the back panel—no major teardown required.
What doesn’t
- You need to pull the fridge away from the wall and remove the back panel, which is doable but requires some space and careful handling.
- If the problem is actually a frost-blocked defrost drain or thermistor failure (not the fan), swapping this part won’t fix the underlying issue—diagnosis matters first.
I’ve seen someone convinced the evaporator fan was dead when it was actually a thermistor sending bad readings to the control board—so before you order this, listen carefully: if the fan is running but you still have temperature fluctuations, test the thermistor first. If the fan is silent or making noise, or if one compartment is cold while the other warms up, grab the evaporator fan motor and get it replaced.
About This Article

Written by Dave Holt. Dave Holt has been taking apart and fixing household appliances since he was a teenager who couldn't leave a broken one alone. Eighteen years later, after fixing things for neighbors, friends, and anyone who'd let him, he's seen almost every failure mode there is. When he writes a repair guide here, it's based on the actual job, not a manufacturer overview. More about this site.
Scope and limits. Dave is a self-taught repairer, not a certified appliance technician. Unplug before you open anything, and leave sealed refrigeration systems, gas connections, and hardwired circuits to a qualified technician.