Fresh food temp off
In this guide, I’ll walk you through the steps to fix the fresh food temp off issue on your Whirlpool WRS325SDHZ (Side-by-Side). With the right tools and parts, most folks can handle this repair in just 1–2 hours, saving themselves from an expensive service call.
🔨 Pro Tip from Dave
For the WRS325SDHZ, the fresh food thermistor (part number WPW10316760) is located behind the rear wall panel and can easily be overlooked. Many technicians misdiagnose this as a sealed system issue. One common mistake is overlooking the damper door assembly (part W10714983) since it may seem functional at first glance but can fail intermittently under load. Always check the thermistor resistance with a multimeter; you’re aiming for about 16,600 ohms at 32°F.
Part of our Top 20 Refrigerator Models & Common Repair Issues Guide. Browse all refrigerator repair guides for related models and issues.
Common Symptoms & Causes
Here are the most noticeable signs that your Whirlpool WRS325SDHZ is having trouble keeping the fresh food compartment at the right temperature.
- Fresh food compartment reads warmer than the set temperature, often 45°F or higher
- Food and drinks feel lukewarm even when the refrigerator is running continuously
- Frost buildup is visible on the back wall of the fresh food section
- The freezer stays cold while only the refrigerator side warms up
Typically, this issue arises from a faulty damper control assembly, a defective thermistor, or a malfunction in the defrost system that hinders proper airflow into the fresh food compartment.
Safety First
- Unplug the refrigerator from the power outlet before starting any repair — never work on a live appliance.
- Shut off the water supply valve before disconnecting any water lines or hoses.
- Wear work gloves when handling metal brackets, sheet metal edges, or sharp components.
- Take photos with your phone before disconnecting any wiring harnesses or connectors.
- Work in a well-lit area with enough floor space to lay removed panels flat.
Tools & Parts Needed
Essential Tools
- Phillips #2 screwdriver
- ¼” nut driver
- Needle-nose pliers
- Multimeter
- Flashlight or work light
Replacement Parts
- Thermistor sensor
- air diffuser/damper
- main control board
- thermometer probe
Step-by-Step Repair Instructions
Step 1
First, confirm that the fresh food compartment is set to 37°F. Place a probe thermometer at mid-height in the center of the compartment—avoiding areas near the door or vents—and let it stabilize for at least 30 minutes. This step ensures that any temperature deviation you’re seeing is accurate and gives you a baseline before diving into the repair. A quick tip: avoid taking readings right after frequently opening the door, as outside air can skew your results.
Step 2
Check that no food items are blocking the air vents on the rear wall of the fresh food compartment, maintaining at least 1 inch of clearance around each vent. Blocked vents can impede cold air circulation and are one of the most common causes of uneven or elevated fresh food temperatures; fixing this requires no tools or parts. If you find any obstructions, rearrange items and recheck the temperature after 2–3 hours before proceeding with further diagnostics.
Step 3
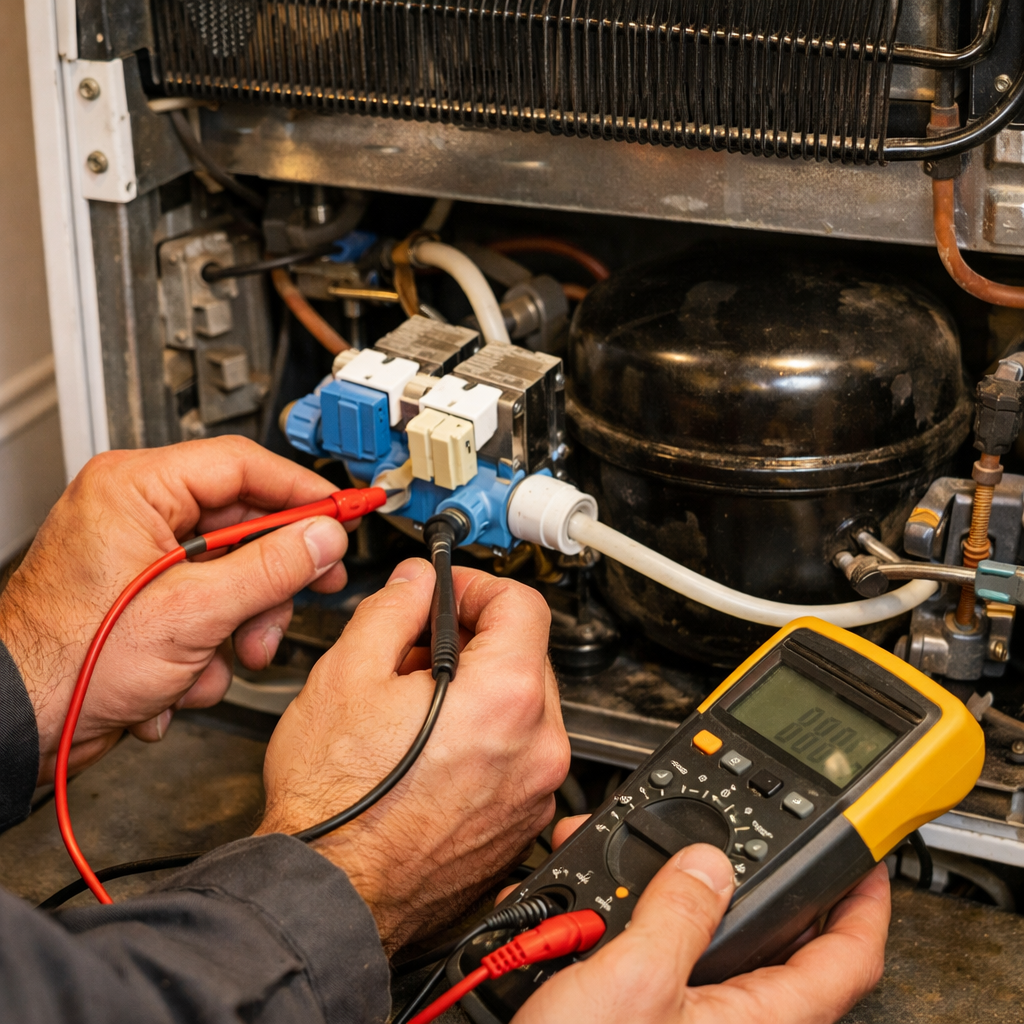
Next, test the fresh food thermistor, which is the sensor that informs the control board of the actual compartment temperature. If it’s malfunctioning, the board may not cool or over-cool the section properly. Ideally, at a target of 37°F, the thermistor should measure around 3kΩ resistance. If you get a reading outside this range, it indicates that the board is acting on incorrect data rather than responding to a genuine temperature issue. Remember, safety first: unplug the refrigerator before disconnecting the thermistor connector to avoid shorting the low-voltage circuit.
Step 4
Remove the 4 Phillips screws securing the fresh food rear panel to access the air diffuser duct. Inspect the flapper valve on the damper assembly, which regulates how much cold air flows from the freezer into the fresh food section. A stuck or broken flapper valve—either frozen open or closed—will cause the compartment to run too warm or too cold, regardless of whether other components are functioning correctly. If you see that the flapper is cracked, warped, or doesn’t move freely by hand, you’ll need to replace the damper assembly as a complete unit.
Step 5
With the refrigerator plugged back in and running, use a multimeter to test the main control board’s voltage output to the evaporator fan and compressor. This step will help you determine if control signals are reaching the right components. If the compressor is operational but the fresh food or freezer evaporator fan isn’t receiving voltage, it’s likely that a relay on the control board has failed, starving the compartment of circulated cold air. A safety note: use insulated probes and be cautious around live terminals—only probe the connector pins, not the board traces directly.
Step 6
Once you’ve reassembled the rear panel, plug the refrigerator back in and monitor the fresh food compartment temperature with your probe thermometer every 2 hours for a full 24-hour period. A single reading after reassembly isn’t reliable because the compressor cycles on and off, and temperatures naturally fluctuate. The 24-hour window will give you a true average and confirm whether the fix holds up under normal usage conditions. If the temperatures remain outside the 35–38°F range after 24 hours, double-check the damper and thermistor connections before considering replacing the control board.
Where to Buy Replacement Parts
- Whirlpool WRS325SDHZ thermistor sensor W10316760 replacement
- Whirlpool refrigerator damper control air diffuser
- Whirlpool refrigerator control board W11087990
When to Call a Professional
If the problem persists after following all the steps above, it may involve the sealed refrigerant system, a faulty main control board, or wiring issues that require specialized diagnostic equipment. In such cases, it’s best to contact a licensed appliance technician—attempting sealed-system repairs without proper certification is illegal and poses safety risks.
How Much Does This Repair Cost?
| Repair route | Typical cost |
|---|---|
| Do it yourself | $20–$120 (parts) |
| Professional repair | $150–$300 (parts and labor) |
The cost of DIY parts for fixing a fresh food temperature issue on the Whirlpool WRS325SDHZ typically ranges from $20–$120, depending on whether you’re replacing a thermistor, damper, or control board. In contrast, a professional service call usually costs $150–$300, including labor. Tackling this repair yourself can save you over $100 or more.
Frequently Asked Questions
Why is the fresh food section of my Whirlpool WRS325SDHZ too warm even though the freezer is fine?
A faulty evaporator fan or a blocked air damper often prevents cold air from reaching the fresh food compartment. Ensure that the damper opens freely and the fan operates properly.
How do I know if the thermistor is causing the temperature problem?
Test the thermistor with a multimeter—if the reading falls outside the expected resistance range, it needs replacing. A malfunctioning thermistor sends inaccurate temperature readings to the control board.
Can overpacking my refrigerator cause fresh food temperature issues?
Absolutely, overcrowding can block air vents and restrict cold airflow throughout the fresh food compartment. Rearranging items to keep vents clear will help ensure proper circulation.
The Damper Control That Restores Airflow to Your Fresh Food Section
If your fresh food compartment is running warm while the freezer stays cold, the damper assembly is usually the culprit—it controls how much cold air flows from the freezer into the fresh food section, and when it fails or gets stuck, you lose temperature control on one side. This is the first part I replace on this model before I even pull a multimeter.
What works
- Installs in under 20 minutes once you access the back panel—no special tools needed, just a Phillips screwdriver and patience with the clips.
- Temperature difference between fresh food and freezer returns to normal within a few hours after installation; you’ll notice the fresh food compartment actually getting cold again.
- Genuine OEM part means it matches the exact airflow design Whirlpool engineered for this model—aftermarket dampers sometimes don’t seal as tightly.
What doesn’t
- You have to remove the refrigerator’s rear access panel, which means unplugging and pulling the unit away from the wall—not a job for someone in a tight kitchen space.
- If your thermistor sensor is actually the problem (less common, but it happens), swapping the damper won’t fix anything—that’s why I always test temperature readings at both compartments before ordering parts.
I’ve had homeowners order a new thermistor first because they found conflicting advice online, only to discover the damper was the real issue after installation failed to solve the problem. Save yourself a return trip and grab the air diffuser/damper if your fresh food is running consistently warm while the freezer works fine.
About This Article

Written by Dave Holt. Dave Holt has been taking apart and fixing household appliances since he was a teenager who couldn't leave a broken one alone. Eighteen years later, after fixing things for neighbors, friends, and anyone who'd let him, he's seen almost every failure mode there is. When he writes a repair guide here, it's based on the actual job, not a manufacturer overview. More about this site.
Scope and limits. Dave is a self-taught repairer, not a certified appliance technician. Unplug before you open anything, and leave sealed refrigeration systems, gas connections, and hardwired circuits to a qualified technician.