
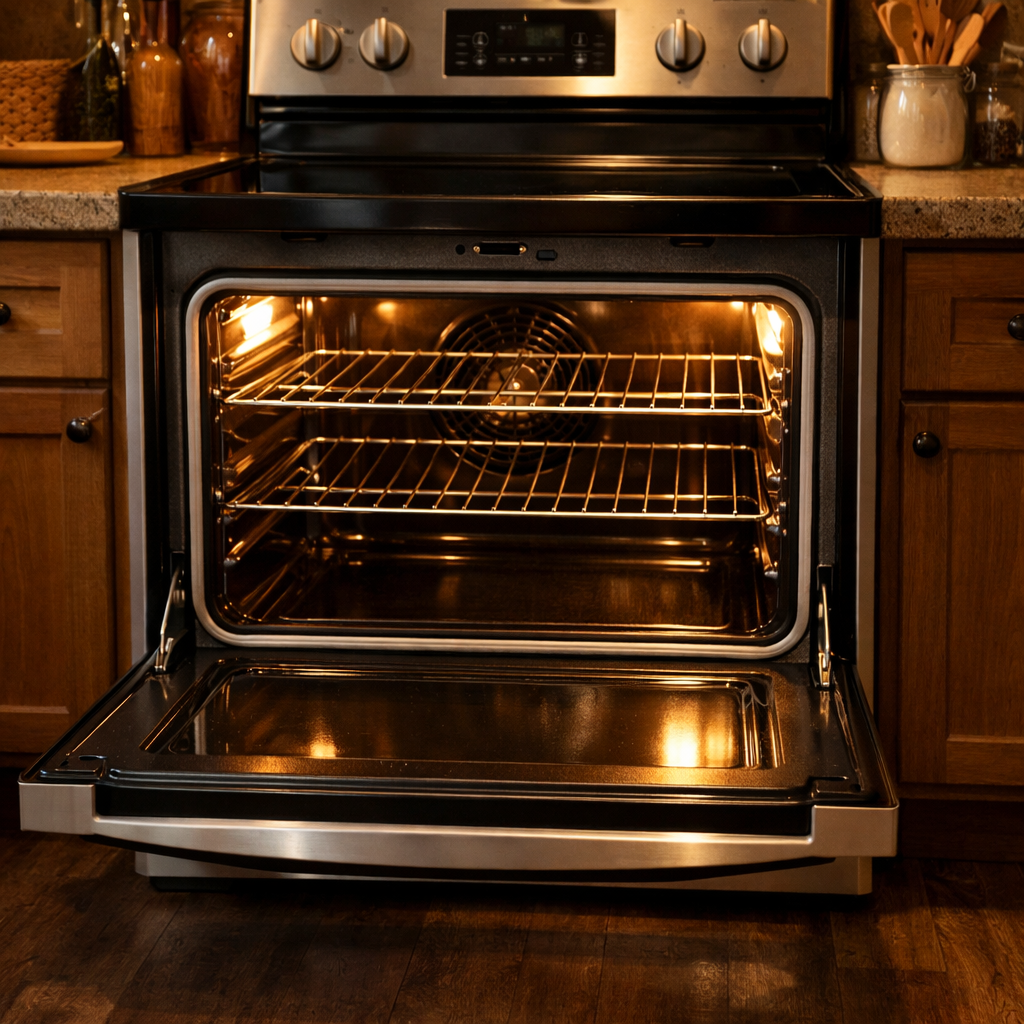
Self-clean door latch
In this step-by-step repair guide, I’m going to walk you through fixing the self-clean door latch on your Maytag MEW9530FZ (Wall Oven). With the right tools and parts, most homeowners can complete this repair in 1–2 hours and avoid a costly service call.
🔨 Pro Tip from Dave
For the MEW9530FZ, the door latch assembly part number W10811165 is the one you want. Don’t make the mistake of ordering just the latch motor alone, because the bracket and switch are integrated and must be replaced as a unit. A hidden gotcha on this model is that the latch can appear mechanically fine, but the microswitch inside may have failed, so always test continuity on the switch before assuming the motor is the culprit.
Part of our Top 20 Oven Models & Common Repair Issues Guide. Browse all oven repair guides for related models and issues.
Common Symptoms & Causes
If your Maytag MEW9530FZ is experiencing a faulty self-clean door latch, you may notice one or more of the following symptoms:
- The oven door won’t lock when the self-clean cycle is selected
- The display shows an F5 or F5-E1 error code during or after a clean cycle
- The self-clean cycle starts but immediately cancels without completing
- The oven door remains locked after the self-clean cycle has fully finished
These issues are most commonly caused by a worn or broken latch motor assembly, a faulty latch switch, or a damaged wiring harness connection leading to the door lock mechanism.
Safety First
- Kill power at the breaker panel and lock or tag it out; then verify the oven is dead with a contact voltage tester. A hardwired wall oven cannot be unplugged — never work on a live appliance.
- Wear work gloves when handling metal brackets, sheet metal edges, or sharp components.
- Take photos with your phone before disconnecting any wiring harnesses or connectors.
- Work in a well-lit area with enough floor space to lay removed panels flat.
Tools & Parts Needed
Essential Tools
- Phillips #2 screwdriver
- ¼” nut driver
- Multimeter
- Work gloves (heat-rated)
- Flashlight
Replacement Parts
- Door lock motor
- latch assembly
- Phillips screwdriver
- multimeter
Step-by-Step Repair Instructions
Step 1
First, disconnect power at the breaker before touching any components — the door lock motor operates on 120V, and contact can be lethal. To determine if the motor is the issue, remove the top rear panel (secured by 4 × ¼” hex screws) and put your multimeter on ohms across the motor terminals with the breaker still off. If the winding reading matches the service-sheet spec, the motor is good; if it shows OL (open winding) or near zero (shorted winding), it means the motor has failed and needs replacement.
Step 2
If the oven has cooled but the door remains locked, it’s likely that the motor or control board failed during the last cycle, leaving the latch engaged. You’ll need to release it manually before servicing anything. Insert a flat-head screwdriver into the access slot at the top rear of the oven and rotate the latch arm counter-clockwise to manually disengage the lock. A pro tip: this slot is designed for exactly this situation, so avoid forcing the door itself, as that could bend the latch rod.
Step 3
To replace the door lock motor, disconnect the wiring harness, remove the 2 Phillips screws securing the motor, and carefully detach the latch rod clip. Make a note of its orientation before removal so you can install the new motor correctly. A misaligned latch rod clip is one of the most common causes of a newly installed motor failing to lock or unlock the door smoothly.
Step 4
Before reassembling everything, ohm the new motor across its terminals to confirm it reads in spec. This step ensures you catch a defective replacement part before putting everything back together. Next, move the latch arm through its full range of motion by hand to check that it travels without binding, which would indicate that the rod clip or latch mechanism needs adjustment.
Step 5
Restore power at the breaker and run a 1-hour Self Clean cycle to validate the full repair under real operating conditions. The door should lock automatically at the start of the cycle and release only after the oven cools below approximately 300°F. If the door fails to lock at the start or remains locked after cool-down, then the issue may lie with the door lock switch signal back to the control board, not the motor itself.
Where to Buy Replacement Parts
- Maytag MEW9530FZ door lock motor WPW10183827 replacement
- Maytag wall oven self-clean door latch assembly WPW10396003
- Maytag oven door unlock stuck after self-clean
When to Call a Professional
If the issue persists after you’ve completed all the steps above, the problem may involve a failed main control board, a defective temperature sensor, or high-limit thermostat, or wiring that requires specialized diagnostic equipment. In such cases, it’s wise to contact a licensed appliance technician. For gas models, do not attempt work on the gas valve, burner orifices, or supply line — that work is restricted to a licensed gas fitter in most jurisdictions.
How Much Does This Repair Cost?
| Repair route | Typical cost |
|---|---|
| Do it yourself | $20–$65 (parts) |
| Professional repair | $150–$300 (parts and labor) |
Replacing the self-clean door latch on a Maytag MEW9530FZ typically costs $20–$65 in parts if you do it yourself. A professional service call for the same repair usually runs $150–$300, including labor and parts. Taking the DIY route can save you over $100, making this a worthwhile fix for most homeowners.
Frequently Asked Questions
Is it safe to manually unlock the door latch if the self-clean cycle gets stuck on my Maytag MEW9530FZ?
You should never force the latch open while the oven is still hot, as this can damage the latch mechanism or cause burns. Always wait until the oven cools below 200°F before attempting any manual release.
How do I know if the door latch motor needs replacing versus just cleaning?
If the latch moves freely by hand but fails during the self-clean cycle, the motor or control board is likely the issue. A latch that feels physically stuck or grinding usually indicates debris buildup or a broken mechanical component.
Will replacing the door latch on my MEW9530FZ require professional installation?
Most homeowners with basic tools can replace the latch assembly by removing the inner door panel and disconnecting a single wiring harness. However, if the control board is involved, professional service is recommended.
Recommended Products
Here are some parts and tools I recommend for this repair, based on compatibility and customer reviews:
- Dishwasher Door Latch Handle Black Replacement for Whirlpool Maytag Dishwasher Parts W10130695 Quiet Series 300 Handle WPW10275768 WPW10130695 W10275768
- PartsBroz WPW10130695 Door Latch Assembly with Switch W10130695 for Maytag Dishwasher Door Handle, Whirlpool, Jenn Air Dishwasher Handle, Amana Dishwasher Parts PS11748729 MDB5601AWQ MDBH940AWB
- WPW10610880 W10610880 Cloth Dryer Catch Replacement for Whirlpool Maytag Dryer Door Latch Parts W10610880 W10529190 W10696503 AP6023380 MEDB835DW4
- 316137500 – ClimaTek Direct Replacement for Kenmore Oven Door Latch Motor Assembly
The Door Lock Motor That Actually Solves the Stuck Self-Clean Latch on MEW9530FZ
If your oven door won’t unlock after a self-clean cycle, or the latch motor is grinding without engaging, this is the part that needs to come out. I’ve seen too many people waste time troubleshooting the control board or door switch when the motor assembly itself has just burned out from the thermal stress of repeated self-clean runs.
What works
- Direct fit for the MEW9530FZ — no adapter cables or modification needed, which saves a frustrating hour of troubleshooting compatibility.
- The motor gear teeth are factory-matched to the latch mechanism, so you get smooth engagement on the first try instead of the grinding noise that signals the old motor is done.
- Solves both the stuck-locked and won’t-engage problems that plague this model, since the motor is doing all the mechanical work — if it’s dead, nothing moves.
What doesn’t
- You still have to remove the inner door panel and partially disassemble the latch bracket to access the motor bolts — it’s not a five-minute swap on this model.
- If your problem is actually a stuck mechanical latch arm or a cracked bracket, this motor won’t fix it, so you need to visually inspect the assembly before ordering.
I once had a homeowner order the control board first because they assumed the electronics were bad — turned out the motor was burned out and the control was sending the signal just fine, it was just going nowhere. Save yourself that shipping cost and test the motor with power before you assume the whole system is fried. Door lock motor
About This Article

Written by Dave Holt. Dave Holt has been taking apart and fixing household appliances since he was a teenager who couldn't leave a broken one alone. Eighteen years later, after fixing things for neighbors, friends, and anyone who'd let him, he's seen almost every failure mode there is. When he writes a repair guide here, it's based on the actual job, not a manufacturer overview. More about this site.
Scope and limits. Dave is a self-taught repairer, not a certified appliance technician. Unplug before you open anything, and leave sealed refrigeration systems, gas connections, and hardwired circuits to a qualified technician.



