
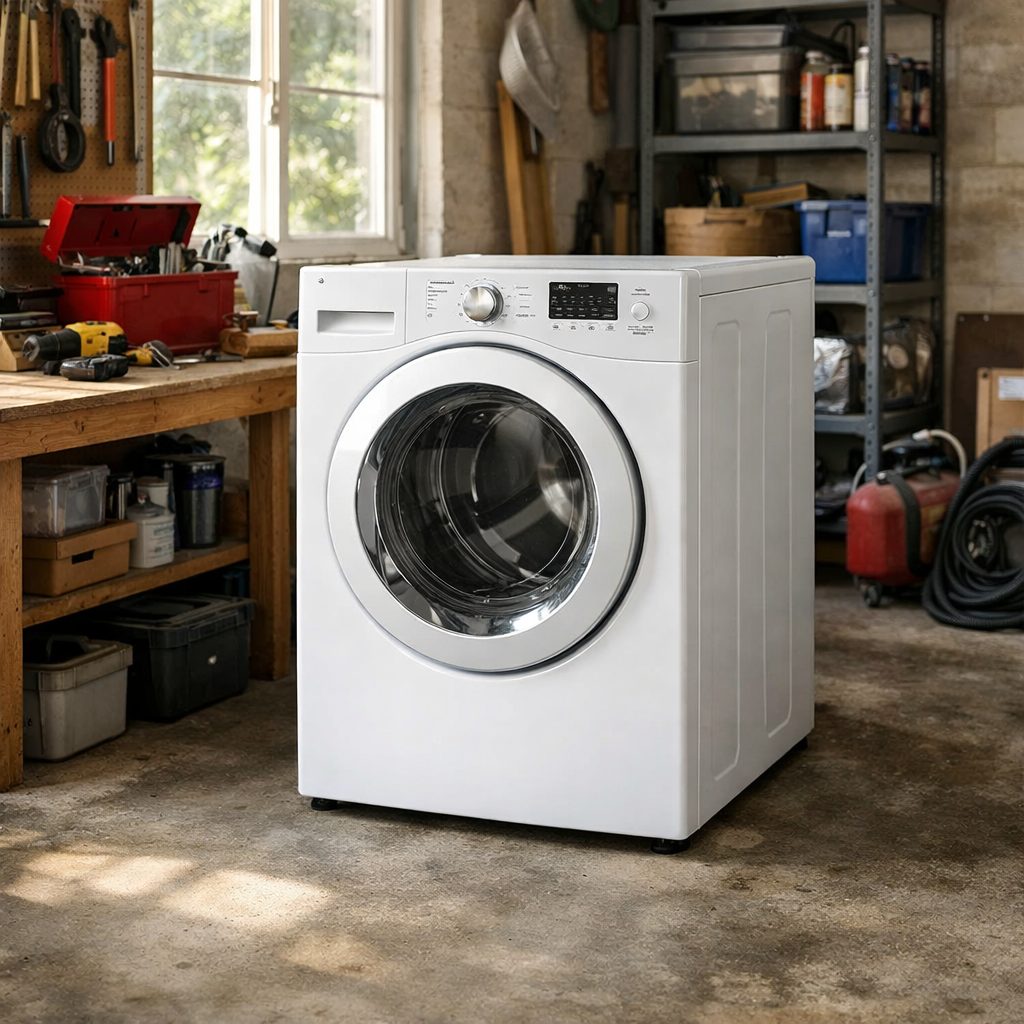
Rubber Door Seal Mold
In this step-by-step guide, I’m going to walk you through fixing rubber door seal mold on your Electrolux EFLS627UTT (Front Load). With the right tools and parts, you can complete this repair in about 1–2 hours, saving yourself the cost of calling a technician.
🔨 Pro Tip from Dave
On the EFLS627UTT, the door boot seal part number is 134515300. It’s crucial to get this exact part, as aftermarket seals often don’t seat correctly, leading to leaks. I often see people overlook the inner wire retaining ring during reinstallation; this ring must be fully reseated, or you risk it blowing out mid-cycle. Also, check the small drain holes at the bottom of the gasket fold — they can clog up frequently on this model and are often the root cause of recurring mold problems.
Part of our Top 20 Washing Machine Models & Common Repair Issues Guide. Browse all washing machine repair guides for related models and issues.
Common Symptoms & Causes
If your Electrolux EFLS627UTT has rubber door seal mold, look for these signs:
- Black or dark grey spots on the rubber gasket around the door opening
- A musty or mildew smell coming from inside the drum after a wash cycle
- Clothes smelling sour or damp right after washing
- Visible pink or orange slime buildup in the folds of the door seal
This issue is usually caused by moisture getting trapped inside the gasket folds along with detergent residue, creating a perfect breeding ground for mold and mildew over time.
Safety First
- Unplug the washing machine before starting any repair — never work on a live appliance.
- Shut off the water supply valve before disconnecting any water lines or hoses.
- Wear work gloves when handling sharp components.
- Take photos before disconnecting any wiring harnesses.
- Work in a well-lit area with enough space to lay removed panels flat.
Tools & Parts Needed
Essential Tools
- Phillips #2 screwdriver
- ¼” nut driver
- Torx T20 screwdriver
- Multimeter
- Bucket and towels
Replacement Parts
- Door boot seal
- Mold/mildew cleaner
- Door boot seal kit with retaining clamp & spring
- Rubber gloves
Step-by-Step Repair Instructions
Step 1
First, mix 1 cup of white vinegar with 1 cup of baking soda and apply the solution to all mold-affected areas of the boot seal. Let it sit for 15 minutes before wiping it clean. This process kills surface mold spores and may save you from needing a full seal replacement. Make sure to work the cloth into visible discoloration thoroughly because any incomplete cleaning might lead to rapid regrowth. Pro tip: wear rubber gloves and eye protection, as the fizzing reaction can splash.
Step 2
Inspect the boot seal by pulling back the deep folds all around. Look for black mold that has penetrated into the rubber itself, not just discoloring the surface. If you find that the rubber is stained black in the folds after cleaning, it means the mold has taken hold, and surface treatment won’t fix it. If the seal looks fine, you can skip to Step 6.
Step 3
Open the door and peel the outer lip of the boot seal off the front panel flange all the way around. Use needle-nose pliers to remove the wire spring retaining ring that’s seated in that channel. Push the freed boot inward through the door opening into the drum, then pull the inner edge of the seal off the tub flange to fully remove it. A safety note: the wire spring retaining ring is under tension — handle it carefully to avoid it snapping free.
Step 4
Before installing the new seal, wipe down both the tub flange and the front panel flange with a mold-killing cleaner and let them dry completely. This step ensures that any residual spores or debris are removed, preventing immediate re-contamination. Pro tip: use a dry lint-free cloth on the flanges after cleaning to help the new seal seat evenly.
Step 5
Press the inner edge of the new boot seal firmly onto the tub flange all the way around, making sure the drain hole at the bottom aligns with the tub drain port. Misalignment can cause water to pool inside the seal, which speeds up mold growth. Stretch the outer lip of the seal over the front panel flange, and then reinstall the wire spring retaining ring starting at the 6-o’clock position and working clockwise to distribute tension evenly. Run a short rinse cycle to check for any lifted edges or leaks before returning the machine to normal use.
Step 6
Run a dedicated Tub Clean cycle monthly using baking soda and vinegar to flush out detergent residue and kill any developing mold colonies before they become visible. Residue buildup is the primary food source for mold on front-load seals. After every wash cycle, leave the door ajar to allow the drum and the seal interior to dry, as a closed front-load washer retains enough moisture for mold growth to occur within days. Pro tip: also wipe the boot seal folds dry with a towel after your last load of the day for maximum prevention.
Where to Buy Replacement Parts
- Electrolux EFLS627UTT door boot seal 134515300 replacement
- Washing machine door gasket mold cleaner front loader
- 5304505004 Electrolux door seal gasket replacement kit with retaining clamp & spring
When to Call a Professional
If you’ve followed all these steps and the issue persists, it may involve a failed main control board, a worn drive motor, or other complex issues that require specialized diagnostic equipment. In that case, contact a licensed appliance technician. Don’t forget to shut off the hot and cold supply valves before any work that opens the fill circuit.
How Much Does This Repair Cost?
| Repair route | Typical cost |
|---|---|
| Do it yourself | $30–$80 (parts) |
| Professional repair | $150–$300 (parts and labor) |
Replacing the rubber door seal for the Electrolux EFLS627UTT typically costs $30–$80 in parts if you tackle the repair yourself. If you hire a professional, service calls usually range from $150–$300, including labor and parts. Choosing the DIY route can save you $100–$220, making it a smart fix for most homeowners.
Frequently Asked Questions
Can I use bleach to clean the mold off my Electrolux EFLS627UTT door seal?
Yes, a diluted bleach solution is effective for cleaning mold off the rubber door seal. Just apply it with a cloth, let it sit for a few minutes, then wipe thoroughly and run a rinse cycle.
Will the mold damage the rubber seal permanently if left untreated?
Yes, if mold growth is prolonged, it can degrade the rubber gasket, leading to cracks or tears that cause leaks. Address mold as soon as you spot it to extend the seal’s lifespan.
How do I prevent mold from returning on my Electrolux EFLS627UTT?
After each cycle, leave the washer door slightly open to let moisture escape. Regularly wipe the door seal dry and run a monthly cleaning cycle with a washing machine cleaner.
Recommended Products
Here are the parts and tools I recommend for this repair based on compatibility and customer reviews:
- 5304505004 Electrolux and Frigidaire Washer Door Seal Gasket Replacement Kit with Retaining Clamp, Spring Clamp, and Gloves, Fits EFLS617STT0, EFLS627UTT1, EFLS517SIW0, 5304505239, 5304516744
- ACTIVE Mold Stain Remover Gel Cleaner Heavy Duty Stain Cleaner for Front Loader Washing Machine Seal, Bathroom Grout, Shower, Caulk – Front Load Washer Cleaning Solution – 7 Fl Oz
The Door Seal Replacement Kit That Saves You Hours on the EFLS627UTT
If cleaning the existing gasket didn’t eliminate the mold or if the rubber is already showing cracks and deterioration, you’re looking at a full door boot seal replacement. This kit has everything you need in one box, so you won’t be hunting down the retaining clamp and spring separately.
What Works
- Comes with the correct retaining clamp and spring for the EFLS627UTT, so you don’t have to order parts from multiple suppliers and wait for the slowest one to arrive.
- The new gasket material is noticeably thicker and more durable than OEM seals I’ve pulled from these machines after a few years — mold tends to creep back in faster on the thinner factory rubber.
- Includes work gloves, which actually matter because the old seal is grimy and the metal spring is sharp; it saves you from scraping your hands raw getting it off.
What Doesn’t
- Installation still requires dropping the front panel and unbolting the door boot from the tub — it’s not a 10-minute job, so budget 45 minutes to an hour if you’re careful and methodical.
- The clamp mechanism can be fussy to get seated evenly; if you don’t nest it correctly, the door will leak on your next wash, so take photos of the old setup before you pull it apart.
I’ve seen owners try to save $30 by buying just a bare gasket and reusing the old spring and clamp. Nine times out of ten, the spring has lost tension or the clamp doesn’t seal evenly with the new rubber, and they end up ordering this kit anyway after their first flooded load. Grab the complete 5304505004 Electrolux door seal gasket replacement kit and do it right the first time.
About This Article

Written by Dave Holt. Dave Holt has been taking apart and fixing household appliances since he was a teenager who couldn't leave a broken one alone. Eighteen years later, after fixing things for neighbors, friends, and anyone who'd let him, he's seen almost every failure mode there is. When he writes a repair guide here, it's based on the actual job, not a manufacturer overview. More about this site.
Scope and limits. Dave is a self-taught repairer, not a certified appliance technician. Unplug before you open anything, and leave sealed refrigeration systems, gas connections, and hardwired circuits to a qualified technician.


