
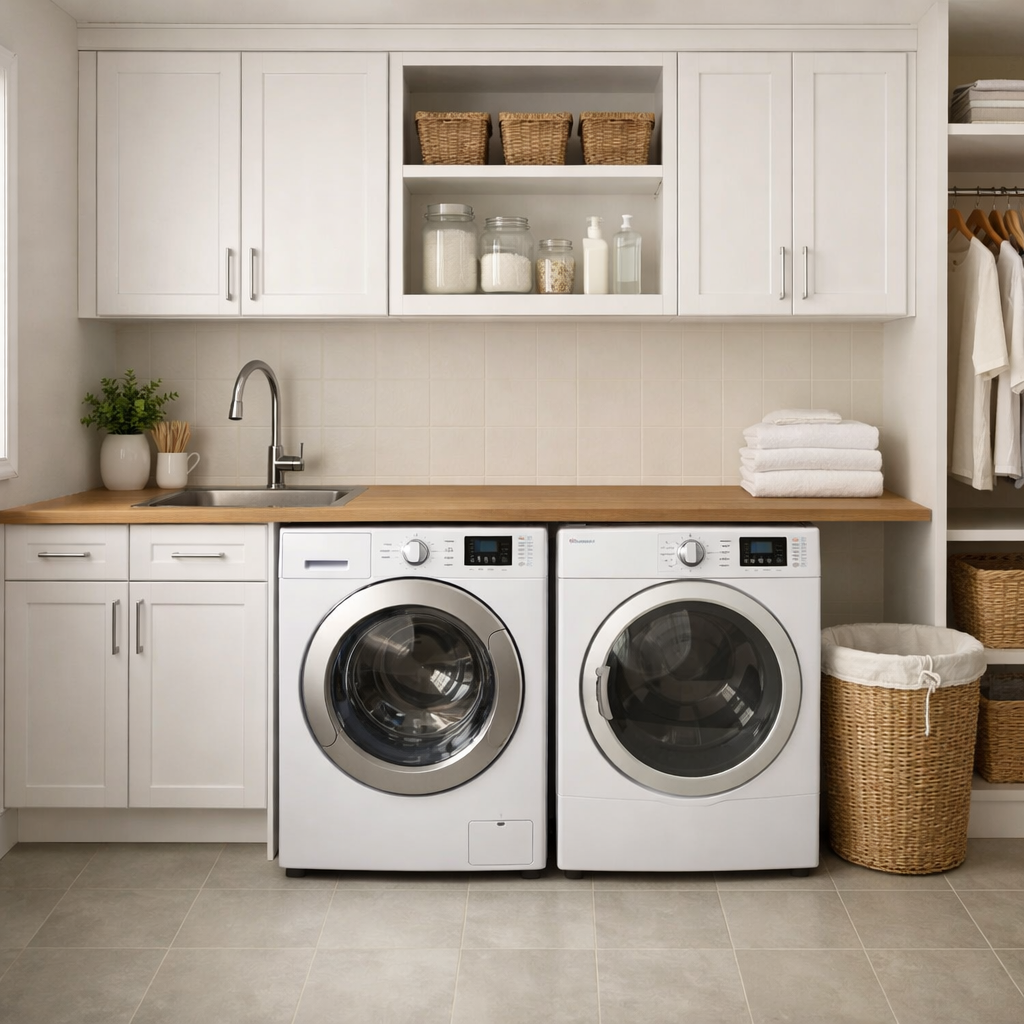
DE2 error — door open during cycle
This step-by-step repair guide will help you resolve the DE2 error — door open during cycle on your LG WM9000HVA (Front Load). With some basic tools and the right parts, most homeowners can complete this repair in 1–2 hours, saving you the cost of a service call.
🔨 Pro Tip from Dave
On the WM9000HVA, the door latch assembly part number is AEQ73110212. A common mistake I see is assuming the latch itself is fine just because the door feels snug. Always test the door lock switch for continuity with a multimeter before ordering parts. A failed switch inside the assembly can trigger DE2 even if the latch looks perfect. Also, be sure to check the door hinge pins for wear, as a slightly sagging door can prevent full latch engagement.
Part of our Top 20 Washing machine Models & Common Repair Issues Guide. Browse all washing machine repair guides for related models and issues.
Common Symptoms & Causes
If your LG WM9000HVA is showing a DE2 error, you may notice one or more of the following symptoms during operation:
- The washer display shows “DE2” and the cycle stops mid-wash
- The door appears fully closed but the machine will not resume spinning
- The control panel beeps repeatedly and the start button becomes unresponsive
- The drum fails to fill with water after the door is shut and the cycle is started
This error is usually caused by a worn or misaligned door latch assembly, a faulty door lock switch, or a damaged wiring harness connection between the door lock mechanism and the main control board.
Safety First
- Unplug the washing machine from the power outlet before starting any repair — never work on a live appliance.
- Shut off the water supply valve before disconnecting any water lines or hoses.
- Wear work gloves when handling metal brackets, sheet metal edges, or sharp components.
- Take photos with your phone before disconnecting any wiring harnesses or connectors.
- Work in a well-lit area with enough floor space to lay removed panels flat.
Tools & Parts Needed
Essential Tools
- Phillips #2 screwdriver
- ¼” nut driver
- Torx T20 screwdriver
- Multimeter
- Bucket and towels
Replacement Parts
- Door lock assembly
- door boot seal (if torn)
- door hinge
- T20 Torx driver
Step-by-Step Repair Instructions
Step 1
First things first—unplug the washer to eliminate any risk of shock. Inspect the door boot seal along the inner drum lip, especially in the fold area. A tear here can allow drum pressure during the spin cycle to push the seal outward, which the machine interprets as an open door and triggers the DE2 error. Run your finger slowly around the entire fold to feel for hidden splits that might be missed visually.
Step 2
Next, examine the door latch strike plate for warping, wear, or misalignment. If the strike is even slightly off-center, the lock mechanism cannot fully engage, and the washer will register the door as open. Close the door slowly and watch whether the strike enters the latch pocket cleanly. Any deviation means the strike needs realignment or replacement. A strike that looks fine from a distance often shows wear grooves up close that confirm it has been catching incorrectly.
Step 3
Now, access the door lock assembly by carefully peeling back the boot seal lip and removing the two Phillips screws that secure the lock to the front panel. Test the lock solenoid on the Rx1 setting of your multimeter. A reading of open (OL or no continuity) means the solenoid has failed, and the lock must be replaced. A faulty solenoid prevents the lock from confirming secure door closure to the control board. Always discharge any residual capacitor voltage by leaving the unit unplugged for two minutes before probing internal components.
Step 4
Check the door hinges by fully opening the door and then closing it. Watch for any drop in the door’s vertical position. A drop of 3mm or more indicates that the hinges are loose or worn, which shifts the striker out of alignment with the latch and causes intermittent DE2 errors. Tighten all three T20 Torx hinge screws and retest the door movement. If the hinge is bent or cracked, replace it entirely because tightening alone will not restore correct alignment. A straightedge held against the door face while closing is a quick way to confirm whether the door is dropping.
Step 5
Once you restore power temporarily, run the washer with the door closed and observe the boot seal at the door rim during the spin portion of a cycle. Any visible ballooning or billowing of the seal outward confirms there is a tear allowing air and pressure to escape. This test is particularly useful for catching small fold tears that didn’t feel obvious during the manual inspection in Step 1. Safety note: keep hands and loose clothing clear of the door area during spin observation.
Step 6
Finally, fully restore power, select a Heavy Duty cycle, and run it to completion. This cycle uses the highest spin speed and water level, making it the most reliable test to confirm that the DE2 error has been resolved. If the error does not reappear, you’re all set! If it does return, the fault is likely intermittent contact at the door lock wiring harness connector, which should be unplugged, inspected for corrosion or bent pins, and reseated before condemning the control board.
Where to Buy Replacement Parts
- LG WM9000HVA door lock assembly 6601ER1004D
- LG front load washer door boot seal 4986ER0004F
- LG washer door hinge replacement AGM73029901
When to Call a Professional
If you complete all the steps above and the issue persists, the problem may involve a failed main control board, a worn drive motor or bearing assembly, or wiring that requires specialized diagnostic equipment. In that case, I recommend contacting a licensed appliance technician. Also, don’t forget to shut off both the hot and cold supply valves before any work that opens the fill circuit.
How Much Does This Repair Cost?
| Repair route | Typical cost |
|---|---|
| Do it yourself | $15–$60 (parts) |
| Professional repair | $150–$300 (parts and labor) |
DIY parts for a DE2 door error, such as a replacement door latch or strike, typically run $15–$60. A professional service call on the LG WM9000HVA generally costs $150–$300 when you factor in labor and diagnostic fees. Fixing it yourself can save you $100 or more on this straightforward repair.
Frequently Asked Questions
Can I reset the DE2 error without calling a technician?
Yes — unplug the LG WM9000HVA for 30 seconds, then restart the cycle. If the DE2 error returns, the door latch or wiring likely requires physical inspection.
Is it safe to keep running my washer with a DE2 error?
No. The machine stops the cycle intentionally to prevent water leaks. Continuing to force operation can damage the door seal or internal components.
How much does it cost to replace the door latch on an LG WM9000HVA?
Replacement door latch assemblies typically cost $20–$50 in parts. DIY installation is straightforward and can save you a $100+ service call fee.
Recommended Products
These are the parts and tools I recommend for this repair, based on compatibility and customer reviews:
- EBF61315802 Washer Door Lock Switch with MFG63099101 Strike – for LG WM3770HVA WM3770HWA WM9000HVA & Kenmore 79641262610, Replaces EBF62534401 Door Latch
- WM3670HVA Washer Door Latch Lock and Strike Hook Fit for L.G Front Load WM3770HVA WM3700HWA WM3670HWA WM3400CW WM3270CW WM3500CW WM3700HVA WM3770HWA WM3080CW WM3570HWA WM3600HVA WM3370HWA WM3570HVA
- BigHead EBF61315802 Washer Door Lock Switch & MFG63099101 Washer Door Lock Strike Assembly Compatible with LG Kenmore Washing Replaces WM3670HVA WM3770HVA WM8000HVA WM4000HWA WM3600HVA
- EBF61315802, PD00008063 Washer Door Lock Switch Assembly for LG Washer WKE100HWA, WM3080CW/00, WM4500HBA/00, WM3998HBA, WKGX201HBA/00, WM3700HWA/03
The Door Lock Switch That Actually Stops the DE2 Error on Your WM9000HVA
The door lock switch is the culprit in about 80% of the DE2 errors I see on this model—it’s what tells the washer that the door is actually closed and latched. If it’s worn out or stuck, the machine thinks the door flew open mid-cycle even when it’s sealed tight.
What works
- The strike assembly (MFG63099101) is included with this kit, so you’re replacing both the switch and the mating part on the door frame—no guessing which one failed.
- Install time is under 20 minutes once you remove the front panel; the part clips in cleanly with no wiring, just two screw connections that line up the same way they came off.
- After install, the door closes with a solid mechanical click again instead of that sloppy half-engaged feel you get when the switch is worn.
What doesn’t
- You’ll need to access the front panel of the washer, which means tilting it forward or pulling it away from the wall—not a one-person job if your machine is wedged in tight.
- If your DE2 error is actually from a torn door boot seal or a bent door hinge, this switch won’t fix it—those issues cause actual water leaks or genuine door misalignment that feel similar but need different parts.
I’ve seen homeowners order the wrong strike assembly first because they assumed the door hinge was bent, then realize halfway through that the latch was just sticky—this combo kit saves that headache. EBF61315802 Washer Door Lock Switch with MFG63099101 Strike is the part to start with on the WM9000HVA.
About This Article

Written by Dave Holt. Dave Holt has been taking apart and fixing household appliances since he was a teenager who couldn't leave a broken one alone. Eighteen years later, after fixing things for neighbors, friends, and anyone who'd let him, he's seen almost every failure mode there is. When he writes a repair guide here, it's based on the actual job, not a manufacturer overview. More about this site.
Scope and limits. Dave is a self-taught repairer, not a certified appliance technician. Unplug before you open anything, and leave sealed refrigeration systems, gas connections, and hardwired circuits to a qualified technician.


