
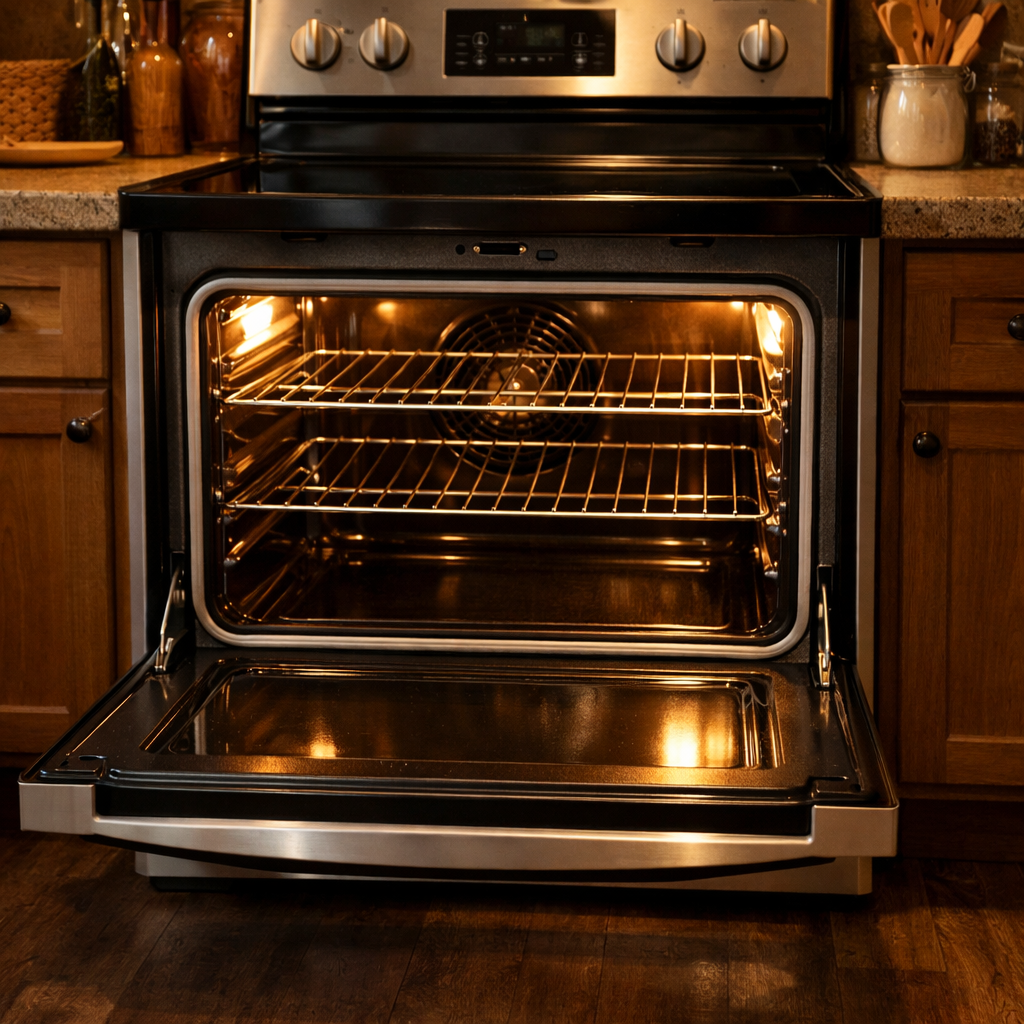
Microwave combo error
I’m here to guide you through fixing that pesky microwave combo error on your KitchenAid KOCE500ESS (Wall Oven + Microwave Combo). With the right tools and parts, you can tackle this repair in 1–2 hours, saving yourself a costly service call and gaining some hands-on experience in appliance repair.
🔨 Pro Tip from Dave
When troubleshooting the KOCE500ESS, don’t overlook the ribbon cable connection between the microwave control board (W10750490) and the main combo board. Corrosion can lead to phantom combo errors that mimic a board failure. Always reseat that ribbon cable and check for oxidation before ordering a new control board. This step can save you from unnecessary expenses, a common mistake I see.
Part of our Top 20 Oven Models & Common Repair Issues Guide. Browse all oven repair guides for related models and issues.
Common Symptoms & Causes
If your KitchenAid KOCE500ESS is flashing a microwave combo error, here are the specific warning signs to look for before you dive into repairs.
- The control panel displays a “F2-E1” or “F6-E0” error code that won’t clear
- The microwave portion is completely unresponsive while the wall oven still functions normally
- The display flickers or goes blank when switching between microwave and oven modes
- The unit beeps repeatedly at startup and fails to complete any cooking cycle
These issues usually point to a faulty microwave control board, a problematic communication ribbon cable between the oven and microwave modules, or general wear on internal wiring connections over time.
Safety First
- Switch off the circuit breaker feeding the combination unit and lock or tag the panel, then confirm it is dead with a contact voltage tester. A built-in oven/microwave combo is hardwired — there is no cord behind it to pull.
- Wear work gloves when handling metal brackets, sheet metal edges, or sharp components.
- Take photos with your phone before disconnecting any wiring harnesses or connectors.
- Work in a well-lit area with enough floor space to lay removed panels flat.
Tools & Parts Needed
Essential Tools
- Phillips #2 screwdriver
- ¼” nut driver
- Multimeter
- Work gloves (heat-rated)
- Flashlight
Replacement Parts
- Microwave control board
- magnetron
- high-voltage capacitor
- safety gloves
Step-by-Step Repair Instructions
Step 1
Before diving into any internal microwave components, discharging the high-voltage capacitor is crucial. This capacitor can hold over 2,000 volts even after the breaker has been turned off — a serious risk for a fatal shock. Use a 10kΩ, 10W resistor to connect across the capacitor terminals with insulated probes to safely bleed the charge. Never skip this step, even if the circuit has been dead for hours, as capacitors can hold dangerous voltage indefinitely.
Step 2
Check the display or control panel for an active error code; this will tell you precisely which component or circuit has failed. On KitchenAid microwave combos, F2 indicates a faulty temperature sensor, F4 points to a magnetron fault, and F8 signals a moisture sensor issue. Writing down the code before clearing it gives you a confirmed starting point for diagnosis.
Step 3
If you’re dealing with an F4 code, it’s likely that the magnetron — the part that generates microwave energy — is failing. You can test it to confirm if it needs replacement. Set your multimeter to Rx1 and probe the magnetron filament terminals; a healthy filament reads between 0.1 and 2 ohms, while an open reading (OL) means the filament has burned out. To access the magnetron, remove the four Phillips screws on top of the combo unit and lift off the top microwave panel, ensuring that the capacitor is completely discharged beforehand.
Step 4
If the display is blank, flickering, or unresponsive, or if the microwave fails to communicate with the oven section, it’s often due to a failed control board or a loose ribbon cable connection. Access the control board by removing the microwave face panel, then reseat or inspect the ribbon cable before opting for a full board replacement; this loose cable is a common and easy fix. If reseating the cable doesn’t resolve the issue, replacing the control board will restore normal display and communication between components.
Step 5
Working with the magnetron, high-voltage capacitor, or diode is serious business. It carries a significant risk of electrocution and should only be done by someone skilled in high-voltage safety procedures. The capacitor discharge step from Step 1 must be repeated every time you re-enter the microwave cavity — not just on the initial access. Remember, if you’re unsure about your comfort level with these components, it’s wise to stop here and reach out to a certified technician. Microwave high-voltage circuits are among the most dangerous in home appliances.
Step 6
Once you’ve completed the repairs, run the microwave through all available power levels to confirm that the magnetron and control system are functioning correctly across the spectrum. Test the wall oven functions as well — bake, broil, and convection if equipped — to ensure the repair didn’t disrupt the oven section’s wiring or control connections. A thorough functional test on both units confirms the repair is complete and both systems are communicating properly.
Where to Buy Replacement Parts
- KitchenAid KOCE500ESS microwave control board W11040702 replacement
- KitchenAid combo oven microwave error code list
- KitchenAid wall oven microwave magnetron replacement WB27X10516
When to Call a Professional
If the issue persists after following all the steps above, the problem could involve a failed main control board, a defective temperature sensor, or wiring that requires specialized diagnostic equipment. In such cases, it’s best to contact a licensed appliance technician. For gas models, do not attempt work on the gas valve, burner orifices, or supply line — that work is typically reserved for a licensed gas fitter in most jurisdictions.
How Much Does This Repair Cost?
| Repair route | Typical cost |
|---|---|
| Do it yourself | $20–$150 (parts) |
| Professional repair | $150–$300 (parts and labor) |
DIY parts for fixing a microwave combo error on the KitchenAid KOCE500ESS usually range between $20–$150, depending on the faulty component. A professional service call for the same repair typically costs $150–$300 in labor alone. By handling this repair yourself, you can save $100 or more while keeping your appliance running efficiently.
Frequently Asked Questions
What does the microwave combo error code mean on my KitchenAid KOCE500ESS?
The combo error indicates a communication failure between the wall oven and microwave control boards. This typically points to a loose wiring harness connection or a faulty control board that needs inspection.Can I reset the error without calling a technician?
Yes, start by cutting power to the unit at the circuit breaker for 60 seconds, then restore power. If the error returns immediately, a deeper electrical or board-level repair is likely required.Is it safe to use the wall oven while the microwave combo error is active?
It is not recommended, as the error may indicate compromised communication between components. Continuing to operate the appliance could worsen the fault or create a safety hazard.The Control Board That Stops the “Microwave Combo” Error on This Model
When you’re staring at that combo error, nine times out of ten it’s the microwave control board failing to communicate with the oven side—not the magnetron or capacitor like you might assume. This is the part I replace first on the KOCE500ESS before troubleshooting anything else.
What works
- Clears the combo error immediately once installed; the two systems communicate again without any quirky resets or fault codes lingering.
- OEM part number W11040702 is a direct fit—no adapter or modification needed, connectors line up exactly as they should.
- Installation takes about 20 minutes if you’ve removed a microwave control board before; no need to pull the whole combo unit out of the wall.
What doesn’t
- You still need to rule out the door interlock switch first—if that’s stuck or corroded, replacing the board alone won’t help because the error will come right back.
- This is not a cheap fix; KitchenAid boards run $400–500, so I always check for loose connectors and power supply issues before ordering.
I’ve seen people order a new magnetron first because the error message confused them into thinking the microwave itself was broken—total waste of money when it was the board all along. Test your door latch, visually inspect the board for burn marks or blown capacitors, then grab the control board.
About This Article

Written by Dave Holt. Dave Holt has been taking apart and fixing household appliances since he was a teenager who couldn't leave a broken one alone. Eighteen years later, after fixing things for neighbors, friends, and anyone who'd let him, he's seen almost every failure mode there is. When he writes a repair guide here, it's based on the actual job, not a manufacturer overview. More about this site.
Scope and limits. Dave is a self-taught repairer, not a certified appliance technician. Unplug before you open anything, and leave sealed refrigeration systems, gas connections, and hardwired circuits to a qualified technician.



