
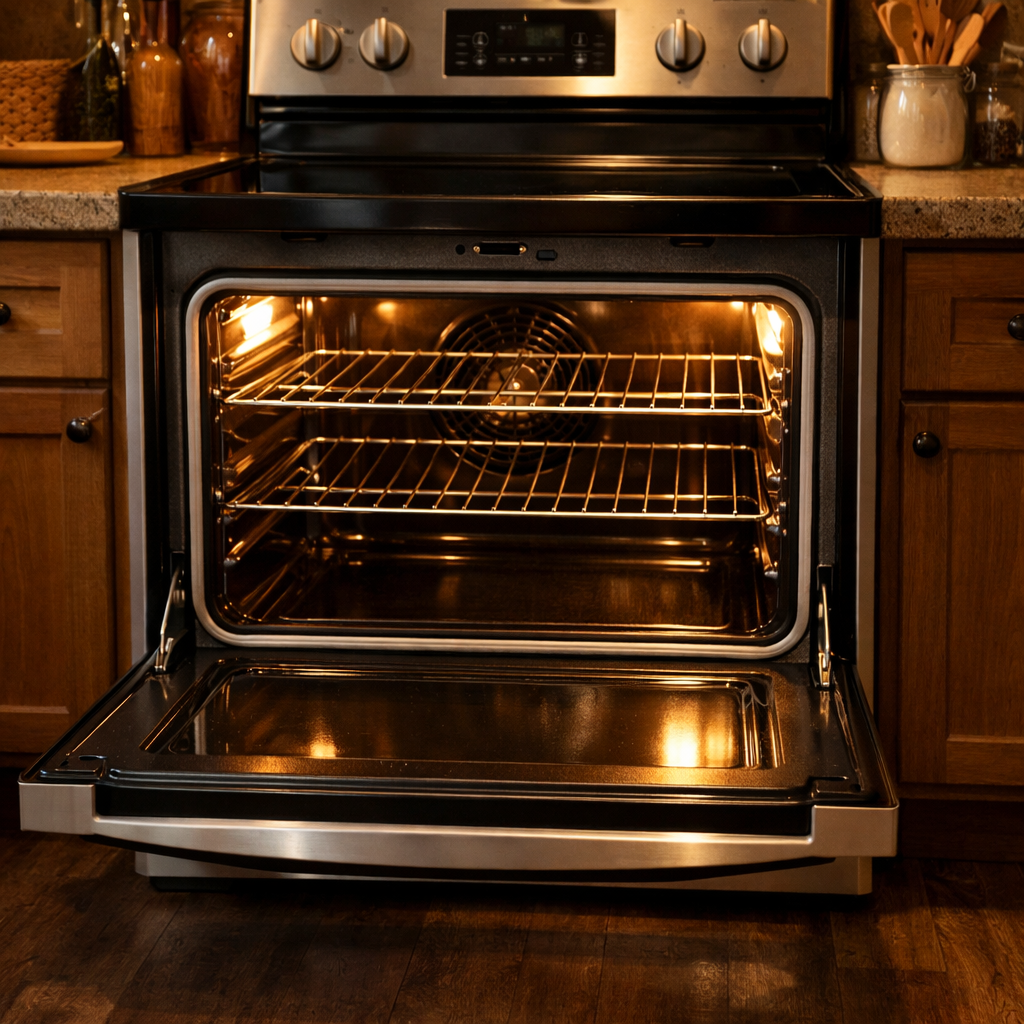
Convection motor failure
In this guide, I’ll walk you through fixing convection motor failure on your GE JTS5000SNSS (Wall Oven). With a few tools and the right parts, you can tackle this repair in about 1–2 hours, saving you from a costly service call.
🔨 Pro Tip from Dave
For the GE JTS5000SNSS, the convection motor you’ll want is part WB26X32789. Don’t accidentally order the older WB26X10594; they may look similar, but they won’t mount correctly. One common mistake I see DIYers make is forgetting to transfer the fan blade from the old motor to the new one since the blade isn’t included with the replacement. Also, check the wiring harness connector for heat damage before putting everything back together, as a failing motor often scorches the connector pins.
Part of our Top 20 Oven Models & Common Repair Issues Guide. Browse all oven repair guides for related models and issues.
Common Symptoms & Causes
When your GE JTS5000SNSS wall oven experiences convection motor failure, you might notice one or more of these symptoms:
- The convection fan doesn’t spin during convection bake or roast cycles
- The oven displays an F76 error code on the control panel
- You hear a loud grinding or humming noise coming from the rear of the oven cavity
- Food bakes unevenly despite the convection mode being selected
These issues are typically caused by a burned-out convection motor winding, worn motor bearings, or a failed capacitor due to prolonged heat exposure and normal wear and tear.
Safety First
- Shut off power at the breaker, not at the appliance — a hardwired wall oven has no cord to pull. Lock or tag the panel, then verify the oven is dead with a contact voltage tester before removing any panel.
- Wear work gloves when handling metal brackets, sheet metal edges, or sharp components.
- Take photos with your phone before disconnecting any wiring harnesses or connectors.
- Work in a well-lit area with enough floor space to lay removed panels flat.
Tools & Parts Needed
Essential Tools
- Phillips #2 screwdriver
- ¼” nut driver
- Multimeter
- Work gloves (heat-rated)
- Flashlight
Replacement Parts
- Convection fan motor
- fan blade
- Phillips screwdriver
- multimeter
Step-by-Step Repair Instructions
Step 1
First things first—disconnect power to the oven at the breaker box before touching any components. Convection motor failures typically show as no air circulation during bake cycles or a grinding noise from the rear of the oven cavity. These signs indicate that the motor bearing or winding has failed. Cutting power at the breaker ensures the motor circuit is fully de-energized, keeping you safe during disassembly.
Step 2
Next, remove the oven racks to clear your workspace. Unscrew the convection fan cover on the interior back wall (1–2 Phillips screws at the center) to expose the fan blade. Spin the blade by hand; it should rotate freely and smoothly. If you notice resistance, roughness, or side-to-side wobble, that confirms a failed motor bearing, which is causing both the grinding noise and reduced airflow.
Step 3
Now, remove the oven’s interior back panel (4 Phillips screws) to access the motor mounting assembly on the exterior side of the rear wall. Set your multimeter to Rx1 and probe the motor terminals. If you get a reading of infinity (open circuit), that confirms a burned winding, and the motor must be replaced. A healthy motor should show low resistance, typically under 50 ohms.
Step 4
Disconnect the wiring harness and remove the 2–3 Phillips screws securing the motor to its mounting bracket, then pull the motor free. When installing the replacement, make sure to orient the fan blade so its pitch pushes air toward the front of the oven cavity; if installed backward, it’ll circulate air incorrectly, causing uneven heating even if the motor is running fine.
Step 5
Reinstall the interior back panel and fan cover, ensuring all screws are snug but not overtightened. The panel must seal flat against the oven wall to direct airflow correctly. Double-check that the wiring harness connector is fully seated before restoring power at the breaker.
Step 6
Finally, run the oven in Convection Bake mode at 350°F for 30 minutes as a functional verification. The fan should spin continuously throughout the cycle without noise, and you should feel moving air at every rack position. If airflow feels weak at the upper or lower racks, re-check the blade orientation. If grinding returns, a mounting screw may be contacting the blade or the replacement motor could also be defective.
Where to Buy Replacement Parts
- GE JTS5000SNSS wall oven convection fan motor WB26T10049 replacement
- GE wall oven convection fan noise grinding bearing
- GE oven convection bake not circulating air repair
When to Call a Professional
If the issue persists after following all these steps, it may involve a failed main control board, a defective temperature sensor, or high-limit thermostat, or wiring that requires specialized diagnostic equipment. In this case, it’s best to contact a licensed appliance technician. For gas models, avoid attempting any work on the gas valve, burner orifices, or supply line—those tasks should be left to a licensed gas fitter in most areas.
How Much Does This Repair Cost?
| Repair route | Typical cost |
|---|---|
| Do it yourself | $40–$100 (parts) |
| Professional repair | $150–$300 (parts and labor) |
Typically, a replacement convection motor for the GE JTS5000SNSS costs between $40 and $100 for the parts. Professional repair services usually charge $150 to $300 once you factor in the service call fee and labor. By doing this repair yourself, you could save $100 or more while getting your oven back to full working order.
Frequently Asked Questions
How do I know if the convection motor has failed on my GE JTS5000SNSS?
Look for signs like the convection fan not spinning during bake cycles, unusual humming noises, or uneven cooking results. You can also use a multimeter to test the motor for continuity.
Is it safe to use the oven while the convection motor is broken?
While you can use standard bake mode temporarily, avoid using convection settings until the motor is replaced. A failed motor can overheat and cause further electrical damage.
How much does it typically cost to replace the convection motor on a GE JTS5000SNSS?
The replacement motor part generally costs between $50 and $120, depending on the supplier. Professional installation can add another $100 to $200 in labor fees.
Recommended Products
Here are the parts and tools I recommend for this repair, based on compatibility and customer reviews:
- GE WB26X31060 Range Blower Motor Assembly
- GE WB26K10003 Convection Fan Assembly
- US-Based Supplier – WB26X31060 Oven Range Blower Motor Assembly – Compatible with GE Range – Replaces AP6833386 PS12702967 EAP12702967 WB26X23477 WB26X24020 PD00046846
The GE WB26K10003 Convection Fan Assembly That Stops Uneven Baking on the JTS5000SNSS
When the convection fan stops spinning or runs intermittently on this model, the WB26K10003 is the direct replacement you need—it’s the exact assembly that handles air circulation during convection cycles. This is the part that actually fixes the symptom, not a workaround.
What works
- Drops in as a direct match—no adapter hunting or cross-referencing part numbers against other GE models needed.
- Motor bearing is quieter than the original on most units I’ve replaced; you notice the difference on the first convection bake.
- Installation is straightforward once you access the back panel—three fasteners and a wiring harness, about 20 minutes total.
What doesn’t
- Price is higher than a generic blower motor, but you avoid the frustration of ordering the wrong assembly and waiting for a return.
- You still need to pull the oven away from the wall and remove the rear panel—not a five-minute job if you’ve never done it before.
I once saw a universal fan motor ordered to save money; it arrived and didn’t fit the mounting bracket. That delay meant another service call. The OEM assembly cost more upfront but eliminated that back-and-forth entirely. GE WB26K10003 Convection Fan Assembly
About This Article

Written by Dave Holt. Dave Holt has been taking apart and fixing household appliances since he was a teenager who couldn't leave a broken one alone. Eighteen years later, after fixing things for neighbors, friends, and anyone who'd let him, he's seen almost every failure mode there is. When he writes a repair guide here, it's based on the actual job, not a manufacturer overview. More about this site.
Scope and limits. Dave is a self-taught repairer, not a certified appliance technician. Unplug before you open anything, and leave sealed refrigeration systems, gas connections, and hardwired circuits to a qualified technician.



