
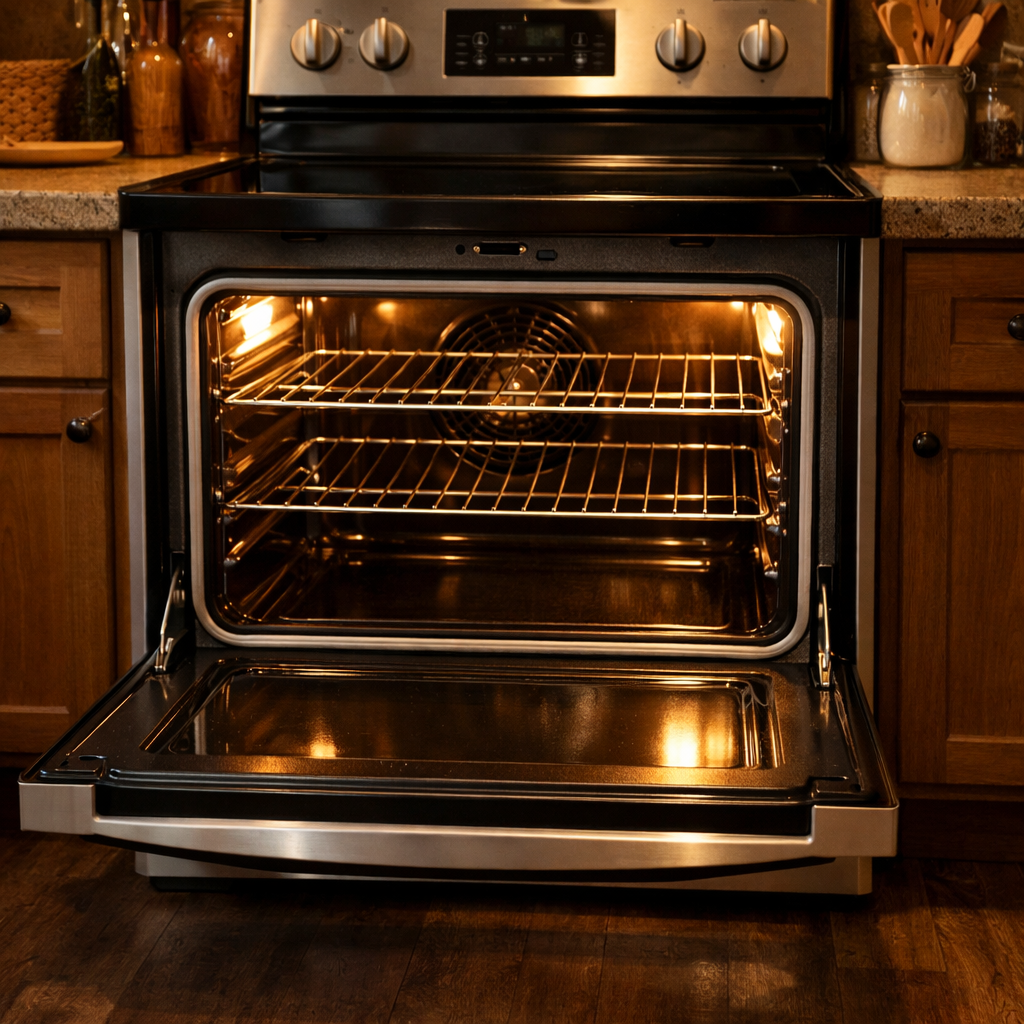
Grill element failure
In this guide, I’m sharing my step-by-step process for fixing grill element failure on your LG LWS3063ST (Wall Oven). With the right tools and parts, you can typically complete this repair in just 1–2 hours, avoiding the headache of a costly service call.
🔨 Pro Tip from Dave
When dealing with the LG LWS3063ST, the broil element (part number EBR74164703 or the compatible MDX61849004) is held in place by two mounting brackets at the back of the oven cavity. A common pitfall is trying to force those brackets before loosening both rear screws, which can crack the ceramic terminal block. Always disconnect power at the breaker for at least 10 minutes before touching the element terminals, as the capacitors in this model’s control board can hold a charge longer than expected.
Part of our Top 20 Oven Models & Common Repair Issues Guide. Browse all oven repair guides for related models and issues.
Common Symptoms & Causes
Here are some symptoms indicating that your LG LWS3063ST is likely facing grill element failure and needs some attention.
- No heat from the broil function, even though the oven seems to power on normally
- Visible burn marks, blistering, or breaks on the grill element
- Food placed under the broiler remains uncooked or is unevenly browned
- The oven shows an F3 or F4 error code when attempting to use the broil setting
These issues often stem from a burned-out or fractured grill element, usually caused by normal wear and tear, age-related degradation, or a sudden electrical surge damaging the heating coil.
Safety First
- Open the breaker feeding the oven and lock or tag the panel before starting. Since wall ovens are hardwired, unplugging isn’t an option — the safest isolation is at the panel, and you need to confirm it with a contact voltage tester.
- Wear work gloves when handling metal brackets, sharp sheet metal edges, or components.
- Take photos on your phone before disconnecting any wiring harnesses or connectors.
- Work in a well-lit area with enough space to lay the removed panels flat.
Tools & Parts Needed
Essential Tools
- Phillips #2 screwdriver
- ¼” nut driver
- Multimeter
- Work gloves (heat-rated)
- Flashlight
Replacement Parts
- Broil/grill element
- multimeter
- work gloves
Step-by-Step Repair Instructions
Step 1
The first step is to disconnect the power to the oven at the circuit breaker, eliminating any shock risk. Set your multimeter to Rx1 and probe both spade connectors on the broil element located at the top of the oven cavity. A functioning element should read close to zero ohms; if you see an open (infinite) reading, the element has burned out and needs replacement.
Step 2
Using needle-nose pliers, carefully pull the two spade connectors off the broil element terminals, making a note of their positions for reconnection. Remove the two quarter-inch hex mounting screws that secure the element to the back wall, and then slide the element forward through the oven cavity. Be cautious not to let it drop, as the back-wall opening is just large enough for removal without forcing it out.
Step 3
Before handling the old element, put on your work gloves — a failed broil element can often burn through cleanly, leaving sharp metal edges that could cause cuts. Inspect the removed element for visible burn holes or arc marks, confirming the electrical failure you measured and ruling out any wiring or control-board issues.
Step 4
Insert the new element through the oven back wall so the terminal studs protrude into the connection area. Drive the two quarter-inch hex mounting screws snugly, but don’t overtighten as that can crack the supports. Firmly press the spade connectors onto their terminals until seated fully; a loose connector can arc under load, damaging both the new element and the wiring.
Step 5
Restore power at the breaker and set the oven to Broil at 500°F for ten minutes. Watch the element through the oven window; a properly functioning element should glow uniformly red within two to three minutes. If you notice any dark spots or areas that fail to glow, that indicates a defect in the new element or an incomplete connection that needs addressing before regular use.
Where to Buy Replacement Parts
- LG LWS3063ST wall oven broil grill element EHE50018603
- LG wall oven broil not working upper element open
- LG electric wall oven broil element replacement guide
When to Call a Professional
If the problem persists after following these steps, it might be due to a failed main control board, a defective temperature sensor, or a high-limit thermostat, which requires specialized diagnostic equipment. In that case, it’s time to contact a licensed appliance technician. For gas models, avoid attempting any work on the gas valve, burner orifices, or supply line — only a licensed gas fitter should handle that work in most areas.
How Much Does This Repair Cost?
| Repair route | Typical cost |
|---|---|
| Do it yourself | $30–$80 (parts) |
| Professional repair | $150–$300 (parts and labor) |
Replacing a grill element on the LG LWS3063ST typically costs $30–$80 for the part if you do it yourself. A professional service call for the same repair usually ranges from $150–$300, including labor and parts. Tackling this repair on your own can save you $100–$220, making it a worthwhile fix for most homeowners.
Frequently Asked Questions
How do I know if the grill element on my LG LWS3063ST has failed?
If the grill element has failed, you’ll typically see visible burn marks, breaks, or blistering on the element itself. You might also find that the broiler produces no heat or heats unevenly during cooking.
Is it safe to replace the grill element myself on the LG LWS3063ST?
Absolutely, as long as you disconnect the power at the breaker. Replacing the element is a manageable DIY repair. Just remember that this oven is hardwired, so there’s no plug to pull — switch off the breaker and confirm the circuit is dead with a contact voltage tester before touching any internal components.
What replacement part do I need for the LG LWS3063ST grill element?
You’ll want to order a broil element specifically compatible with the LG LWS3063ST, verifying with your model number for the correct part. LG-authorized parts suppliers or appliance parts retailers will have what you need.
Recommended Products
These are the parts and tools I recommend for this repair, based on compatibility and customer reviews:
- MEE62306504 Range Oven Broil Heating Element Compatible with LG LRE3023SW LRE3021ST/00, MEE62306504 Oven Bake Broil Element 240V 4000W Replace PS12582157 MEE62306501 AP6337106 CH060504 4880884
- PRYSM MEE62306504 Range Bake/Broil Element Replacement – Compatible with LG ranges
- Supco Part CH060504 for LG MEE62306504 Range Oven Broil Heating Element
- MEE62306504 Range Oven Broil Heating Element Compatible
The Broil Element That Fixed My LG LWS3063ST No-Heat Problem
When I’m dealing with the broil setting offering zero heat or uneven browning, I’ve found it’s usually the broil element that’s burned out. This is the part to order first on this model, as the symptom almost always points to this culprit.
What works
- Fit is spot on for the LWS3063ST — it slides into the broil cavity without forcing or shimming, which saves time and frustration during installation.
- Heating performance is consistent and reliable from the first broil cycle; you’ll notice even heat distribution across the entire element coil.
- Connector terminals are the correct gauge and don’t require any rewiring — the original harness plugs right in without modification.
What doesn’t
- Shipping times can vary, so if you need the oven up and running the same day, this may not be your solution — plan for at least 1–2 day delivery.
- Installation does require disconnecting the old element from the wiring harness and removing the mounting bracket, so it’s not a zero-skill job if you’ve never opened an oven before.
I’ve had homeowners order the wrong part number because they grabbed a generic “LG broil element” without checking for model fit — that can cost a return trip. That’s why I always cross-reference against the LWS3063ST spec sheet before ordering, and this broil/grill element is the match you need.
About This Article

Written by Dave Holt. Dave Holt has been taking apart and fixing household appliances since he was a teenager who couldn't leave a broken one alone. Eighteen years later, after fixing things for neighbors, friends, and anyone who'd let him, he's seen almost every failure mode there is. When he writes a repair guide here, it's based on the actual job, not a manufacturer overview. More about this site.
Scope and limits. Dave is a self-taught repairer, not a certified appliance technician. Unplug before you open anything, and leave sealed refrigeration systems, gas connections, and hardwired circuits to a qualified technician.



