Complete Guide to Replacing the Thermal Fuse on Your Hotpoint HTZ24GASKWS Refrigerator
The thermal fuse is one of the most critical safety components in your Hotpoint HTZ24GASKWS refrigerator, and when it fails, your entire defrost cycle stops working. This comprehensive guide will walk you through identifying a faulty thermal fuse, locating it on your HTZ24GASKWS model, testing it properly with a multimeter, and replacing it safely. Whether you’re experiencing a warm refrigerator or excessive frost buildup, understanding the thermal fuse location and function is essential for getting your appliance back to peak performance.
What Does the Thermal Fuse Do in the HTZ24GASKWS?
The thermal fuse in your Hotpoint HTZ24GASKWS is a safety device designed to protect the defrost heating circuit from overheating. This component works by monitoring the temperature of the defrost heater element. When the defrost heater operates normally during the defrost cycle, the thermal fuse remains closed and allows current to flow through the circuit. However, if the temperature around the heater element rises above its rated threshold (typically 185-212°F depending on the specific fuse model), the thermal fuse automatically opens the circuit, cutting power to prevent dangerous overheating or potential fire hazards.
The defrost cycle in the HTZ24GASKWS operates in a specific sequence: the compressor shuts off, the defrost heater turns on for 20-30 minutes to melt frost from the evaporator coils, a thermostat or timer controls the duration, and then the system returns to normal cooling mode. The thermal fuse acts as a backup safety mechanism to ensure that if the defrost heater malfunctions and stays on too long or overheats, the circuit will be interrupted before damage occurs.
Symptoms That Your HTZ24GASKWS Thermal Fuse Is Blown
A blown thermal fuse will cause distinct symptoms that help you diagnose the problem:
- Refrigerator and freezer warm up significantly: Without a functioning defrost cycle, the refrigerant circulation becomes unbalanced. The evaporator coils become heavily frosted, reducing airflow to the fresh food section. You’ll notice both compartments warming to unsafe temperatures within 24-48 hours.
- Defrost cycle stops completely: The defrost heater never turns on because the blown fuse has severed the circuit. You may hear the compressor running normally, but you won’t hear the characteristic hum of the defrost heater during its cycle.
- Excessive frost accumulation on the evaporator: Without periodic defrost cycles, ice and frost build up rapidly on the evaporator coils behind the freezer compartment. This is the most visible sign that something is wrong with the defrost system.
- Water pooling in the defrost drain: As condensation forms on the warm evaporator coils (since they’re not being defrosted), water runs down but cannot be pumped out without the defrost heater’s heat. You may notice water collecting in the bottom of the freezer compartment or dripping into the fresh food section.
- Frost buildup on freezer shelves and back wall: If you open the freezer compartment of your HTZ24GASKWS, you’ll see a thick layer of white or clear frost coating the rear panel and shelves, often in patterns that suggest the evaporator coils are completely blocked.
Locating the Thermal Fuse on the HTZ24GASKWS
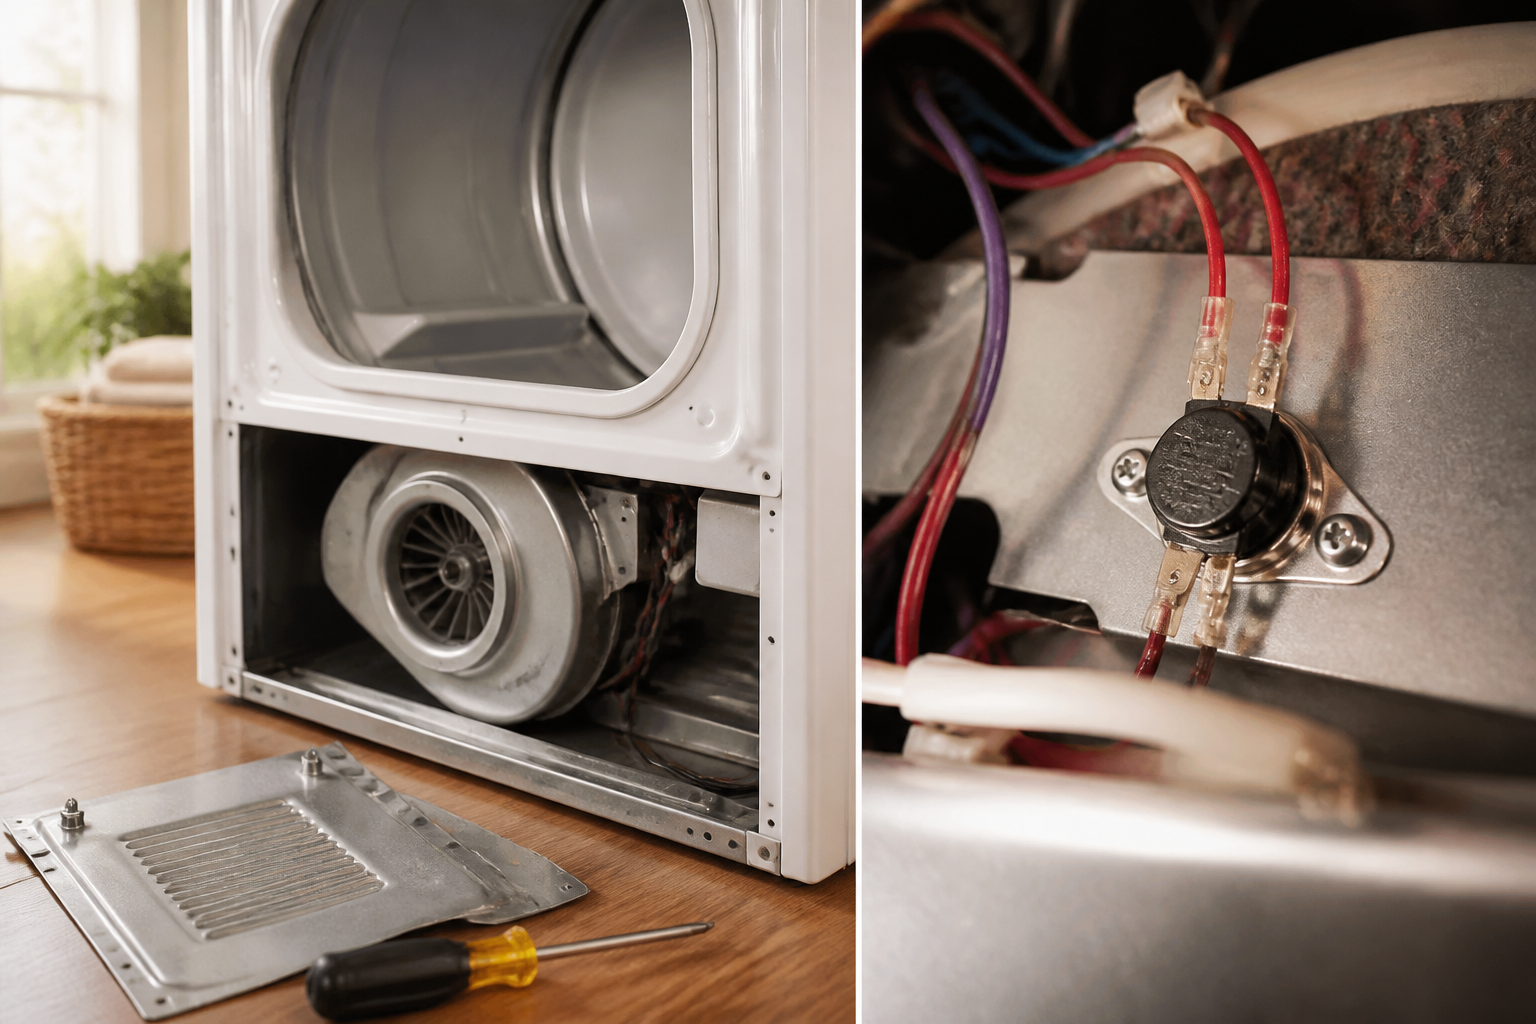
The thermal fuse on the Hotpoint HTZ24GASKWS is mounted directly on the evaporator coil assembly, positioned behind the rear freezer wall panel. This location is deliberate—the fuse must be in close thermal contact with the defrost heater element so it can accurately monitor temperature and respond to any dangerous overheating conditions. To access this component, you’ll need to remove the freezer’s rear wall panel and navigate the internal components carefully.
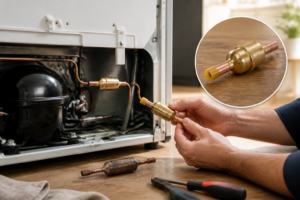
The HTZ24GASKWS freezer compartment has a removable back panel that is held in place by several screws around its perimeter. Once removed, you’ll have access to the evaporator coil housing, the defrost heater element, and the thermal fuse assembly. The thermal fuse itself is a small cylindrical component, typically white or cream-colored, approximately 1-1.5 inches long and 0.5 inches in diameter. It has two wire terminals extending from each end that connect into the defrost heater circuit.
Step-by-Step Access to the Thermal Fuse on Your HTZ24GASKWS
Follow these steps carefully to safely access the thermal fuse on your Hotpoint HTZ24GASKWS:
- Unplug the refrigerator from the electrical outlet. This is critical for your safety when working with electrical components. Wait 5 minutes to allow capacitors to discharge fully.
- Empty the freezer compartment completely. Remove all food items and store them in a cooler with ice. This is necessary for safety and to give you workspace. The freezer compartment in the HTZ24GASKWS is deep, so allocate 15-20 minutes for this task.
- Remove the freezer shelves. Most shelves in the HTZ24GASKWS slide out easily from their support rails. Lift up on the front edge and slide outward. If your model has shelf stops or retaining clips, release these first. Set the shelves aside in a safe location where they won’t be damaged.
- Check for and remove the ice maker assembly (if your HTZ24GASKWS has one). If your model includes an ice maker, it will be mounted to the right side wall of the freezer compartment. Locate the water supply line and shut-off valve (usually a small quarter-turn valve in the wall), then carefully disconnect the water line. The ice maker is typically held by 2-3 screws. Remove these screws and gently pull the ice maker assembly away from the wall, being careful not to damage any wiring harnesses. Set it aside.
- Locate the rear freezer panel. Look at the back wall of the freezer compartment. You’ll see the evaporator coil cover—this is part of or behind the rear panel. The panel is held by screws around its perimeter: typically one screw at the top center, one at the bottom center, and one or two on each side. The HTZ24GASKWS design may have the screws positioned at the corners or along the edges.
- Remove all screws holding the rear panel. Use a Phillips head screwdriver that fits snugly in the screw heads to avoid stripping them. Work systematically around the perimeter. Keep all screws in a small container so you don’t lose them. This is critical—you’ll need them for reassembly.
- Carefully remove the rear panel. The panel should slide out easily once all screws are removed. It may have slight resistance from the evaporator housing. Gently work it free without forcing it. The HTZ24GASKWS rear panel is typically made of plastic and can crack if forced. Once free, set it aside in a clean location.
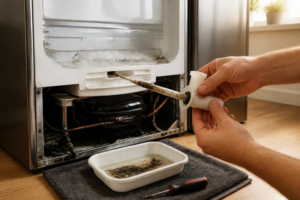
- Locate the thermal fuse on the evaporator assembly. With the rear panel removed, you now have a clear view of the evaporator coil housing. The thermal fuse is mounted on the heating element assembly, typically on the lower left or lower right side of the evaporator housing, depending on your specific HTZ24GASKWS serial number. It will be a small cylindrical component with two wire terminals. Depending on frost accumulation, you may need to carefully remove some frost or ice to see it clearly. Use a plastic ice scraper—never use a sharp metal tool, as you can puncture the evaporator coil and cause refrigerant leaks.
Testing the Thermal Fuse with a Multimeter
Before you replace the thermal fuse on your HTZ24GASKWS, it’s essential to confirm it’s actually faulty using a multimeter. This test will definitively tell you whether the thermal fuse needs replacement or if another component is causing your symptoms.
Tools needed: A digital multimeter capable of measuring continuity (most standard multimeters have this function).
- Ensure the refrigerator is unplugged. Double-check that the power cord is completely disconnected from the outlet.
- Locate the two wire terminals of the thermal fuse. The thermal fuse on your HTZ24GASKWS will have two spade terminals (small flat connectors) or wire leads connected to it. Examine where these terminals connect into the heater circuit.
- Disconnect the thermal fuse terminals. Carefully pull the spade terminals apart by gently wiggling and pulling on the terminal ends. If the terminals are soldered, you have a non-replaceable thermal fuse assembly, and the entire heating element must be replaced. However, most HTZ24GASKWS models use disconnectable terminals.
- Set your multimeter to the continuity setting. This is typically represented by a symbol that looks like a sound wave or a diode symbol. If your multimeter doesn’t have an explicit continuity setting, set it to the resistance (ohms) setting on its lowest range (typically 200 ohms).
- Place the multimeter probes across the thermal fuse terminals. Touch one probe to each of the two terminals. The order doesn’t matter for continuity testing.
- Read the result. A functioning thermal fuse will show zero or very low resistance (continuity), typically displayed as “0.0” ohms or a beeping sound if your multimeter has an audio continuity function. A blown thermal fuse will show “OL” (open line) or infinity, indicating no continuity. Some multimeters display a reading above 1 megaohm for an open circuit.
- Record your findings. If the multimeter shows no continuity, your thermal fuse is definitely blown and needs replacement. If it shows continuity, the thermal fuse is functioning, and you should investigate other components (defrost thermostat, defrost timer, control board) for the actual problem.
Important note: A thermal fuse that shows continuity at room temperature could still be faulty if it has blown at its operating temperature. However, this is rare. If your multimeter shows continuity but your symptoms persist, proceed to test the defrost heater and thermostat as described in the section below.
Replacing the Thermal Fuse on Your HTZ24GASKWS
Once you’ve confirmed the thermal fuse is blown using multimeter testing, it’s time to replace it. Replacement is straightforward and should take 10-15 minutes.
Part identification for HTZ24GASKWS models: The thermal fuse part number for most Hotpoint HTZ24GASKWS refrigerators is WR50X10068 or a compatible equivalent such as WR01X10035 or 8197995. However, thermal fuse part numbers can vary based on the manufacturing date and specific circuit design of your HTZ24GASKWS. Before ordering a replacement, verify the correct part number by checking your model’s technical documentation or contact Hotpoint directly with your serial number. Always confirm that the voltage rating and temperature rating of the replacement fuse match your original.
- With the refrigerator unplugged and the rear panel removed, locate the thermal fuse terminals. Ensure the thermal fuse is fully disconnected from both terminals of the heating circuit.
- Note the orientation of the fuse. Observe which terminal is connected to which wire in the circuit. Taking a quick photo with your phone can be helpful for reference during reassembly.
- Remove the thermal fuse from its mounting position. Depending on your HTZ24GASKWS model, the fuse may be held by a small clip, adhesive, or simply positioned against the heater element. If it’s clipped, carefully release the clip. If it’s adhered, gently work it free with a plastic tool. Some models may have the fuse soldered to a heater assembly, in which case the entire assembly must be replaced.
- Install the new thermal fuse. Position the new fuse in the exact same location and orientation as the original. Ensure the two spade terminals are fully inserted into the circuit connectors until you hear or feel a click indicating a secure connection. The thermal fuse must be in direct thermal contact with the defrost heater element, so positioning is critical.
- Verify connections are secure. Gently tug on the spade terminals to confirm they’re seated properly. There should be no resistance when you pull on them.
- Visually inspect your work. Make sure no wires are pinched, twisted, or damaged during the replacement. The thermal fuse should sit naturally against the heater element without any strain on the wire terminals.
⚠️ Important Safety Warning
Before powering on your HTZ24GASKWS after replacing the thermal fuse, proceed to the next section to test the defrost heater and thermostat. If you simply replace the thermal fuse without addressing the underlying cause of the failure, the new fuse will blow again within hours or days. This creates a cycle of repeated failures and indicates a serious fault in the defrost circuit that must be corrected to prevent electrical fires or hazardous overheating.
Identifying Why the Thermal Fuse Blew on Your HTZ24GASKWS
A blown thermal fuse is always a symptom of another underlying problem. Thermal fuses don’t fail randomly—something causes them to overheat and open. The most common causes are:
- Defrost heater element failure: A short circuit or resistance failure in the defrost heater causes it to overheat. This is the most common cause of thermal fuse failure on the HTZ24GASKWS.
- Faulty defrost thermostat: The thermostat that controls when the defrost heater turns on and off may stick in the “on” position, causing the heater to run continuously and overheat.
- Defrost timer malfunction: Some HTZ24GASKWS models use a mechanical or electronic timer to control defrost cycles. A stuck timer can cause the heater to stay energized too long.
- Control board malfunction: The refrigerator’s main control board may send incorrect signals to the defrost heater circuit, causing overcurrent or continuous operation.
- Wiring damage or loose connections: Damaged insulation or corroded connections can cause arcing or excessive current draw through the heater, generating excessive heat.
Testing the Defrost Heater and Thermostat on Your HTZ24GASKWS
While you have the rear freezer panel removed from your HTZ24GASKWS, this is the perfect opportunity to test the defrost heater and thermostat to identify the root cause of the thermal fuse failure. This will prevent the problem from recurring.
Testing the Defrost Heater Element
- Locate the defrost heater element. This is a long, thin heating element (usually 8-16 inches long) positioned near the evaporator coils in the HTZ24GASKWS. It typically looks like an electric heating element with a ceramic or fiberglass insulated section.
- Disconnect the heater terminals carefully. Remove the spade connectors from both ends of the heater element. Again, if these are soldered, the entire element must be replaced.
- Set your multimeter to the resistance (ohms) setting on the lowest range. Typically, this is 200 ohms.
- Place the multimeter probes on the two heater terminals. You should see a resistance reading. A functioning heater element on the HTZ24GASKWS will typically show between 20-40 ohms of resistance, depending on its design. This represents the resistance of the heating element coil.
- Interpret the results: If the reading is 0 ohms, the heater has an internal short circuit and must be replaced. If the reading is infinite or “OL”, the heater element is open-circuited (broken internally) and must be replaced. If the reading is normal (20-40 ohms), the heater element is likely functioning properly, and you should investigate the thermostat or timer.
Testing the Defrost Thermostat
The defrost thermostat on the HTZ24GASKWS is a small component (about 1-2 inches long) that monitors evaporator temperature and switches the heater on when frost accumulates and off when the evaporator reaches a certain temperature during the defrost cycle.
- Locate the defrost thermostat. It’s typically clipped to the evaporator coil housing near the heater element. On the HTZ24GASKWS, it may be on the lower left or right side of the evaporator assembly.
- Visually inspect it for obvious damage. Cracks, burn marks, or corrosion on the terminals are signs of failure.
- Carefully disconnect the thermostat terminals. Most defrost thermostats use spade connectors that pull apart easily.
- Set your multimeter to continuity mode. Place the probes on the two terminals of the thermostat.
- At room temperature, the thermostat should show continuity (0 ohms or a beeping sound). This indicates the contacts are closed. A defrost thermostat that shows no continuity at room temperature is faulty and must be replaced. However, this is less common than you might expect.
- To test more thoroughly, you can place the thermostat in a freezer for 15-20 minutes, then test again immediately. At freezing temperatures, a functioning thermostat will still show continuity. If it loses continuity only when cold, it’s functioning as designed (designed to open when the evaporator temperature drops below freezing during normal cooling). The key is that during the defrost cycle, when the heater warms the evaporator, the thermostat should close to turn the heater on, and then open again when the temperature rises above the setpoint (typically around 48-55°F). Testing this complex on-off behavior requires observing actual defrost cycles, which is beyond simple multimeter testing.
If both the heater and thermostat test normally, the problem may be in the defrost timer (if your HTZ24GASKWS model uses one) or the control board. These components are more complex to test and may require replacement based on elimination of other components.
Reassembling Your HTZ24GASKWS After Thermal Fuse Replacement
Once you’ve replaced the thermal fuse and tested the defrost heater and thermostat, it’s time to reassemble everything:
- Direct fit for the HTZ24GASKWS without adapter or modification — the connector and mounting tabs line up exactly as they should.
- You can test the old fuse with a multimeter to confirm it’s actually dead before ordering, so you’re not guessing and replacing parts that work fine.
- Once installed, defrost cycle restarts immediately — no delayed testing or secondary symptoms to chase down.
- The product listing sometimes includes dryer thermal fuses in the same SKU family — double-check the part number matches HTZ24GASKWS before checkout to avoid a return.
- If your real problem is a stuck defrost thermostat or a clogged drain line, replacing the fuse alone won’t solve it, and you’ll end up ordering again.
Recommended Parts & Tools
Thermal Fuse for Hotpoint Dryers
This is the essential replacement part for your Hotpoint HTZ24GASKWS dryer repair. The thermal fuse is a safety component that cuts power to the heating element when temperatures get too high, and when it blows, your dryer won’t heat anymore. Having the correct OEM or compatible thermal fuse on hand ensures you can complete the repair without additional trips to the store. Check current pricing on Amazon.
Multi-Bit Screwdriver Set
You’ll need a reliable screwdriver set to remove the front panel and internal components of your dryer to access the thermal fuse location. This multi-bit set provides both Phillips and flathead options in various sizes for the different fasteners used in Hotpoint appliances. Check current pricing on Amazon.
Digital Multimeter for Appliance Testing
A multimeter allows you to test the thermal fuse before and after replacement to confirm it’s actually blown and verify your replacement is working correctly. This tool helps you diagnose electrical issues in your dryer and ensures the repair was successful before reassembling everything. Check current pricing on Amazon.
The Thermal Fuse That Stops Your HTZ24GASKWS Defrost Cycle Dead
When your HTZ24GASKWS stops defrosting and ice builds up inside, nine times out of ten it’s this fuse that’s blown. You need the actual replacement part before you do anything else — testing and diagnosis come after you have the right fuse in hand.
What works
What doesn’t
I’ve had customers order the wrong thermal fuse family twice because Amazon’s cross-listing pulled up dryer parts — verify your model number in the product details before you buy. Once you have the right one, Thermal Fuse for Hotpoint Dryers gets your defrost cycle running again in about fifteen minutes.
This post contains affiliate links. As an Amazon Associate, I earn from qualifying purchases at no extra cost to you.