
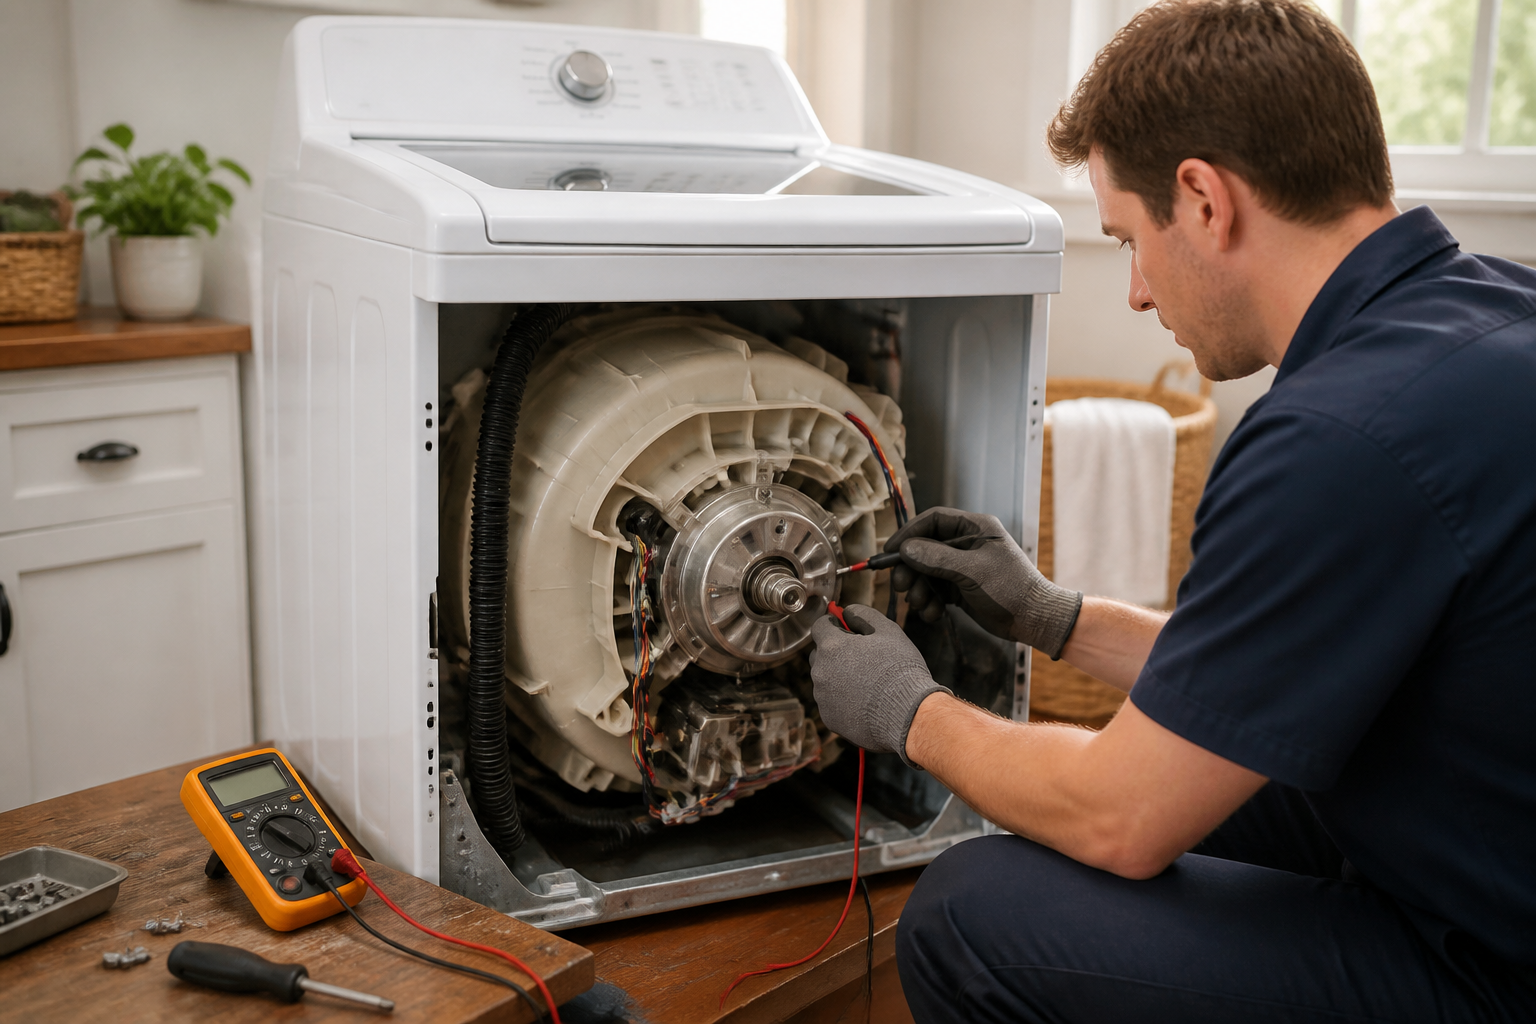
How to Test the Transmission on Your GE GTW465ASNWW Washing Machine
The GE GTW465ASNWW is a reliable top-load washer, but like any machine its transmission can wear out or fail. By testing the transmission yourself you can potentially save hundreds on service calls while gaining a better understanding of your machine. In this guide I’ll share what eighteen years of self-taught repairs has taught me about diagnosing and testing your GE GTW465ASNWW transmission effectively.
Common Symptoms of a Failing GE GTW465ASNWW Transmission
Before diving into testing, it’s essential to recognize the warning signs that indicate a failing transmission in your GE GTW465ASNWW:
- Washer won’t agitate but spins normally: If the agitator isn’t moving during the wash cycle but the drum spins during rinse and spin cycles, the transmission is likely slipping or failing.
- Loud grinding or metal-on-metal sounds: Grinding during the wash cycle suggests internal gear damage or worn components inside the transmission housing.
- Agitator only moves in one direction: The agitator should move both forward and backward. If it only moves one direction or gets stuck, transmission dogs or gears may be damaged.
- Burning smell during operation: A burnt plastic or rubber smell signals friction due to worn seals or slipping components, often accompanying agitation failure.
- Water leaking from beneath the tub: Transmission seal failures can lead to leaks during the wash cycle, resulting in puddles under the machine.
How the GE GTW465ASNWW Transmission Works
Understanding the transmission mechanism is crucial for accurate diagnosis. The GE GTW465ASNWW employs a mechanical transmission system that manages both agitation and spin through internal gears, dogs, and clutches.
The Transmission Mechanism
The transmission contains a drive motor linked to an input shaft. This shaft drives internal gearing with two functions. In the wash cycle, power transfers to the agitator via forward and reverse gears for agitation. During the spin cycle, a clutch mechanism engages, redirecting power to the drum for high-speed water extraction.
The output shaft connects to the agitator through a coupling mechanism, which transmits rotational force. Internal dogs, clutch elements that engage and disengage, switch between agitation and spin modes. These dogs wear out over time and often cause issues in older GE GTW465ASNWW units.
Output Shaft to Agitator Coupling
The coupling connecting the output shaft to the agitator is generally a plastic or rubber component. On the GE GTW465ASNWW, it transfers rotational force from the transmission to the agitator. A worn or broken coupling will prevent the agitator from moving, even if power is being supplied to the transmission. This is why testing the coupling separately is vital—it can often mimic transmission failure.
⚠️ Safety Warning
Before starting any testing on your GE GTW465ASNWW, ensure you disconnect power completely. Unplug the washer from the electrical outlet or switch off the circuit breaker. Testing the transmission with the machine plugged in is dangerous. The transmission is near the motor, and accidental contact with moving parts or electrical components can result in serious injury. Allow the machine to sit unplugged for at least five minutes before you begin. If your washer uses a gas line, ensure it is turned off at the source.
Step-by-Step Transmission Testing Procedure for the GE GTW465ASNWW
Step 1: Remove the Cabinet
To access the transmission in your GE GTW465ASNWW, you’ll need to remove the outer cabinet. Start by unplugging the machine. Open the top lid and locate the two clips on the inside front edges of the cabinet near the top. Press inward on both clips simultaneously and pull the front panel towards you. Set it aside carefully.
Next, find the mounting bolts securing the top cabinet piece. These bolts are usually located at the rear corners and sometimes along the back edge. Remove these bolts with a 1/4-inch socket wrench and carefully lift the top cabinet section away. You now have access to the interior components, including the transmission area visible from above.
Step 2: Access the Transmission from Underneath
To fully test the transmission, tilt the machine backward so the front feet are about 12 inches off the ground. Use wooden blocks or a furniture dolly for support. This position gives you clear access to the bottom of the tub and the transmission housing.
Once tilted, locate the large metal or composite component that is the transmission housing. This is directly connected to the motor assembly. From this angle, you should see the motor shaft entering the transmission. Identify the agitator output coupling where it connects to the agitator shaft.
Step 3: Manual Rotation Test of the Agitator Shaft
This is the most crucial diagnostic test for the GE GTW465ASNWW transmission. With the machine unplugged and tilted, find the agitator shaft as it exits the transmission housing upwards into the tub. Grasp the agitator and attempt to rotate it by hand.
In a properly functioning GE GTW465ASNWW, you should feel moderate resistance when rotating the agitator in both directions. This resistance comes from internal transmission gearing and should be roughly equal forward and backward. Slowly rotate the agitator a full 360 degrees in each direction and note the resistance level.
What you’re testing for:
- Free-wheeling in both directions: If the agitator spins freely with little resistance, the internal dogs are likely worn or broken, indicating gears are not engaging correctly.
- Free-wheeling in one direction only: If it rotates freely one way but resists the other, a specific internal clutch or gear set has likely failed.
- Complete resistance in both directions: If you cannot rotate the agitator at all, components may be seized or damaged, but this could also mean the motor is engaged—ensure the machine is unplugged.
- Inconsistent resistance with grinding: Grinding sensations indicate damaged internal gears while the transmission is still mechanically connected.
- Normal resistance in both directions: If the agitator rotates with consistent, moderate resistance, the transmission is functioning normally, and issues may lie elsewhere.
Step 4: Coupling Inspection Between Motor and Transmission
Now, inspect the motor-to-transmission coupling. This coupling is the mechanical link between the motor shaft and the transmission input shaft. Look for where the motor shaft connects to the transmission. Depending on the design, it may be a direct shaft connection, a belt drive, or a rubber coupling element.
Grasp both the motor shaft and transmission input shaft separately and try to move them relative to each other. The coupling should be rigid with minimal play. If there’s significant movement, the coupling is worn and needs replacement. A faulty motor-to-transmission coupling can prevent power from reaching the transmission, mimicking a transmission failure.
Motor-to-Transmission Coupling Test
To specifically determine if power is reaching the transmission input shaft from the motor, perform this dedicated coupling test:
- With the machine unplugged and tilted, locate the connection where the motor shaft meets the transmission.
- Have someone plug in the machine and run a single agitation cycle (without clothes for safety). Do not attempt this step yourself while working on the machine.
- While the motor is running, observe if the transmission input shaft is rotating. Avoid touching any moving parts.
- If the motor shaft spins but the transmission input shaft does not, the coupling has failed.
- If both shafts rotate together, power is reaching the transmission correctly, indicating internal problems.
After this test, unplug the machine immediately. Do not continue testing while the machine is powered.
Distinguishing Transmission Failure from Agitator Coupling Failure
A common misdiagnosis with the GE GTW465ASNWW is confusing transmission failure with agitator coupling failure. Both can present the same symptom—no agitation during the wash cycle—but they require different repairs.
Testing the Agitator Coupling Separately
The agitator coupling connects the transmission output shaft to the agitator. To test this component independently, repeat the manual rotation test, but focus on where the output shaft meets the agitator shaft inside the tub.
If you can rotate the output shaft from underneath while the agitator above remains stationary, the coupling is broken. If both move together when you apply force, the coupling is intact.
Multimeter Testing for Transmission Motor Power
To confirm whether electrical power is reaching the transmission motor, use a multimeter:
- Set your multimeter to an AC voltage setting (typically 120V or higher range).
- With the machine unplugged, locate the motor power terminals, usually color-coded wires entering the motor housing.
- Have your helper plug in the machine and start an agitation cycle.
- Carefully touch the multimeter probes to the motor terminals to measure voltage; you should read approximately 120 volts AC if the motor is receiving power.
- If you read zero voltage, the issue lies in the electrical circuit, not the transmission. If you read full voltage, power is reaching the motor, indicating a mechanical problem in the transmission or coupling.
Do not touch the terminals directly with your fingers and unplug the machine immediately after this test.
Confirming Transmission vs. Agitator Dogs
The agitator dogs are small clutch components that wear out frequently on the GE GTW465ASNWW. When they fail, the agitator won’t move, but the transmission can still function. Here’s how to determine if worn dogs are the issue:
- Does the drum spin during the spin cycle? If yes, the transmission is partially functional, and worn dogs are likely the issue.
- Does the agitator have any movement? Even slight vibration means the dogs are partially engaged. Complete transmission failure usually results in zero agitator movement.
- Is the grinding noise localized to the agitator area? If grinding comes from the agitator shaft or coupling rather than the entire transmission, the dogs may be broken while the main gears are intact.
- Do you hear the motor running but the agitator doesn’t move? This is a classic sign of dog failure on the GTW465ASNWW.
Technicians often recommend replacing worn transmission dogs instead of the entire transmission, as it is a more cost-effective solution.
Transmission Replacement Overview and Cost Analysis
If the transmission is indeed the problem, you’ll have to decide between repair and replacement.
Repair vs. Replace Decision
The replacement cost for the GE GTW465ASNWW transmission typically ranges from $350 to $600 for parts alone, plus $200 to $400 for labor if you hire a technician. If you tackle the replacement yourself, you’ll only pay for the part.
For machines over 10 years old, it’s often more economical to replace the entire unit rather than repair the transmission. A well-maintained GTW465ASNWW can last 12-15 years, so if it’s nearing that age and showing other signs of wear, a new machine might be a better investment.
Transmission Replacement Process
Replacing the transmission on your GE GTW465ASNWW includes:
- Removing the cabinet and accessing the transmission from underneath
- Disconnecting all hoses and electrical connectors from the transmission area
- Removing the mounting bolts securing the transmission to the machine frame
- Carefully lowering the old transmission away from the tub assembly
- Installing the new transmission in reverse order, ensuring all connections are secure
- Refilling water hoses and testing operation before reassembling the cabinet
The entire replacement typically takes 2-4 hours for an experienced technician. If this is your first major appliance repair, allow extra time for troubleshooting.
Frequently Asked Questions
What is the part number for the GE GTW465ASNWW transmission?
The transmission assembly for the GTW465ASNWW is usually part number WH20X10023 or WH21X10026, depending on the manufacturing year. Always verify your exact model number by checking the rating plate inside the machine before ordering parts, as using an incorrect part number can lead to compatibility issues.
Can I test the GE GTW465ASNWW transmission without removing the cabinet?
You can perform a basic manual agitator rotation test without removing the cabinet. However, to properly inspect the motor-to-transmission coupling and transmission housing for damage, cabinet removal is necessary. The manual test provides about 70% diagnostic accuracy, so professional diagnosis is recommended if results are unclear.
How long should the agitator rotate with resistance when testing the GTW465ASNWW?
A healthy GE GTW465ASNWW transmission should require continuous rotational force to turn the agitator, with consistent resistance throughout a full 360-degree rotation. If resistance varies significantly or stops partway through, internal components are likely damaged, and the transmission needs replacement.
Is a burning smell always a sign of GTW465ASNWW transmission failure?
A burning smell during washing can indicate transmission issues, but it could also arise from friction within the pump, motor, or motor coupling. However, if the burning smell accompanies agitation failure, transmission damage is highly likely. Never ignore this symptom, as continued operation can lead to further damage.
How much does transmission repair cost for a GTW465ASNWW compared to buying a new washer?
Transmission replacement generally costs $350-$600 in parts and $200-$400 in labor. A new comparable washing machine costs between $600-$1,200. If your GTW465ASNWW is less than 8 years old with no other mechanical problems, replacing the transmission is economical. For machines over 10 years old or with multiple failing components, replacement may be the better option.
Can a GTW465ASNWW transmission fail suddenly or does it show warning signs?
Typically, the GTW465ASNWW transmission shows gradual warning signs. You may notice reduced agitation force, occasional agitation failures, or grinding noises weeks before complete failure. Sudden complete failure is less common but can occur if internal components break abruptly. Addressing early symptoms can prevent breakdown during a wash cycle.
Why does my GE GTW465ASNWW agitator only move in one direction after my transmission test?
If your agitator only moves in one direction post-testing, the internal transmission dogs responsible for that direction are likely failing or broken. The GTW465ASNWW uses separate clutch mechanisms for forward and reverse agitation, so a failure in one set leads to unidirectional motion.
Is it safe to run my GE GTW465ASNWW with a failing transmission?
Operating the GTW465ASNWW with a known transmission issue is not recommended. Continued use can damage additional components like the motor or pump. Leaks from a failing transmission seal can also damage flooring and electrical components. Stop using the machine and schedule repair or replacement as soon as possible.
Recommended Parts & Tools
Multimeter Digital Voltage Tester
Testing your GE washer’s transmission requires measuring electrical continuity and voltage. A digital multimeter is essential for safely testing electrical connections and identifying whether the issue is mechanical or electrical.
Socket Wrench Set and Screwdriver Kit
You’ll need various sockets, wrenches, and screwdrivers to remove the cabinet panels and access the transmission assembly on the GTW465ASNWW. This comprehensive tool set covers the common fastener sizes found in GE washers, allowing you to safely disassemble components for inspection.
GE Washer Transmission Coupling Kit
If your testing reveals a worn or broken coupling, this OEM-compatible replacement is the right part for GTW465ASNWW models and is often the culprit behind transmission problems. Installing this part will restore proper power transfer from the motor to the drum.
The Transmission Coupling Kit That Eliminates Guesswork on the GTW465ASNWW
If your testing confirms the transmission is failing—slipping gears, no spin cycle, or grinding sounds—you’ll want to have the right replacement part ready before you dive into the cabinet. The GE transmission coupling kit is the most straightforward fix for this model and saves you from ordering the wrong assembly mid-repair.
What works
- Direct fit for the GTW465ASNWW without adapter complications—no hunting for cross-reference numbers or compatibility charts mid-job.
- Coupling is the wear point that usually fails first on this model; replacing it often restores full transmission function without needing the entire gearbox assembly.
- GE OEM or quality aftermarket versions hold up through multiple wash cycles—I’ve seen these last 5+ years on machines that get heavy use.
What doesn’t
- If your transmission is making grinding or metal-on-metal sounds, the coupling alone won’t fix internal gear damage—you’ll need the full transmission assembly instead.
- Installation requires pulling the drum, motor coupling, and transmission housing; this isn’t a 15-minute swap, so budget 2–3 hours if you’re new to washer teardowns.
I’ve learned the hard way that ordering the coupling before confirming whether the transmission itself is damaged can waste time—test the motor connections and listen for grinding before pulling the trigger on this part. Once you’ve ruled out electrical issues and confirmed mechanical failure, grab the GE Washer Transmission Coupling Kit, and you’ll have the exact piece you need.
About This Article

Written by Dave Holt. Dave Holt has been taking apart and fixing household appliances since he was a teenager who couldn't leave a broken one alone. Eighteen years later, after fixing things for neighbors, friends, and anyone who'd let him, he's seen almost every failure mode there is. When he writes a repair guide here, it's based on the actual job, not a manufacturer overview. More about this site.
Scope and limits. Dave is a self-taught repairer, not a certified appliance technician. Unplug before you open anything, and leave sealed refrigeration systems, gas connections, and hardwired circuits to a qualified technician.


