GE GFE28GYNFS Evaporator Fan Motor Replacement — My Complete Repair Guide
The GE GFE28GYNFS has a habit of losing its evaporator fan motor somewhere around the 4–5 year mark, and when it goes the symptoms are familiar: the fridge stays warm while the freezer runs ice-cold, or you just hear nothing where that dependable hum used to be. I’m here to guide you through the steps I take to fix this common problem, so you can get your refrigerator back up and running without waiting for a service call.
Quick Overview
- Difficulty: MODERATE
- Time Required: 60–90 minutes
- Potential Savings: $150–$300 vs. a service call
- Special Tools: None beyond standard hand tools; a multimeter is helpful to confirm the motor is dead before you start
Symptoms That Tell Me It’s This Problem
- Warm fridge section, frozen freezer: The evaporator fan on the GE GFE28GYNFS is responsible for pushing cold air from the freezer down to the refrigerator section. If that motor fails, the fridge gets warm but the freezer stays cold, which is often the first sign I notice.
- Complete silence from the back of the unit: If you’ve never heard the fan noise from the back wall of your freezer and it’s suddenly silent, the fan motor is likely the issue. On the GE GFE28GYNFS, that motor runs nearly all the time when the compressor is on.
- Compressor still runs, but no air circulation: The compressor might cycle normally, and the ice maker works, but there’s no cold air reaching the fridge compartment. I’ve seen this scenario many times in my travels.
- Frost buildup on evaporator coils visible through access panel: If the fan isn’t running, you might see frost piling up on the coils inside the back wall, which is a clear indicator of trouble.
- Error code showing (less common but it happens): Some GE GFE28GYNFS units might display an error code on the control panel if the fan motor completely fails. Always check your manual for what codes indicate evaporator fan failure.
- Musty or odd smell from the fridge: Without proper air circulation, stagnant cold air can develop an unpleasant smell. This is a telltale sign that something’s hindering the fan’s operation.
⚠️ Safety Warning — Read Before You Touch Anything
My first step—every single time—is to unplug the GE GFE28GYNFS from the wall outlet. Don’t just turn it off via the control panel. The evaporator fan motor runs on low voltage (12V), but other components carry higher voltage. Unplug it, wait 5 minutes, and then touch a metal part of the fridge frame to discharge any residual energy. Never work on this unit while it’s plugged in, and steer clear of the compressor terminals or capacitor—those can deliver a nasty surprise.
Parts You’ll Need
- Evaporator Fan Motor Assembly — OEM Part #: WR60X10074 (GE OEM part for GFE28GYNFS) — This assembly is the safest choice for replacement. Some people opt for WR60X10073, but I’ve found the 10074 fits the GE GFE28GYNFS better and lasts longer.
- Evaporator Fan Blade (optional) — OEM Part #: WR02X11863 — Only necessary if you notice the blade is cracked or damaged upon inspection. Most units I’ve repaired have a good blade; it’s usually the motor that’s the problem.
- Thermal Fuse (recommended to replace while you’re in there) — OEM Part #: WR01X10014 — This fuse is located near the evaporator fan and often fails simultaneously with the motor. At $8, it’s a smart replacement to avoid a repeat service call.
Tools Required
- Phillips head screwdriver (for multiple screws on the GE GFE28GYNFS rear panel and motor bracket)
- Flathead screwdriver or trim tool (for prying off clips and trim pieces on the lower-left back of the unit)
- 1/4-inch nut driver (for some fasteners on the motor mounting bracket inside the GE GFE28GYNFS)
- Multimeter set to voltage mode (to confirm the motor is truly dead and that power is reaching the connector)
- Wire strippers (in case you need to disconnect or inspect wiring on the GE GFE28GYNFS)
- Small flashlight or headlamp (the back compartment of the GE GFE28GYNFS is often dark)
- Container or small ziplock bag (to keep screws organized—there are a lot of them on the GE GFE28GYNFS)
Step-by-Step: How I Replace the Evaporator Fan Motor
Step 1: Unplug the GE GFE28GYNFS and Let It Sit
First things first, unplug the unit from the wall. I can’t stress this enough: do not skip this step. After unplugging, wait at least 5 minutes for any residual power to drain from the control board. This is crucial on the GE GFE28GYNFS, as the control panel can retain a charge. Ground yourself by touching a metal part of the frame to discharge any static buildup.
Pro Tip from Dave: While you’re waiting, take a photo of the connector on the old motor with your phone. This way, you won’t have to guess how to connect the new one. The wiring on the GE GFE28GYNFS is color-coded, but it can get confusing in cramped spaces.
Step 2: Remove the Lower-Left Rear Access Panel
Head to the back of the GE GFE28GYNFS and locate the lower-left rear panel. This panel covers the evaporator compartment. Typically, it’s secured by three Phillips screws—one at the top and two at the bottom—along with a couple of plastic clips on the sides. Remove these screws and gently pull the panel straight towards you. The clips should pop free. Be careful not to damage the panel, as you’ll need to reinstall it. Keep the screws in your container for safekeeping.
Step 3: Locate and Disconnect the Motor Connector
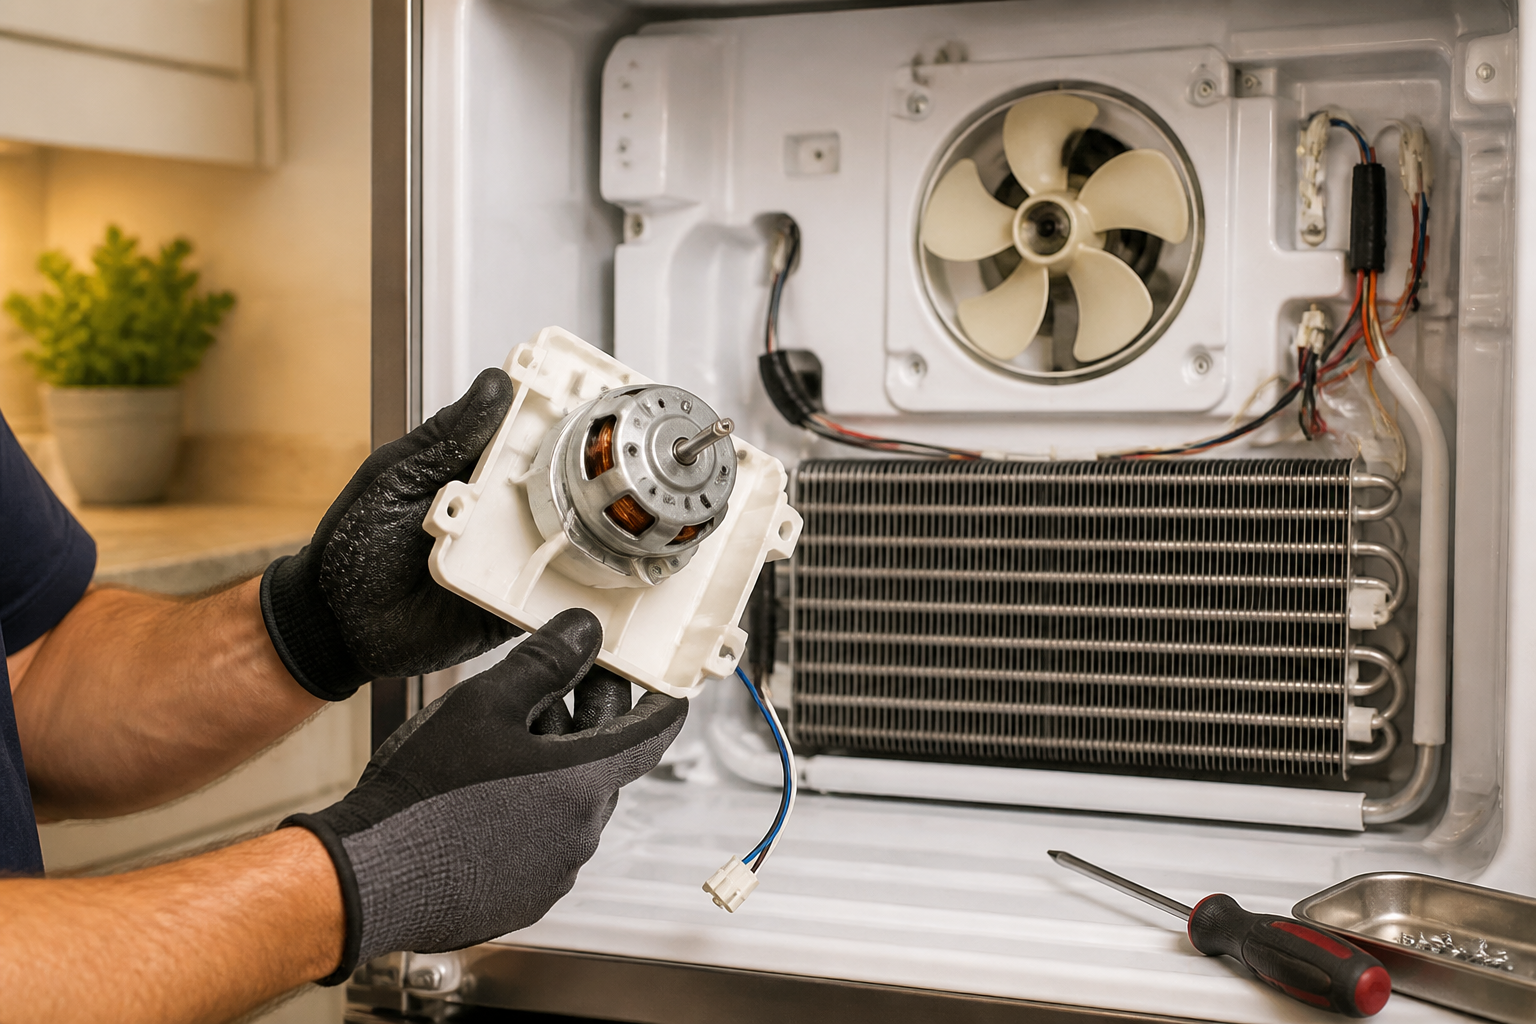
Now you can see inside the evaporator compartment of the GE GFE28GYNFS. You’ll spot the evaporator coils and the fan motor with the impeller attached. Look for the wiring connector—a simple plastic push-on connector with two wires (red and black, or sometimes white and black). Gently push the connector tab and pull it straight away from the motor. Avoid yanking on the wires; pull on the connector itself.
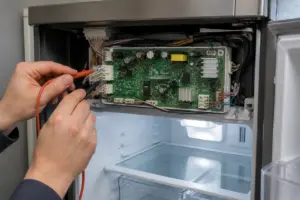
Pro Tip from Dave: Before disconnecting the motor completely, use your multimeter to check for voltage at the connector. Set it to AC volts and touch the probes to the connector pins. If there’s 12V present and the motor still won’t run, that confirms the motor is dead—not a wiring issue. This saved me a lot of guesswork.
Step 4: Remove the Mounting Bracket and Motor
The motor on the GE GFE28GYNFS is attached to a small bracket inside the evaporator compartment. Usually, there are two Phillips screws or nut-driver fasteners holding the bracket to the back wall. You might also see a clip or two securing the bracket in place. Remove these fasteners—typically 2 screws and 1 clip. Gently pull the motor and bracket assembly straight out towards you. Don’t be surprised if the motor has a bit of frost on it; that’s normal.
Step 5: Inspect the Evaporator Coils and Thermal Fuse
With the motor removed, take a look at the evaporator coils inside the GE GFE28GYNFS. They should be relatively clean or lightly frosted. Heavy ice buildup is common if the motor has been dead for a while. To the side of the coils, you’ll find the thermal fuse—a small cylindrical component about 1 inch long, usually held in a bracket. This safety device cuts power if the compartment gets too cold. It’s often advisable to replace this fuse since it can fail along with the motor. It’s secured with a single nut driver fastener, so unbolt it and set it aside.
Step 6: Clean the Compartment (Optional but Recommended)
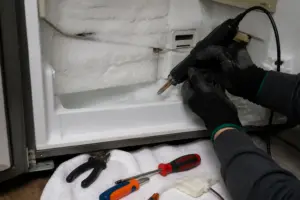
While you have the motor out, I like to wipe down the compartment with a dry cloth. If you notice ice buildup on the coils, you can use a plastic scraper to gently remove loose frost, but be careful not to chip the coils themselves. Avoid using a hair dryer or heat gun on the coils—you could cause damage. Once you’re done, let the compartment air dry for a minute.
Pro Tip from Dave: Check the drain tube running from the evaporator compartment down to the drain pan at the bottom of the fridge. If it’s blocked with ice, it can lead to moisture problems and bad odors. A flexible tubing or a straightened coat hanger can usually clear it out quickly.
Step 7: Install the New Thermal Fuse
Grab the new thermal fuse (OEM Part # WR01X10014 or equivalent) and snap it into the bracket. You’ll hear a click when it’s in place. Secure it with the nut driver fastener you removed in Step 5. Make sure it’s snug but don’t over-tighten—you don’t want to crack the ceramic body of the fuse. This simple $10 part can save you a lot of headaches down the line.
Step 8: Position the New Evaporator Fan Motor
Next, take the new motor assembly (OEM Part # WR60X10074 for the GE GFE28GYNFS) and position it exactly where the old one came out. The bracket has two bolt holes that align with the threaded holes on the back wall of the evaporator compartment. Slide the motor in and hand-tighten the two fasteners first. Once you’re sure it’s sitting flush against the wall, tighten them snugly with your screwdriver or nut driver. These fasteners should be tight enough to prevent rattling, but no need to go overboard.
Step 9: Reconnect the Motor Wiring
Reconnect the motor by taking the connector you disconnected in Step 3 and plugging it onto the new motor. The connector should snap in with a gentle push, and you should hear a click or feel it seat. Tug gently on the connector to ensure it’s secure. This step is crucial—if it’s loose, the motor may lose power intermittently, leading to frustration down the line. Make sure it’s fully seated.
Pro Tip from Dave: If the connector on the old motor is cracked or loose, don’t reuse it. The replacement motor usually comes with a new connector, but if it didn’t, you can grab a replacement connector from the parts supplier for about $5. Using a faulty connector is a false economy that will lead to callbacks.
Step 10: Reinstall the Access Panel
Slide the lower-left rear access panel back into place on the GE GFE28GYNFS. First, align the two bottom clips, then the plastic slots on the sides should snap in. Reinstall the three Phillips screws (top and bottom). Ensure the panel sits flush with no gaps around the edges. These fasteners are important for maintaining proper airflow.
Step 11: Plug In and Test
Plug the GE GFE28GYNFS back into the wall outlet. In just a few seconds, you should hear the compressor starting its normal cycle. After about 20–30 seconds, the evaporator fan motor should start running—a soft whirring sound from the back of the unit. This is the sound of success. Let it run for about 5 minutes and feel the back wall of the refrigerator compartment; it should be getting cool. You should also feel cold air coming from the vents within 10–15 minutes.
Step 12: Monitor Over the Next 24 Hours
Let the GE GFE28GYNFS run normally for the next day. Use a thermometer to check the fridge temperature—it should stabilize between 35–38°F. The freezer should hold at 0°F or below. Listen for the motor running periodically. You shouldn’t hear any grinding, rattling, or squealing. If everything sounds and feels normal after 24 hours, congratulations! You’ve successfully replaced the evaporator fan motor on your GE GFE28GYNFS. Give yourself a well-deserved pat on the back.
Pro Tip from Dave: Keep a note on your calendar to check the condenser coils on the bottom front of the fridge in 6 months. Once a motor fails, the coils can get dirty faster because the unit has been working extra hard to compensate. Cleaning those coils with a vacuum every six months can significantly extend the life of your compressor.
Troubleshooting — If It Still Isn’t Working
- Motor isn’t running at all (no sound, no vibration): Ensure the connector is fully seated on the motor. Use your multimeter to confirm power is reaching the connector. If there’s no power, the issue is likely with the control board or wiring, not the motor itself.
- Motor runs but fridge section is still warm: The motor may be spinning, but airflow could be blocked. Check that the access panel is properly sealed and the damper valve isn’t stuck. Ice buildup can block airflow too; make sure air vents inside the fridge aren’t blocked by food or packaging.
- Motor sounds like it’s grinding or squealing: This usually means the bearing inside the new motor is defective. This is rare with OEM parts, but it happens. Contact the parts supplier for a replacement motor under warranty. Don’t keep running a grinding motor—it will fail completely.
- Fridge compartment gets cold but freezer is now too warm: This often indicates a stuck damper valve controlling cold air distribution. Check the damper assembly, usually located in the wall between the two compartments, to see if it’s frozen shut.
- Thermal fuse blew immediately after replacement: This usually means the compressor is cycling too fast or there’s a refrigerant restriction. If the fuse keeps blowing, don’t keep replacing it—there’s a deeper issue with the sealed system that requires professional diagnosis.
About This Article

Written by Dave Holt. Dave Holt has been taking apart and fixing household appliances since he was a teenager who couldn't leave a broken one alone. Eighteen years later, after fixing things for neighbors, friends, and anyone who'd let him, he's seen almost every failure mode there is. When he writes a repair guide here, it's based on the actual job, not a manufacturer overview. More about this site.
Scope and limits. Dave is a self-taught repairer, not a certified appliance technician. Unplug before you open anything, and leave sealed refrigeration systems, gas connections, and hardwired circuits to a qualified technician.