
Freezer not sealing
This step-by-step repair guide walks you through fixing freezer not sealing on your LG LBNC15221V (Bottom Freezer). With the right tools and parts, most homeowners can complete this repair in 1–2 hours and avoid a costly service call.
🔨 Pro Tip from Dave
On the LG LBNC15221V, the freezer drawer gasket (part number MHL61869601) has a tendency to pull away at the bottom corners first — most techs miss this and replace the whole gasket when a targeted reattachment with a heat gun can sometimes save you the part cost. Also watch for frost buildup along the drawer slides, which can physically prevent a full seal and is often mistaken for a gasket failure.
Part of our Top 20 Refrigerator Models & Common Repair Issues Guide. Browse all refrigerator repair guides for related models and issues.
“`html
Common Symptoms & Causes
If your LG LBNC15221V bottom freezer isn’t sealing properly, you’ll likely notice one or more of these warning signs.
- Frost or ice buildup around the freezer drawer edges
- Freezer compartment temperature rising above 0°F despite correct settings
- Visible gaps between the freezer drawer and the cabinet frame when closed
- The freezer drawer feels loose or fails to close with firm resistance
These symptoms are most commonly caused by a worn, cracked, or warped freezer door gasket that has lost its ability to form an airtight seal, or by a misaligned freezer drawer that prevents the gasket from making full contact.
“`
Safety First
- Unplug the refrigerator from the power outlet before starting any repair — never work on a live appliance.
- Shut off the water supply valve before disconnecting any water lines or hoses.
- Wear work gloves when handling metal brackets, sheet metal edges, or sharp components.
- Take photos with your phone before disconnecting any wiring harnesses or connectors.
- Work in a well-lit area with enough floor space to lay removed panels flat.
Tools & Parts Needed
Essential Tools
- Phillips #2 screwdriver
- ¼” nut driver
- Needle-nose pliers
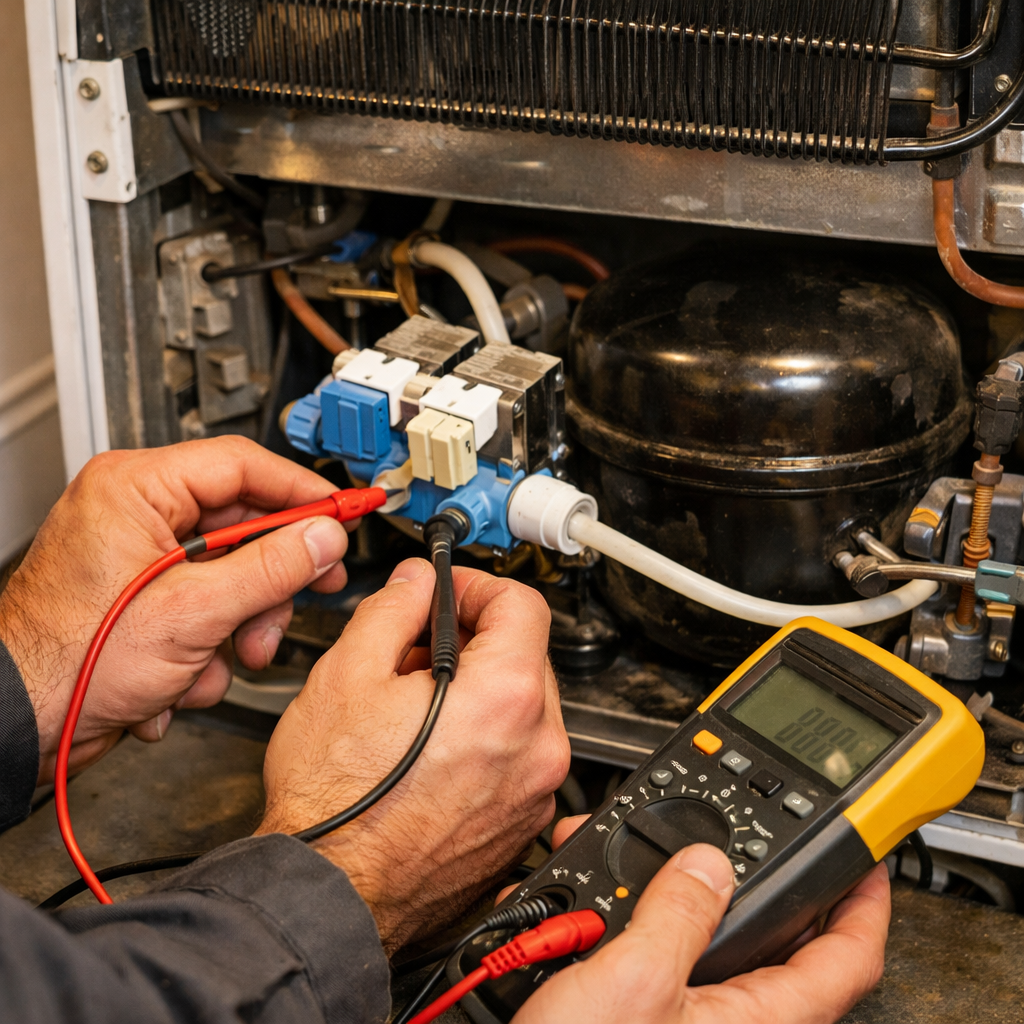
- Multimeter
- Flashlight or work light
Replacement Parts
Step-by-Step Repair Instructions
Step 1
Pull the freezer drawer fully open and inspect the gasket running around the drawer opening. You’re looking for cracks, sections compressed flat from repeated use, or areas that have pulled free from the retainer groove — any of these breaks the airtight seal and allows warm air to enter. Pay close attention to the corners, which take the most stress and fail first.
Step 2
Perform a dollar-bill test by closing the drawer on a bill at multiple points around all four sides of the perimeter. You should feel noticeable resistance when tugging the bill; if it slides out freely at any point, the gasket isn’t seating tightly enough to maintain a seal at that location. Mark any weak spots with tape so you know exactly where to focus your repair.
Step 3
Use a hair dryer on its low setting, held 4–5 inches from the gasket, to warm stiff or deformed sections for about two minutes — cold rubber loses flexibility and won’t conform to the door frame properly. Once the gasket is pliable, press it firmly back into the retainer groove, starting at the corners and working outward. Avoid high heat settings, which can warp or melt the rubber.
Step 4
If the gasket has visible cracks or won’t hold its shape after warming, it needs to be replaced. On the LG LBNC15221V, the drawer gasket is a snap-in design with no screws — grip a corner firmly and pull it free from the channel. After removal, clean the groove thoroughly with a warm soapy cloth and dry it completely, since grease or debris will prevent the new gasket from seating correctly.
Step 5
Press the new gasket into the retainer groove starting at the top two corners, then work both hands simultaneously down each side toward the bottom. This balanced approach distributes the gasket evenly and prevents bunching or stretching that would leave gaps. Once fully seated, run your thumb firmly along the entire perimeter to confirm every section is locked into the groove.
Step 6
Check that the refrigerator is level and adjust the front feet so the unit tilts slightly rearward — the front should sit about a quarter-inch higher than the back. This slight backward tilt uses gravity to help the freezer drawer roll closed completely and press the gasket firmly against the frame with every closure. Use a bubble level on the floor of the freezer drawer to verify the tilt before finishing.
Where to Buy Replacement Parts
Find genuine OEM and aftermarket replacement parts for your LG LBNC15221V (Bottom Freezer) on Amazon:
- LG LBNC15221V freezer drawer gasket MHL46915504
- LG bottom freezer refrigerator door hinge cam AEH72909516
- LG refrigerator freezer drawer seal replacement
When to Call a Professional
If the issue persists after completing all steps above, the problem may involve the sealed refrigerant system, a failed main control board, or wiring that requires specialized diagnostic equipment. Contact a licensed appliance technician — attempting sealed-system repairs without EPA 608 certification is illegal and unsafe.
“`html
How Much Does This Repair Cost?
Replacing a freezer door gasket on the LG LBNC15221V typically costs $20–$65 for the part alone when doing it yourself. A professional appliance repair service call generally runs $150–$300, including labor and parts. Tackling this repair yourself can save you $100 or more, making it a worthwhile DIY project.
“`
Frequently Asked Questions
How do I know if my LG LBNC15221V freezer door gasket needs replacing?
Close the freezer door on a dollar bill — if you can pull it out easily, the gasket has lost its seal and needs replacement. You may also notice frost buildup around the door edges or rising freezer temperatures.
Can I fix a warped freezer gasket without buying a new one?
Minor warping can sometimes be corrected by softening the gasket with a hairdryer and reshaping it by hand. However, if the gasket is cracked or brittle, replacement is the more reliable long-term fix.
Will a poor freezer seal on the LG LBNC15221V increase my energy bill?
Yes — a faulty seal forces the compressor to run longer to maintain temperature, directly increasing energy consumption. Replacing the gasket promptly can restore efficiency and lower monthly utility costs.
Recommended Products
These are the parts and tools we recommend for this repair, based on compatibility and customer reviews:
- Upgraded MDS64172919 Freezer Door Gasket Replacement for LG Refrigerator Freezer Door Seal 4987JA2008E MDS38201406 A0073995802 Freezer Seal Parts Compatible with Kenmore Refrigerator Door Gasket
- UPGRADED MDS64239207 Refrigerator Door Gasket Replacement Compatible with LG, Kenmore Bottom-Mount Refrigerator Door Seal, Replaces Part Number MDS62111101 MDS62111103 Freezer Door Gasket (Black)
- LXun Upgraded MDS64172919 Freezer Door Gasket Compatible with Kenmore Refrigerator Freezer Door Seal part for LG Refrigerator Door Gasket Replacement Part MDS38201406 MDS38201419 EAP8752589 -BLACK
As an Amazon Associate, I earn from qualifying purchases.


